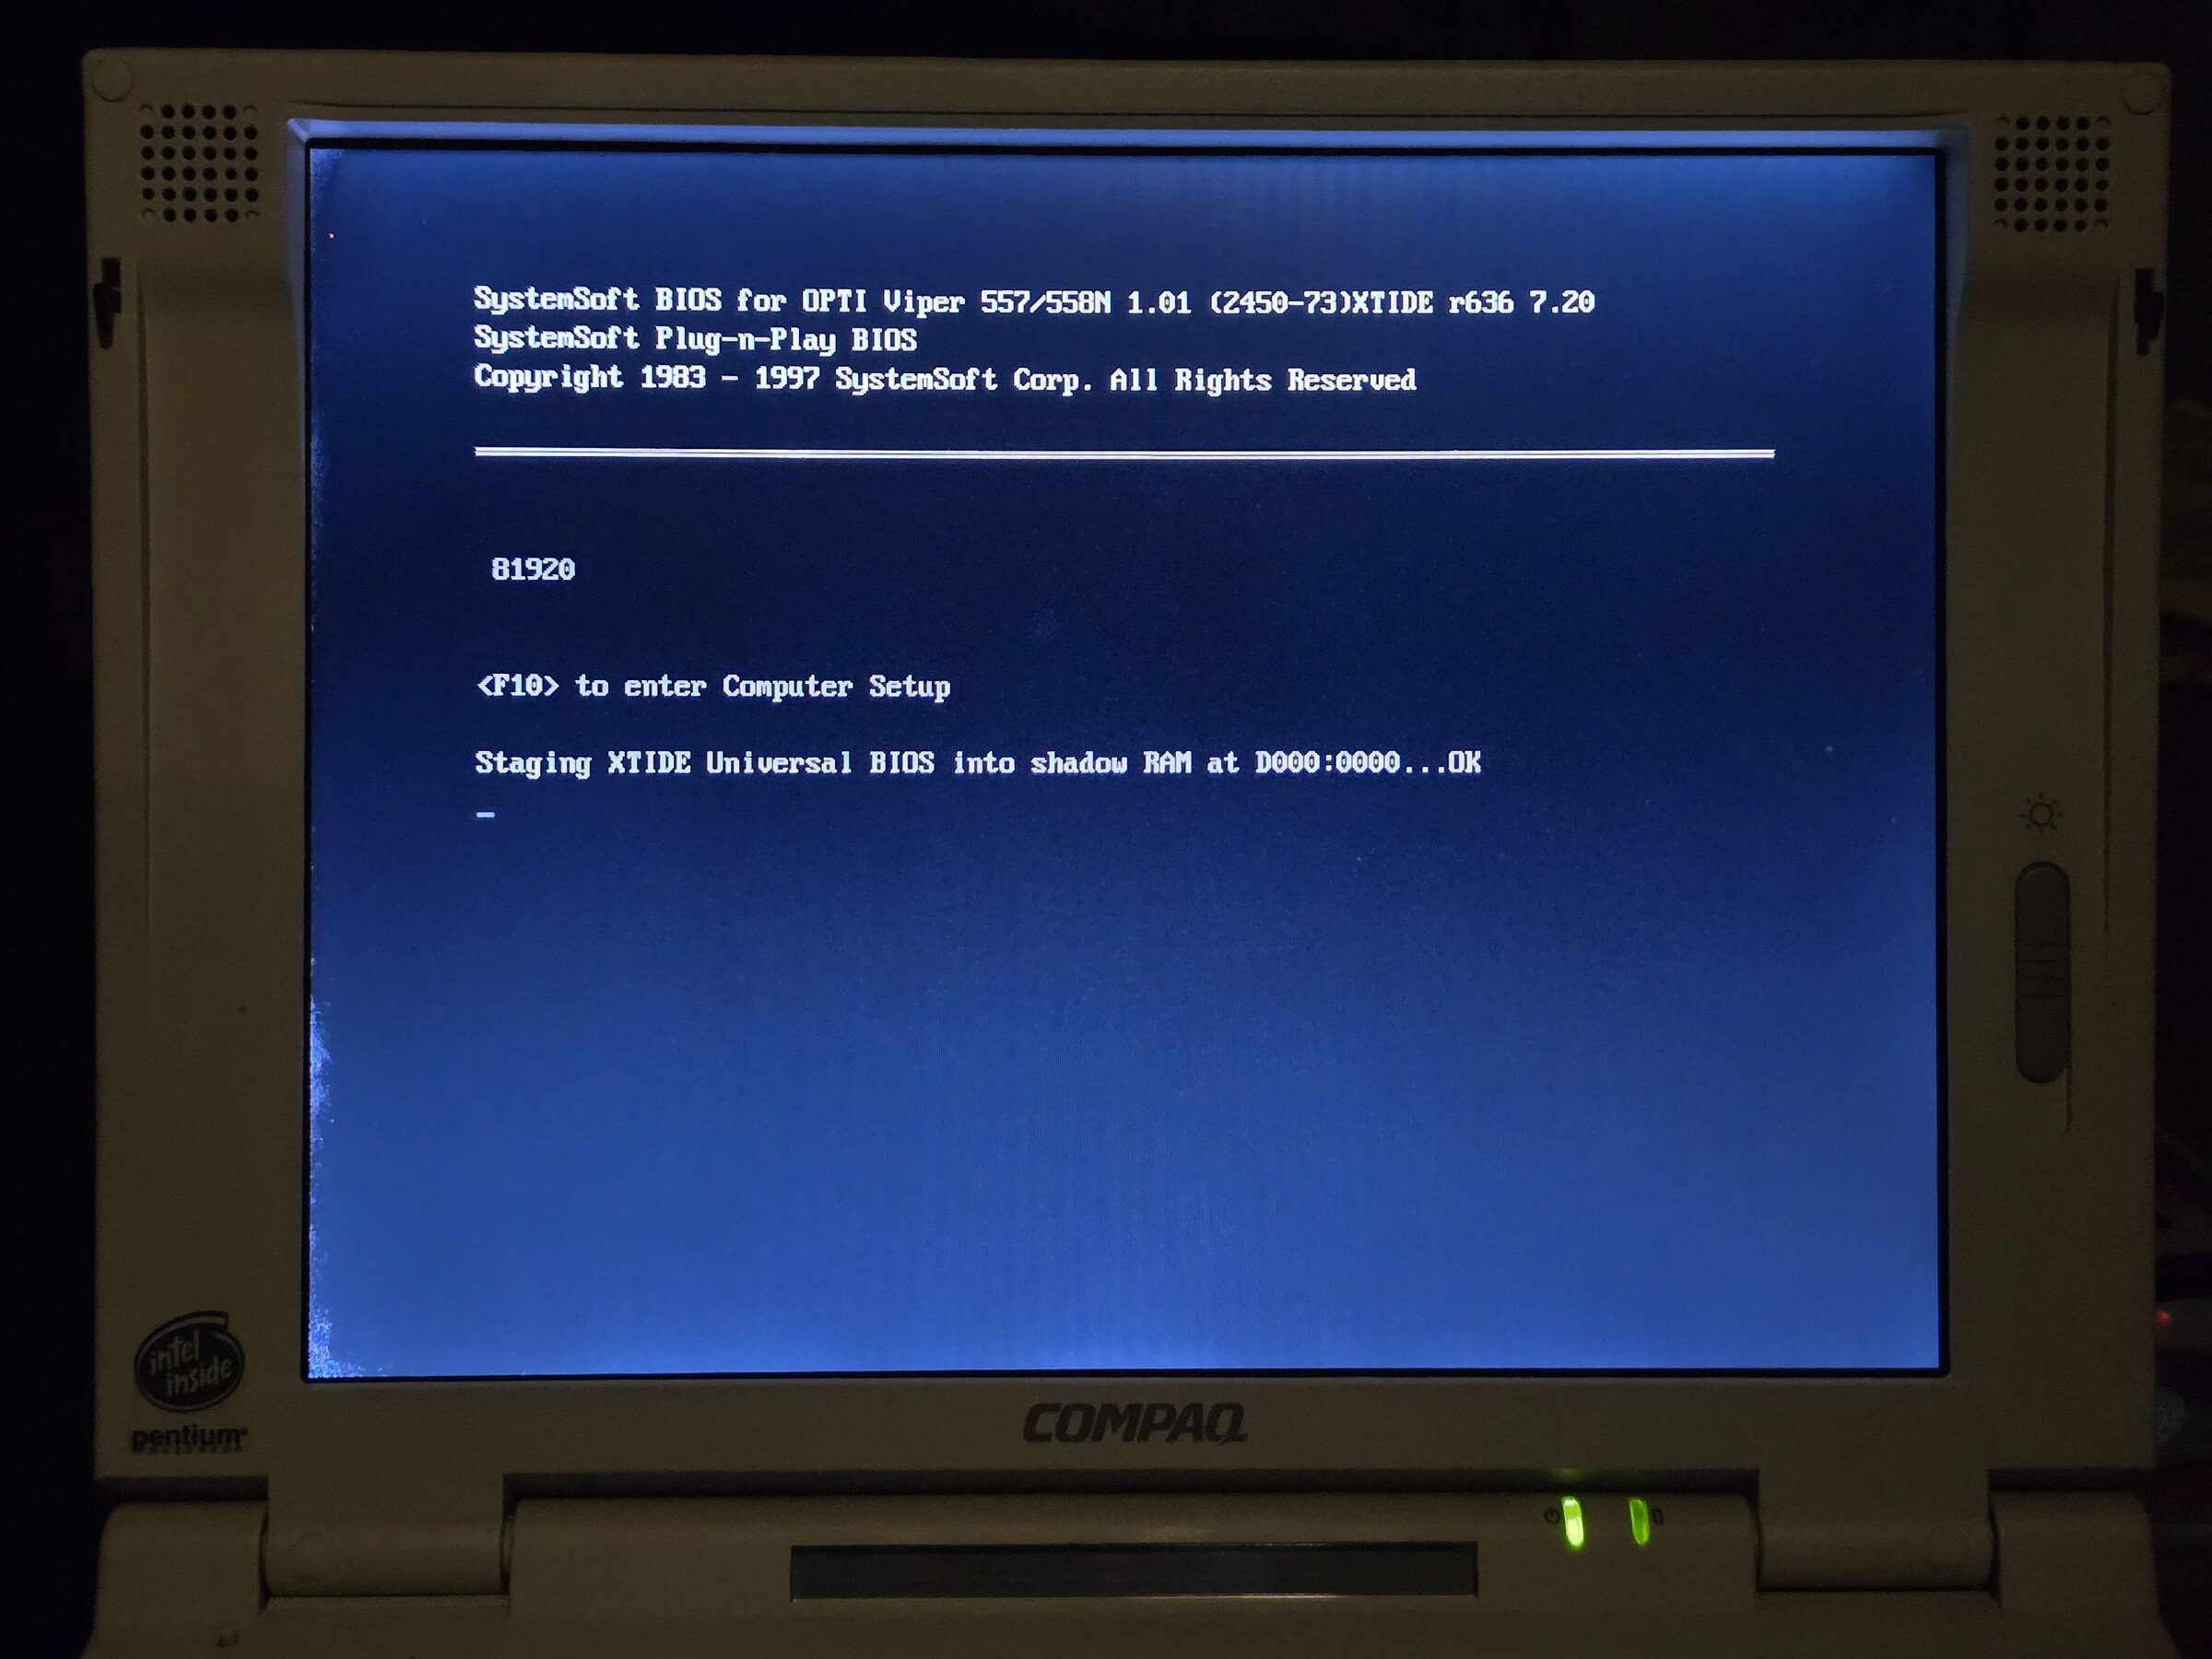
This project is a release of my patched Compaq LTE 5000-series BIOS with XTIDE Universal BIOS
added as an Option ROM at D000:0000. This allows the machine to work with larger drives than
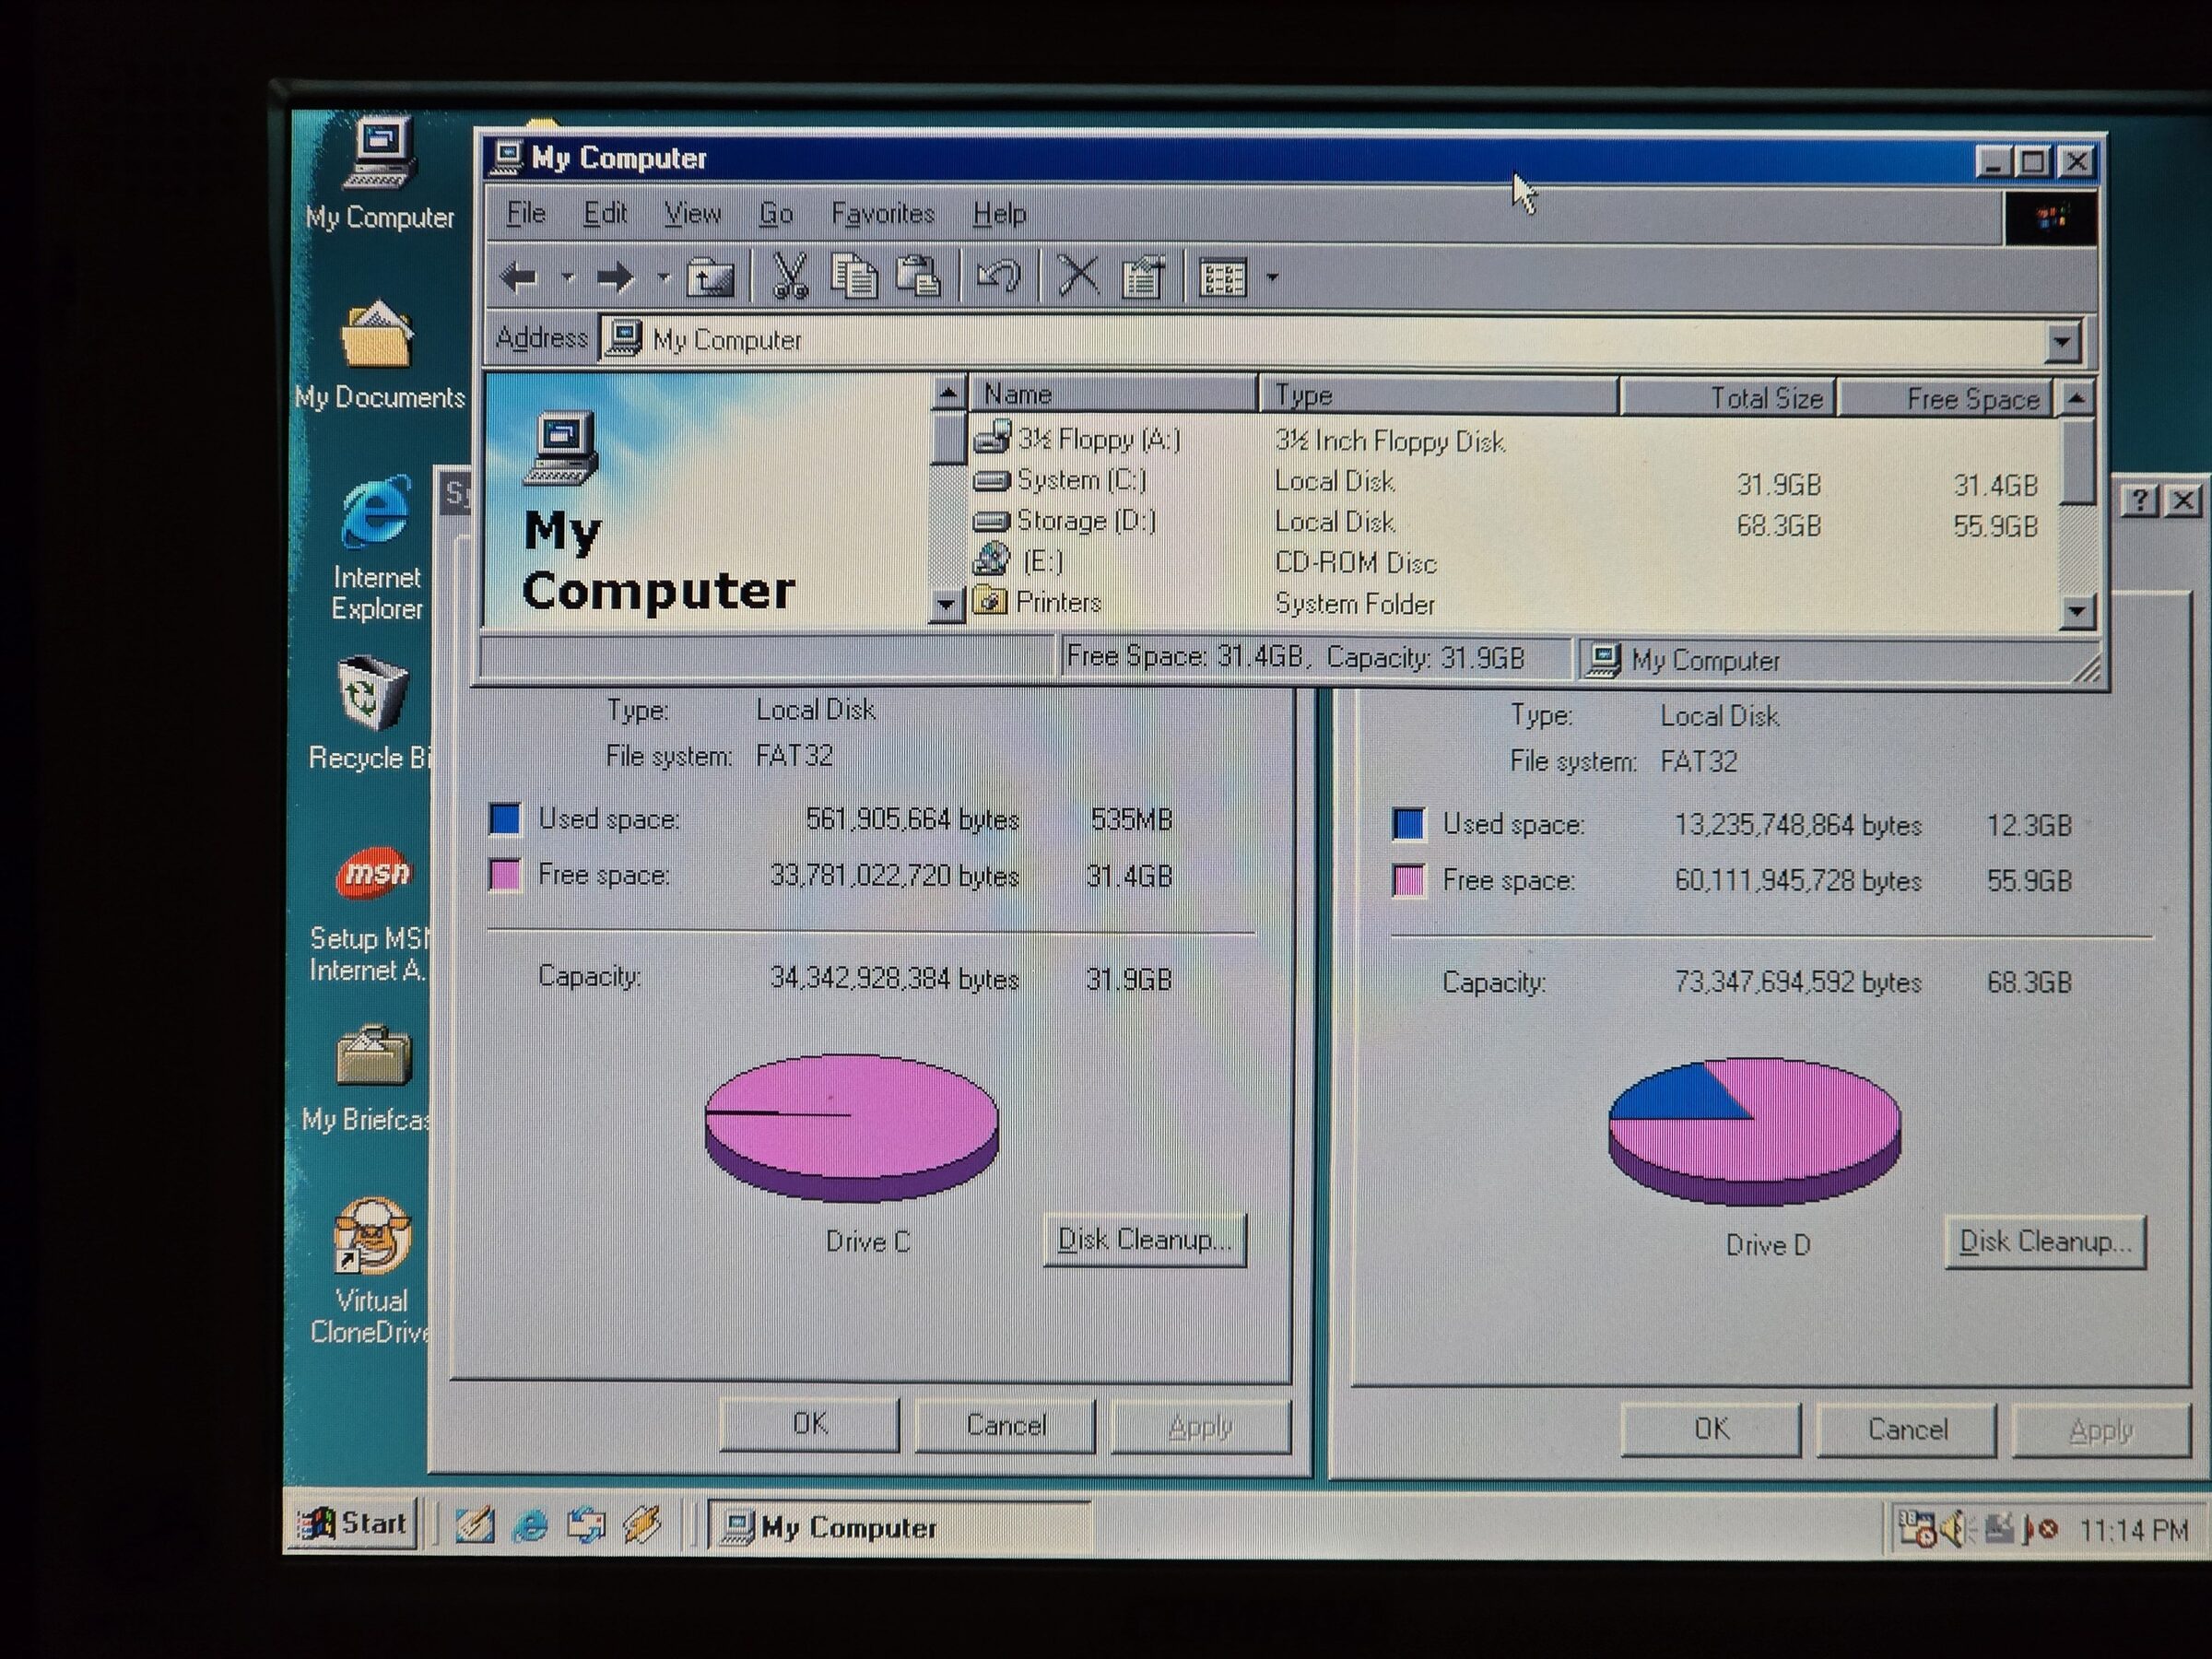
the stock BIOS limit of about 8.4 GB.
I made this release page to provide this to the world since I have gotten requests to release it. However, my tooling and documentation is in a bit of a rough state right now, and I don't feel like I'm ready to share that publicly yet.
This modified BIOS has been tested on a few of my Compaq LTE 5000s. It was developed on my LTE 5400 with a fixture that let me pull the BIOS chip and reflash it during development.
Downloads
| File | What |
|---|---|
| lte5000-xtide-floppy.img | Bootable floppy image with the patched ROMPaq BIOS flashing utility. This is probably what you want. |
| lte5000-xtide.zip | ROMPaq BIOS flashing utility files in a zip file. |
| STORM10B.EEF | The compressed ROMPaq BIOS by itself, probably not useful unless you got a ROMPAQ BIOS Update floppy already kicking around. |
| lte5000-xtide-flat-rom.bin | The patched 256 KiB flat ROM image for external flashing. |
| SHA256SUMS.txt | SHA256 checksums for the files above. |
Using the floppy image
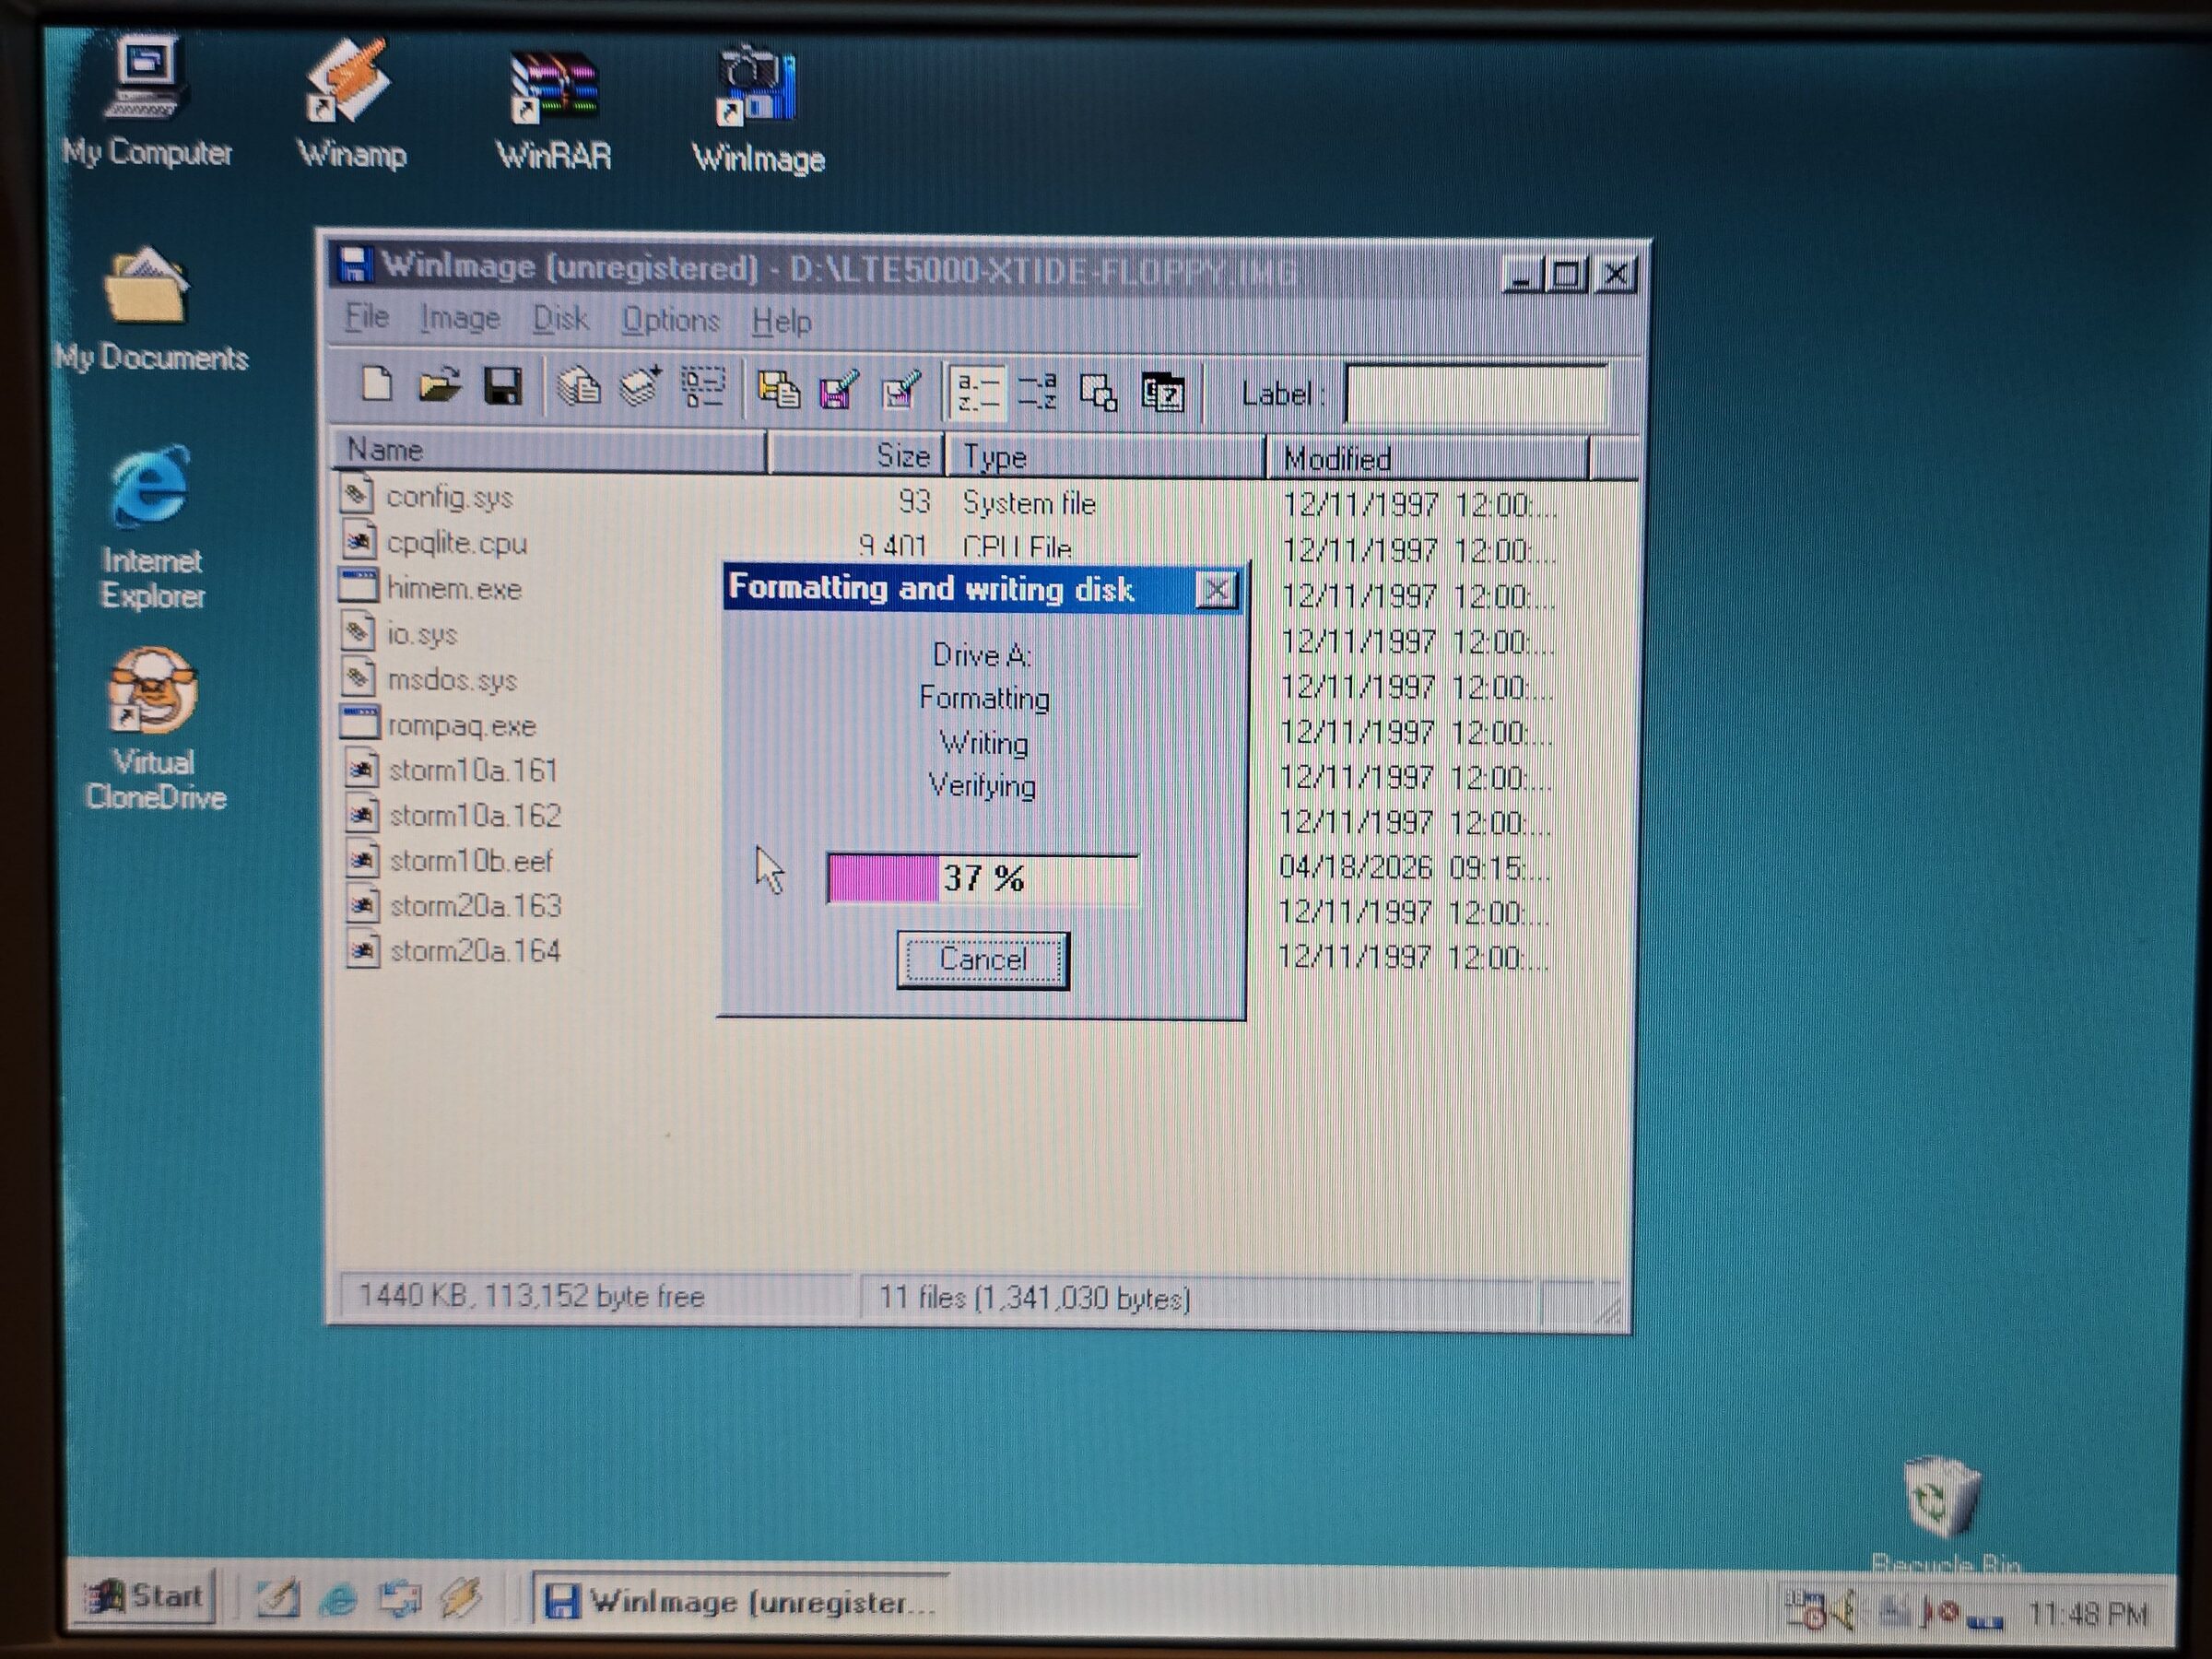
The normal path is to use lte5000-xtide-floppy.img. Write it to a 1.44 MB floppy disk and
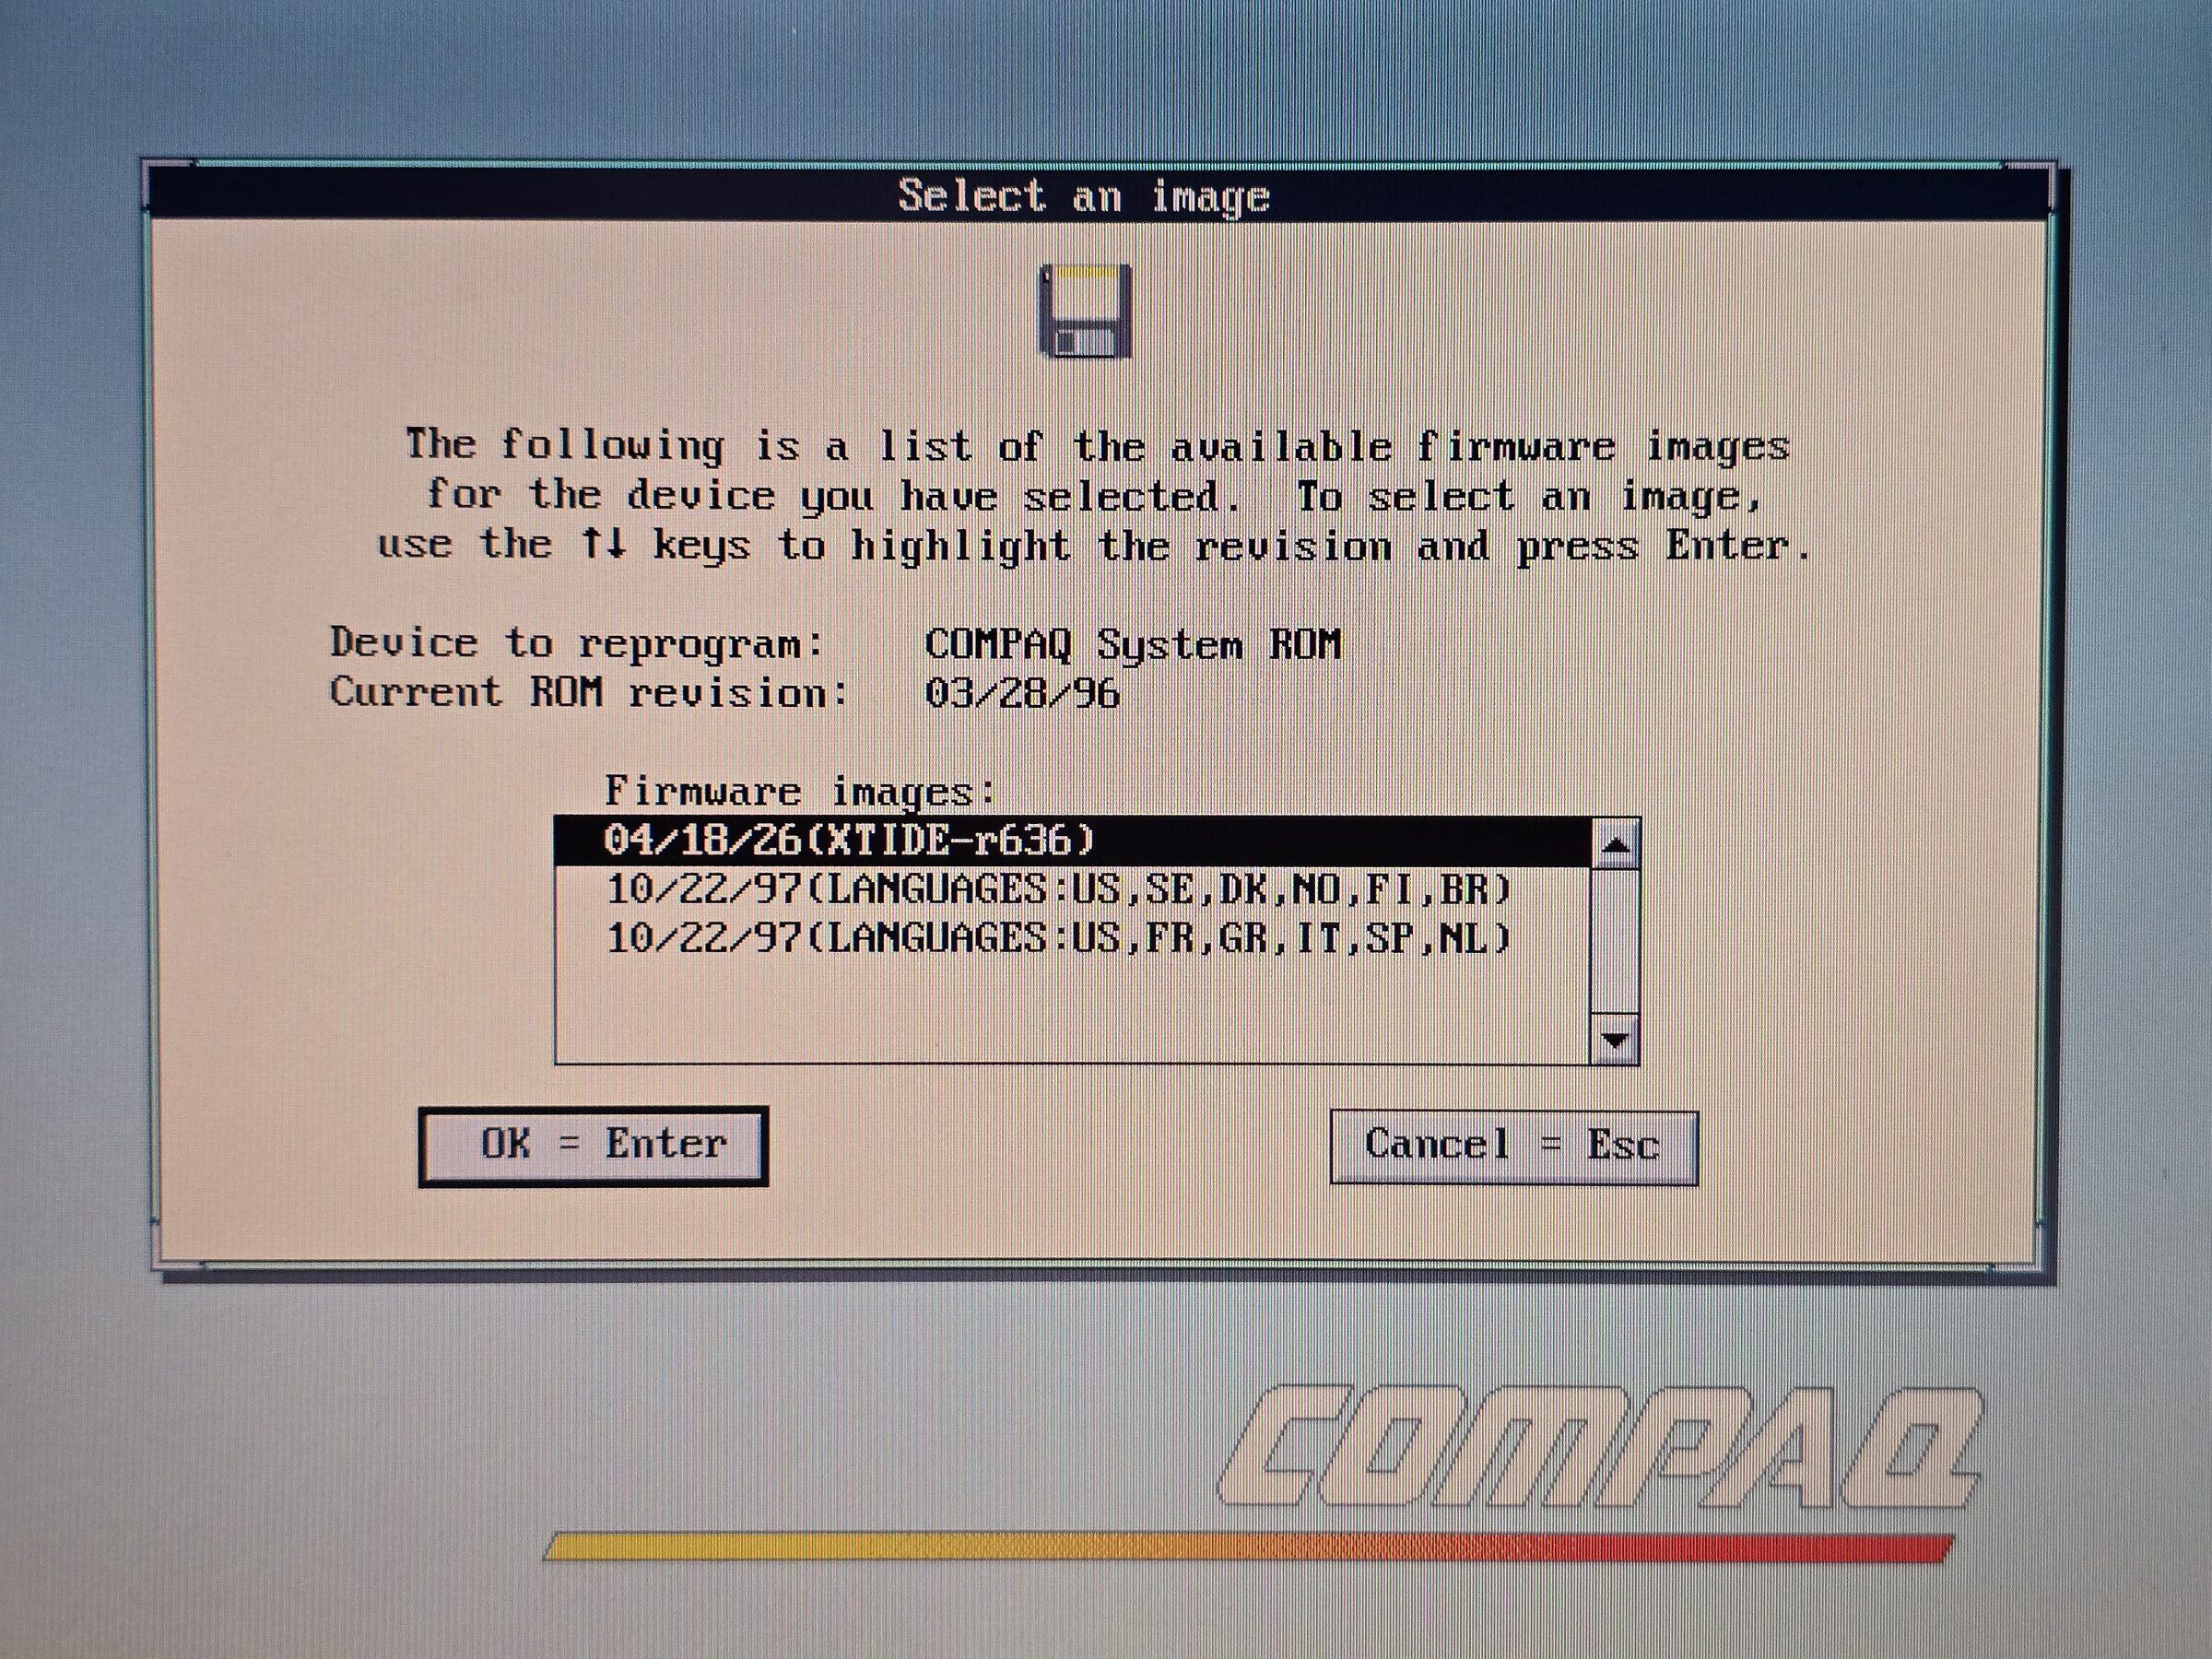
boot it, then and follow the ROMPaq prompts, and pick the XTIDE BIOS to flash.
- Write
lte5000-xtide-floppy.imgto a 1.44 MB floppy disk usingddor WinImage etc. - Boot the laptop from this floppy.
- Follow the prompts and pick the XTIDE bios to flash.
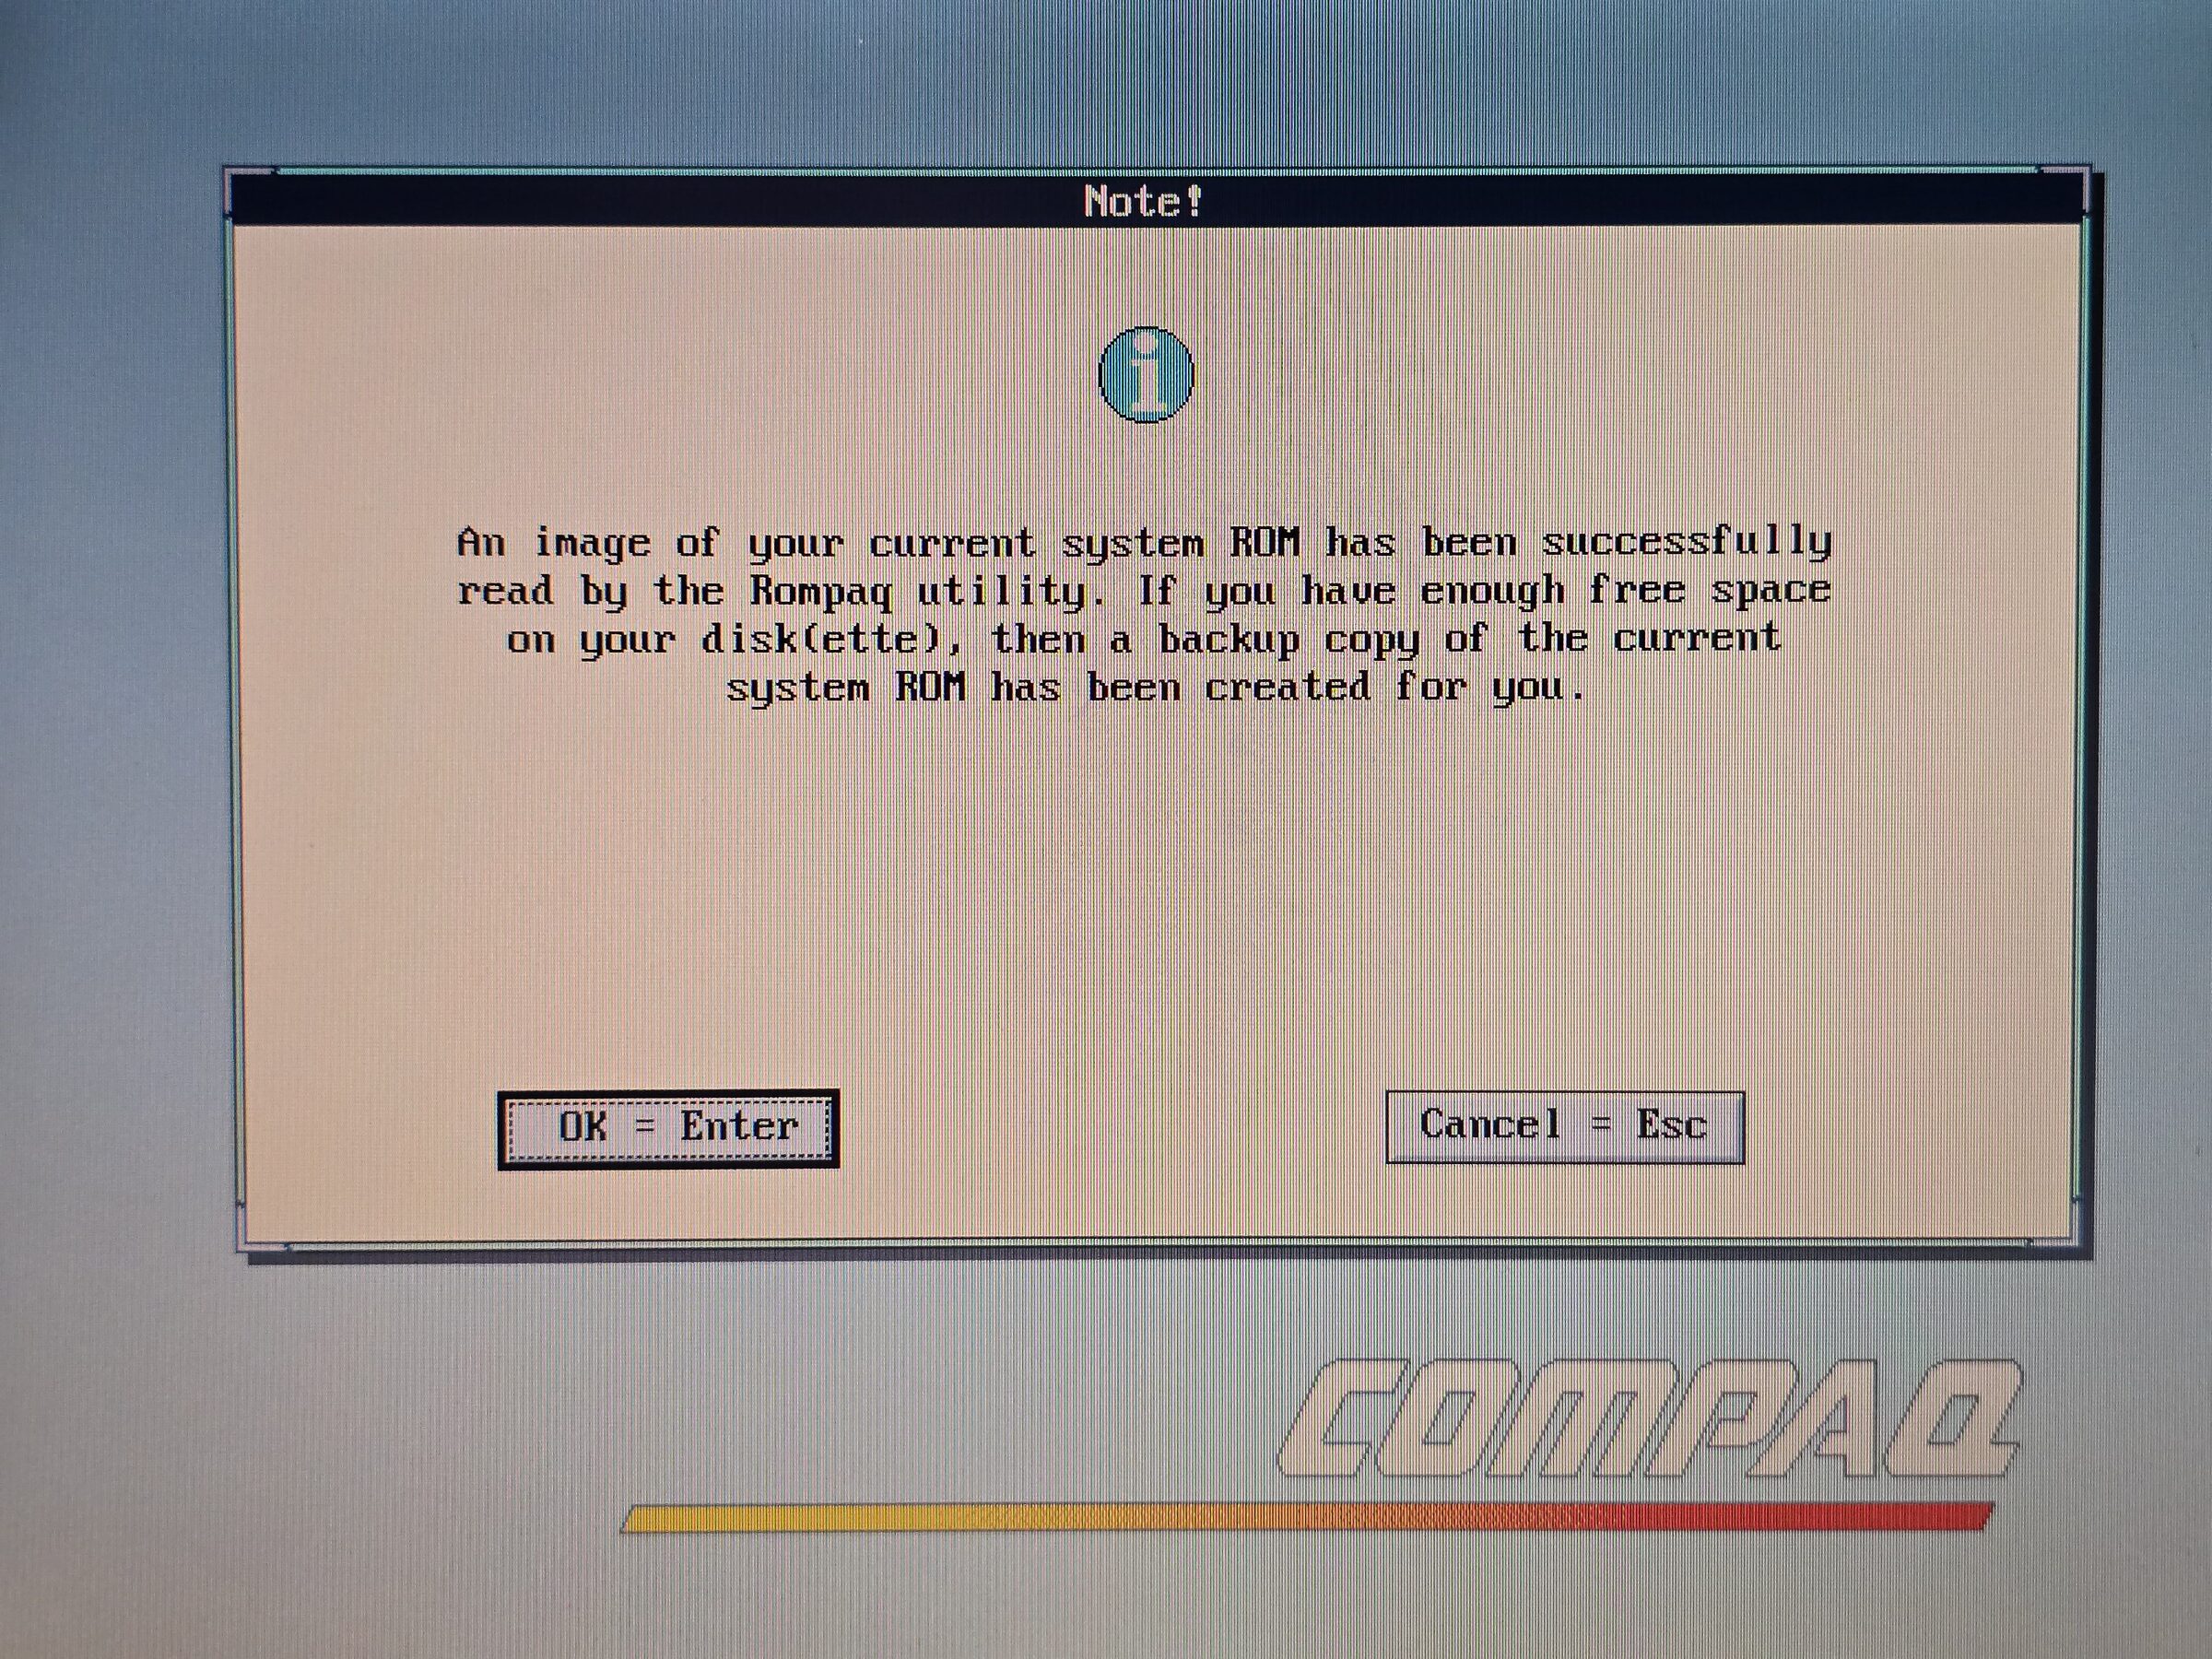
- Let the flashing finish. Do not remove power while it is flashing.
- ???
- PROFIT!


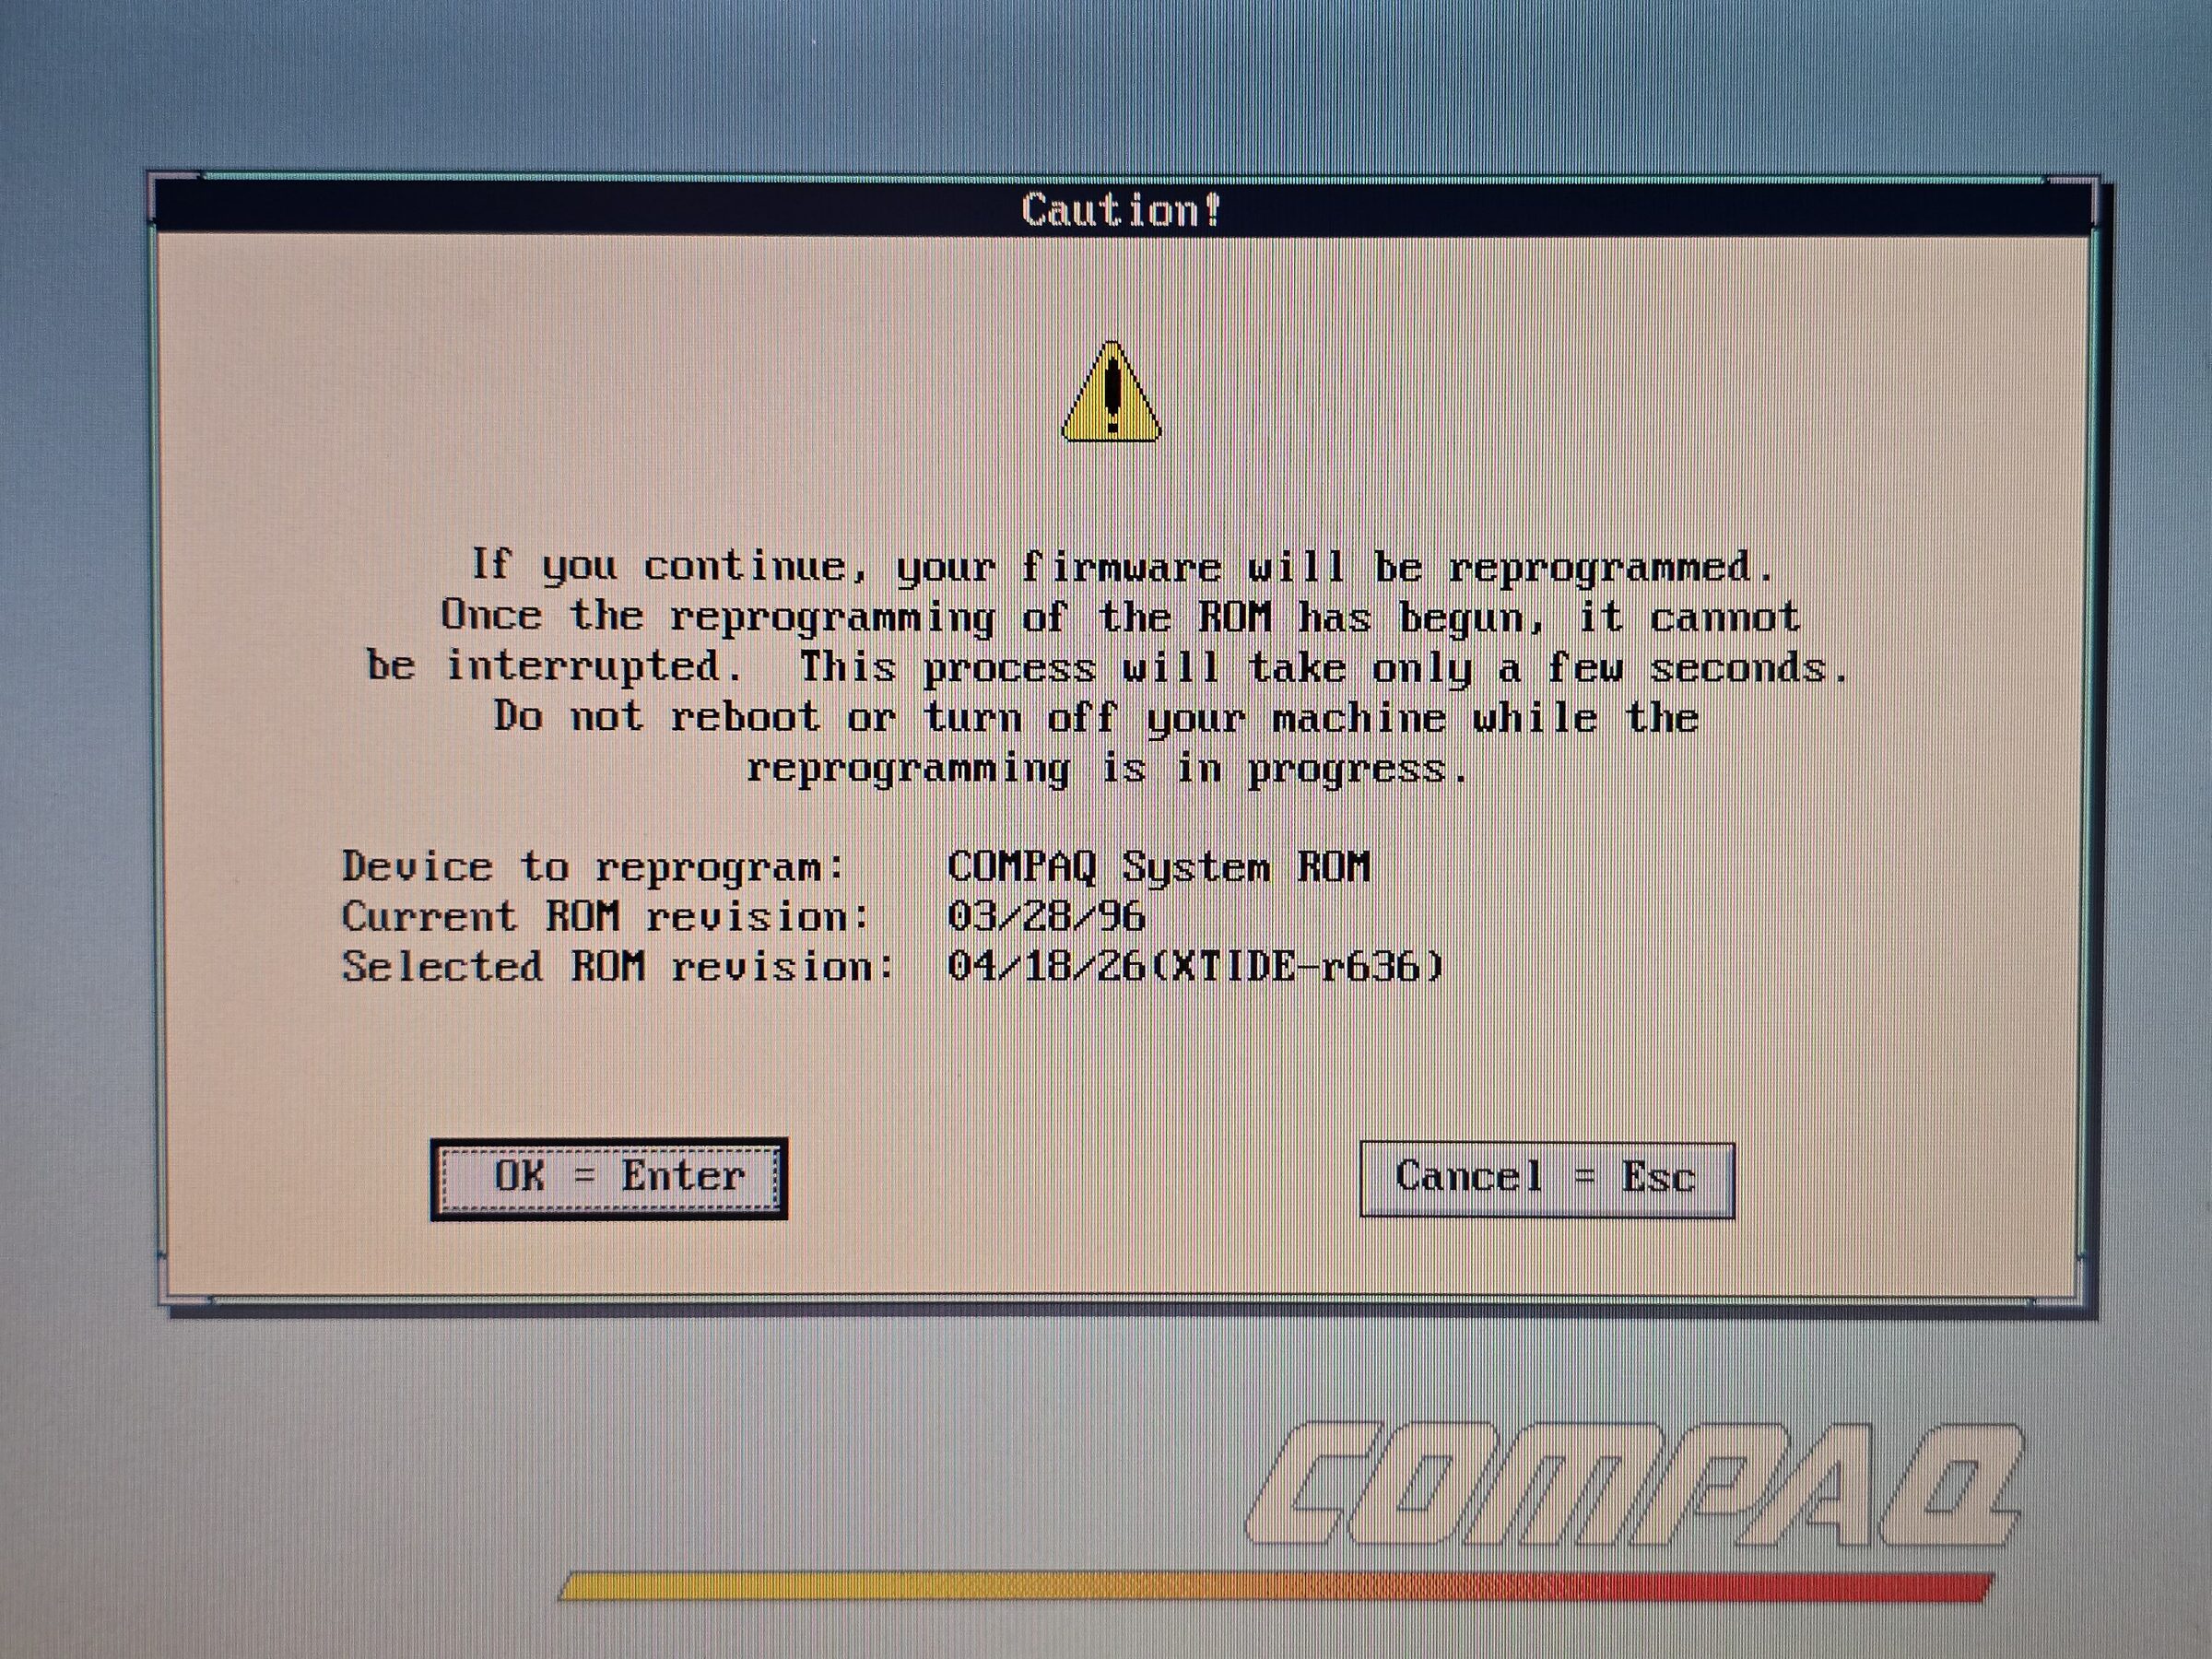
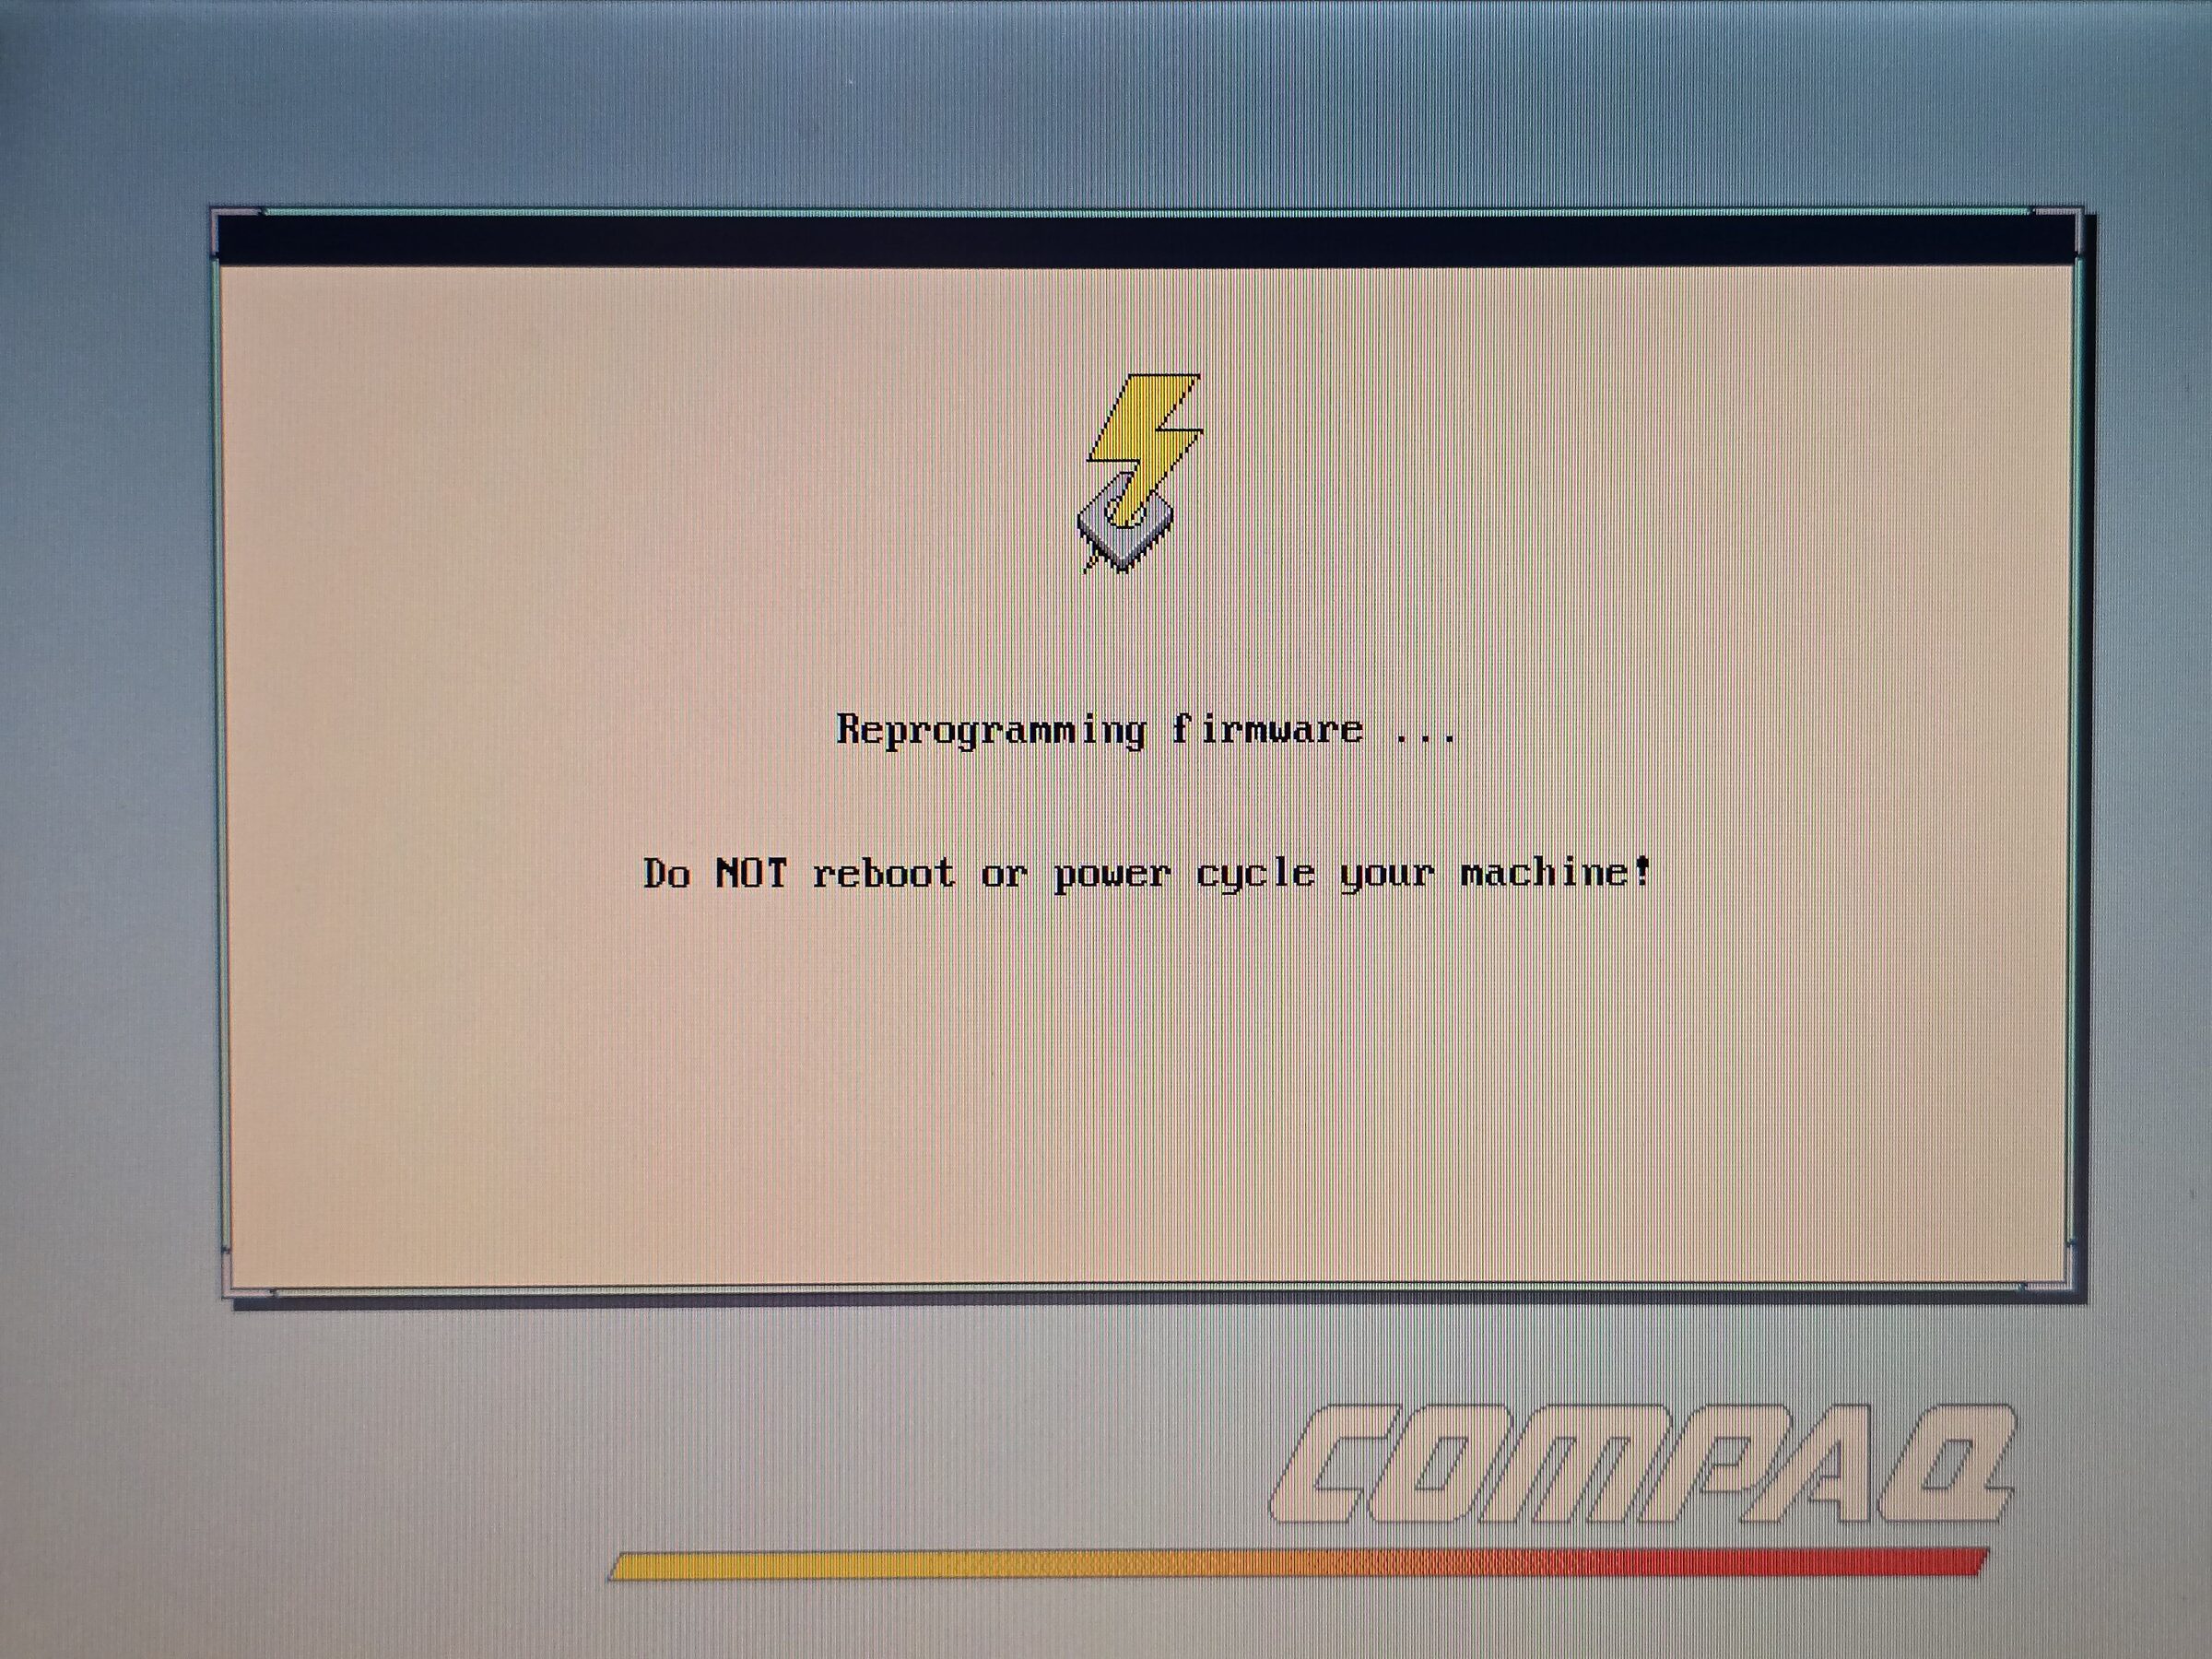
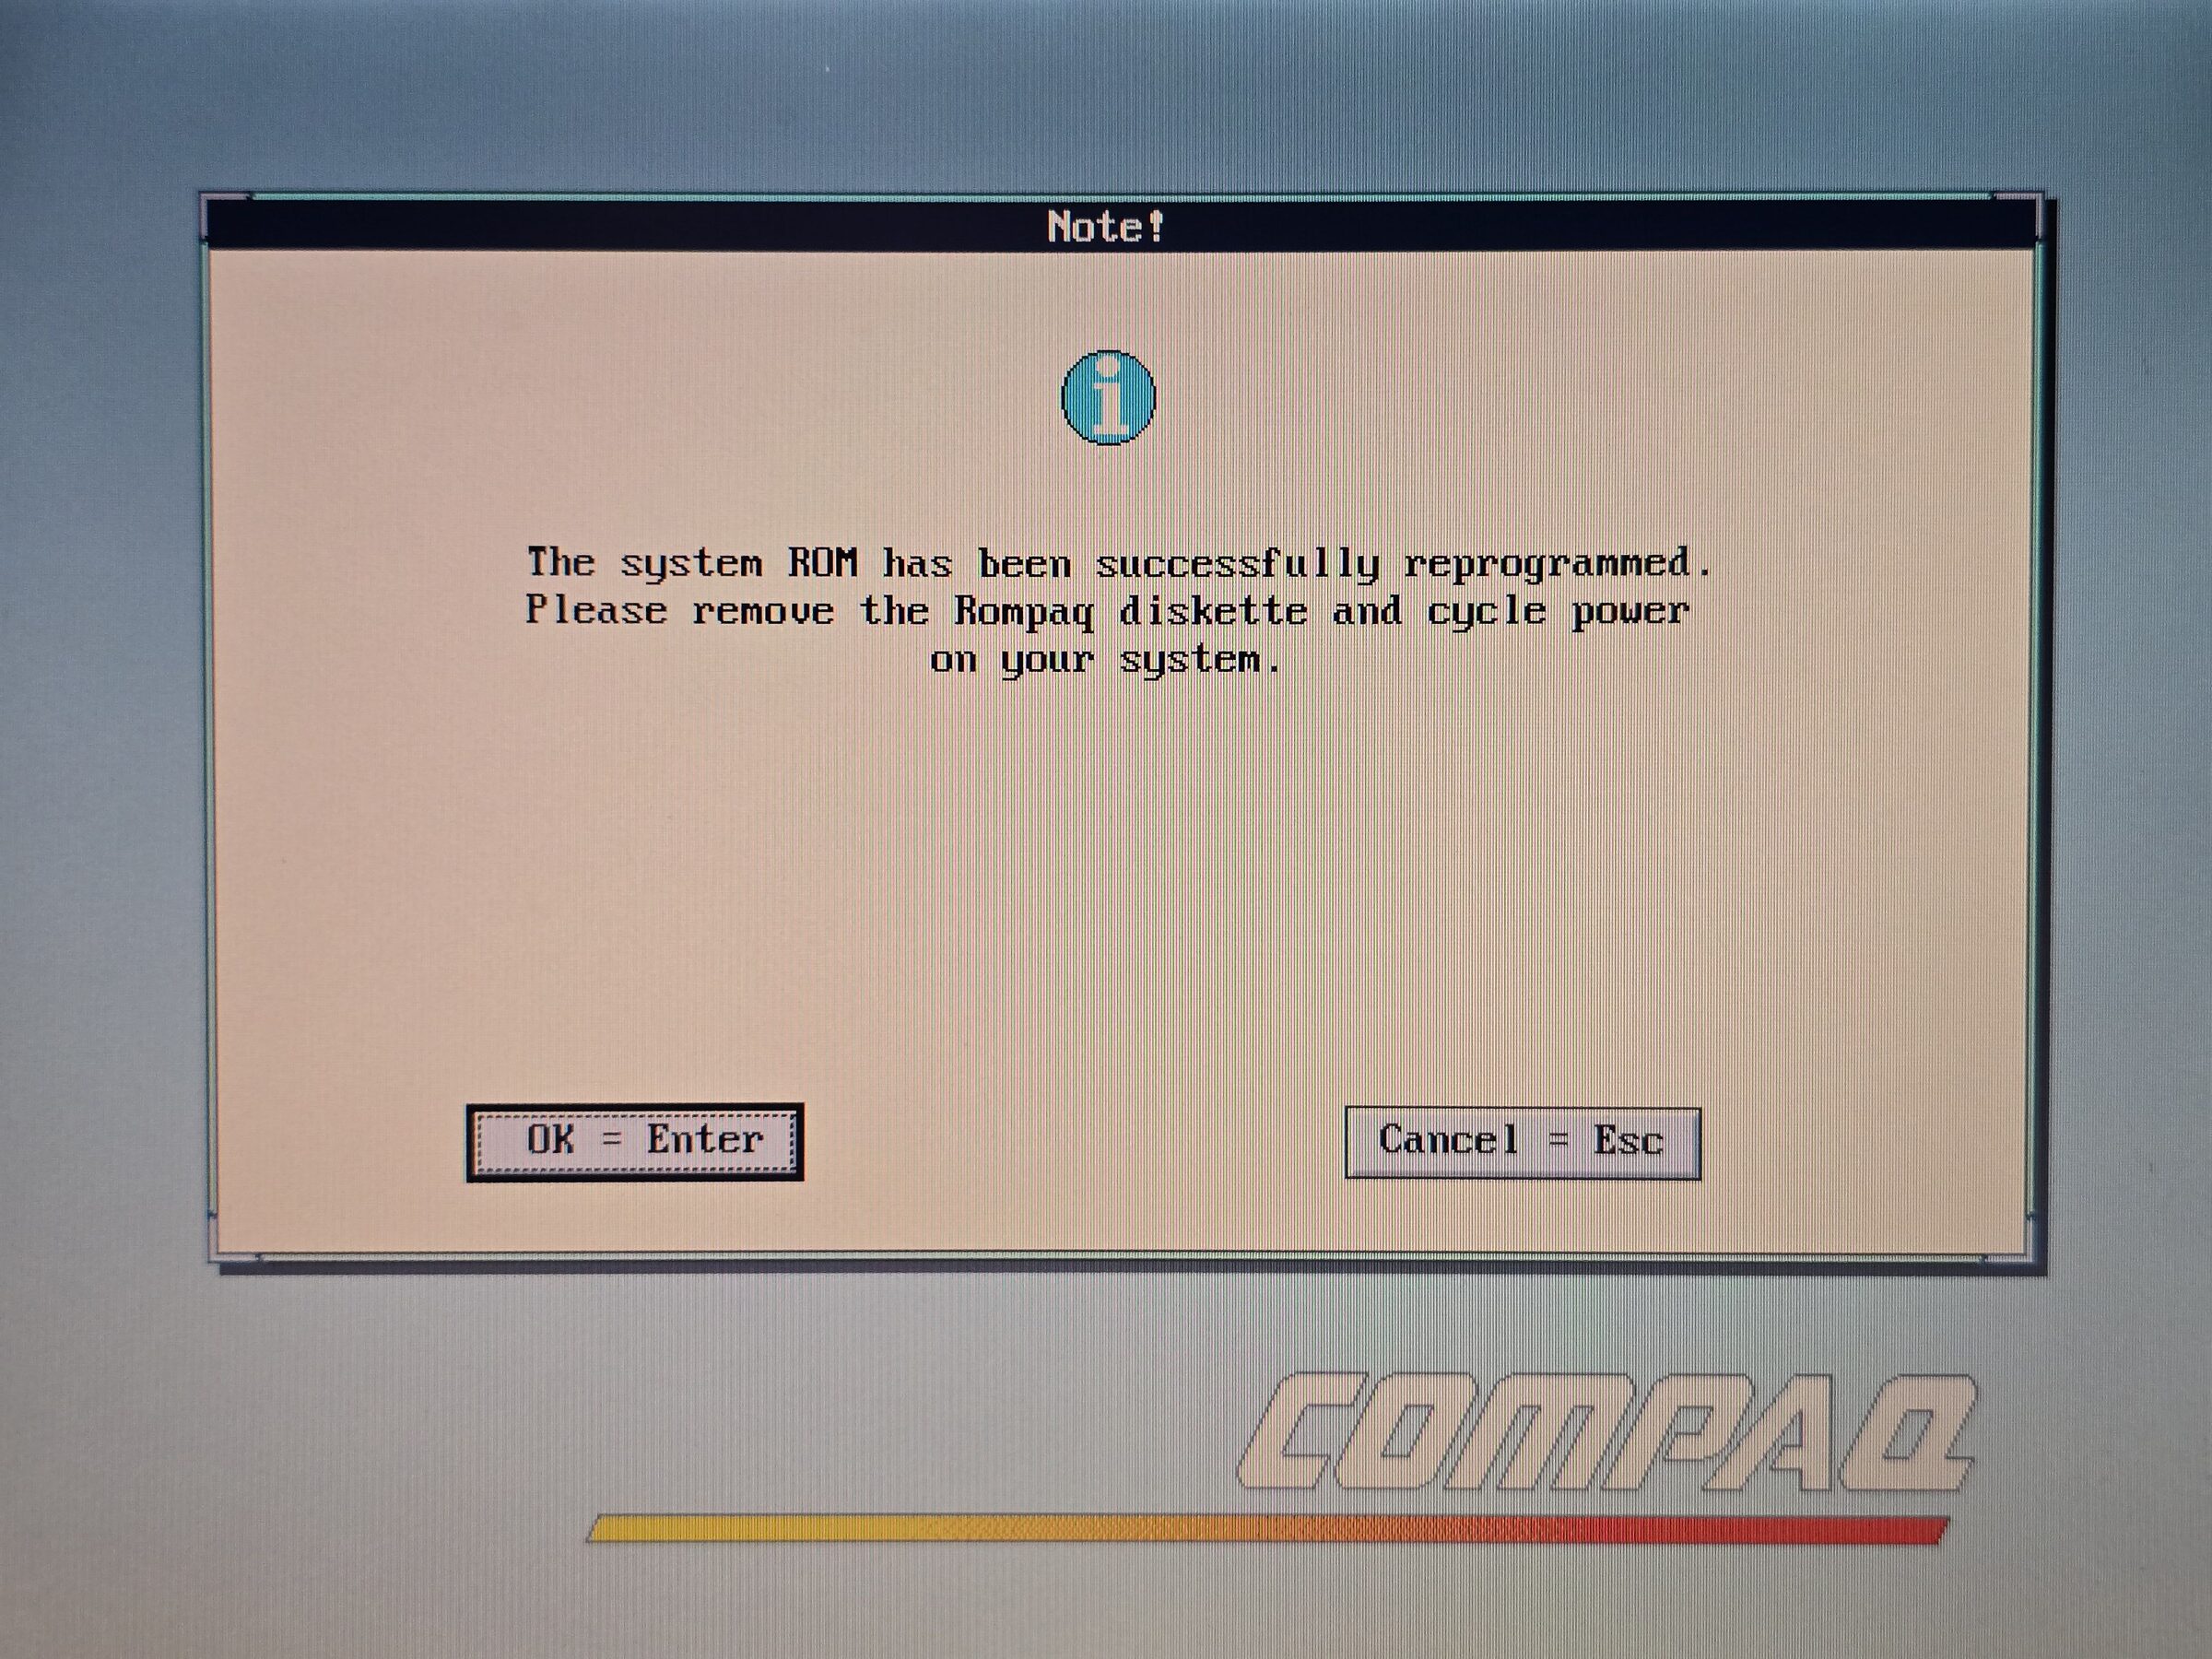
After successfully flashing the new BIOS the machine turns off, this is normal.
Just turn it on again, you may have to enter the BIOS with F10 and make sure your settings are correct.
Project Notes
The problem
The Compaq LTE 5000-series laptops use a BIOS that seems to be made by SystemSoft. It seems to have a limit on drives around 8.4 GB or so. I think the largest disk they officially shipped was about 6.4 GB.
XTIDE Universal BIOS already solves the problem of old cranky BIOSes like this by hooking interrupts for disk access as an Option ROM during boot. On a desktop PC this is quite simple to get going in several ways: an old ISA NE2000 NIC, for example, usually works nicely, or a dedicated XTIDE card does as well.
However, the problem we face as retro laptop users is obvious: no easy way to add an Option ROM.
It had been bugging me for some time.
I took a look at the ROMPaq BIOS update files; they are just slightly less than 256 KiB so it stands to reason that they are lightly compressed 256 KiB images, a bit large for a regular PC BIOS.
I thought to myself that there must be a way to add that 8 KiB of XTIDE somewhere in there and get the BIOS to load it as an Option ROM.
Getting my hands dirty
I started poking around more at the ROMPaq BIOS update utility, and it turns out it has a few other options than just running the guided flashing flow. It has a few command-line options to extract, compress and verify BIOS images. The flat BIOS ROM image was extracted and I fired up a hex editor. Just looking around in the hexdump I could see things that looked like lightly compressed language packs and some interesting strings. Towards the end of the file it looked like a classic reset vector.
I started doing static analysis in Ghidra (Radare2 was also used on occasion). Eventually the trail ended and I got a bit lost, so I turned to dynamic analysis instead. First I tried different tools: DOSBox, DOSBox-X, PCem, 86Box, and Bochs. Eventually I settled on a build of Bochs with the debugger enabled.
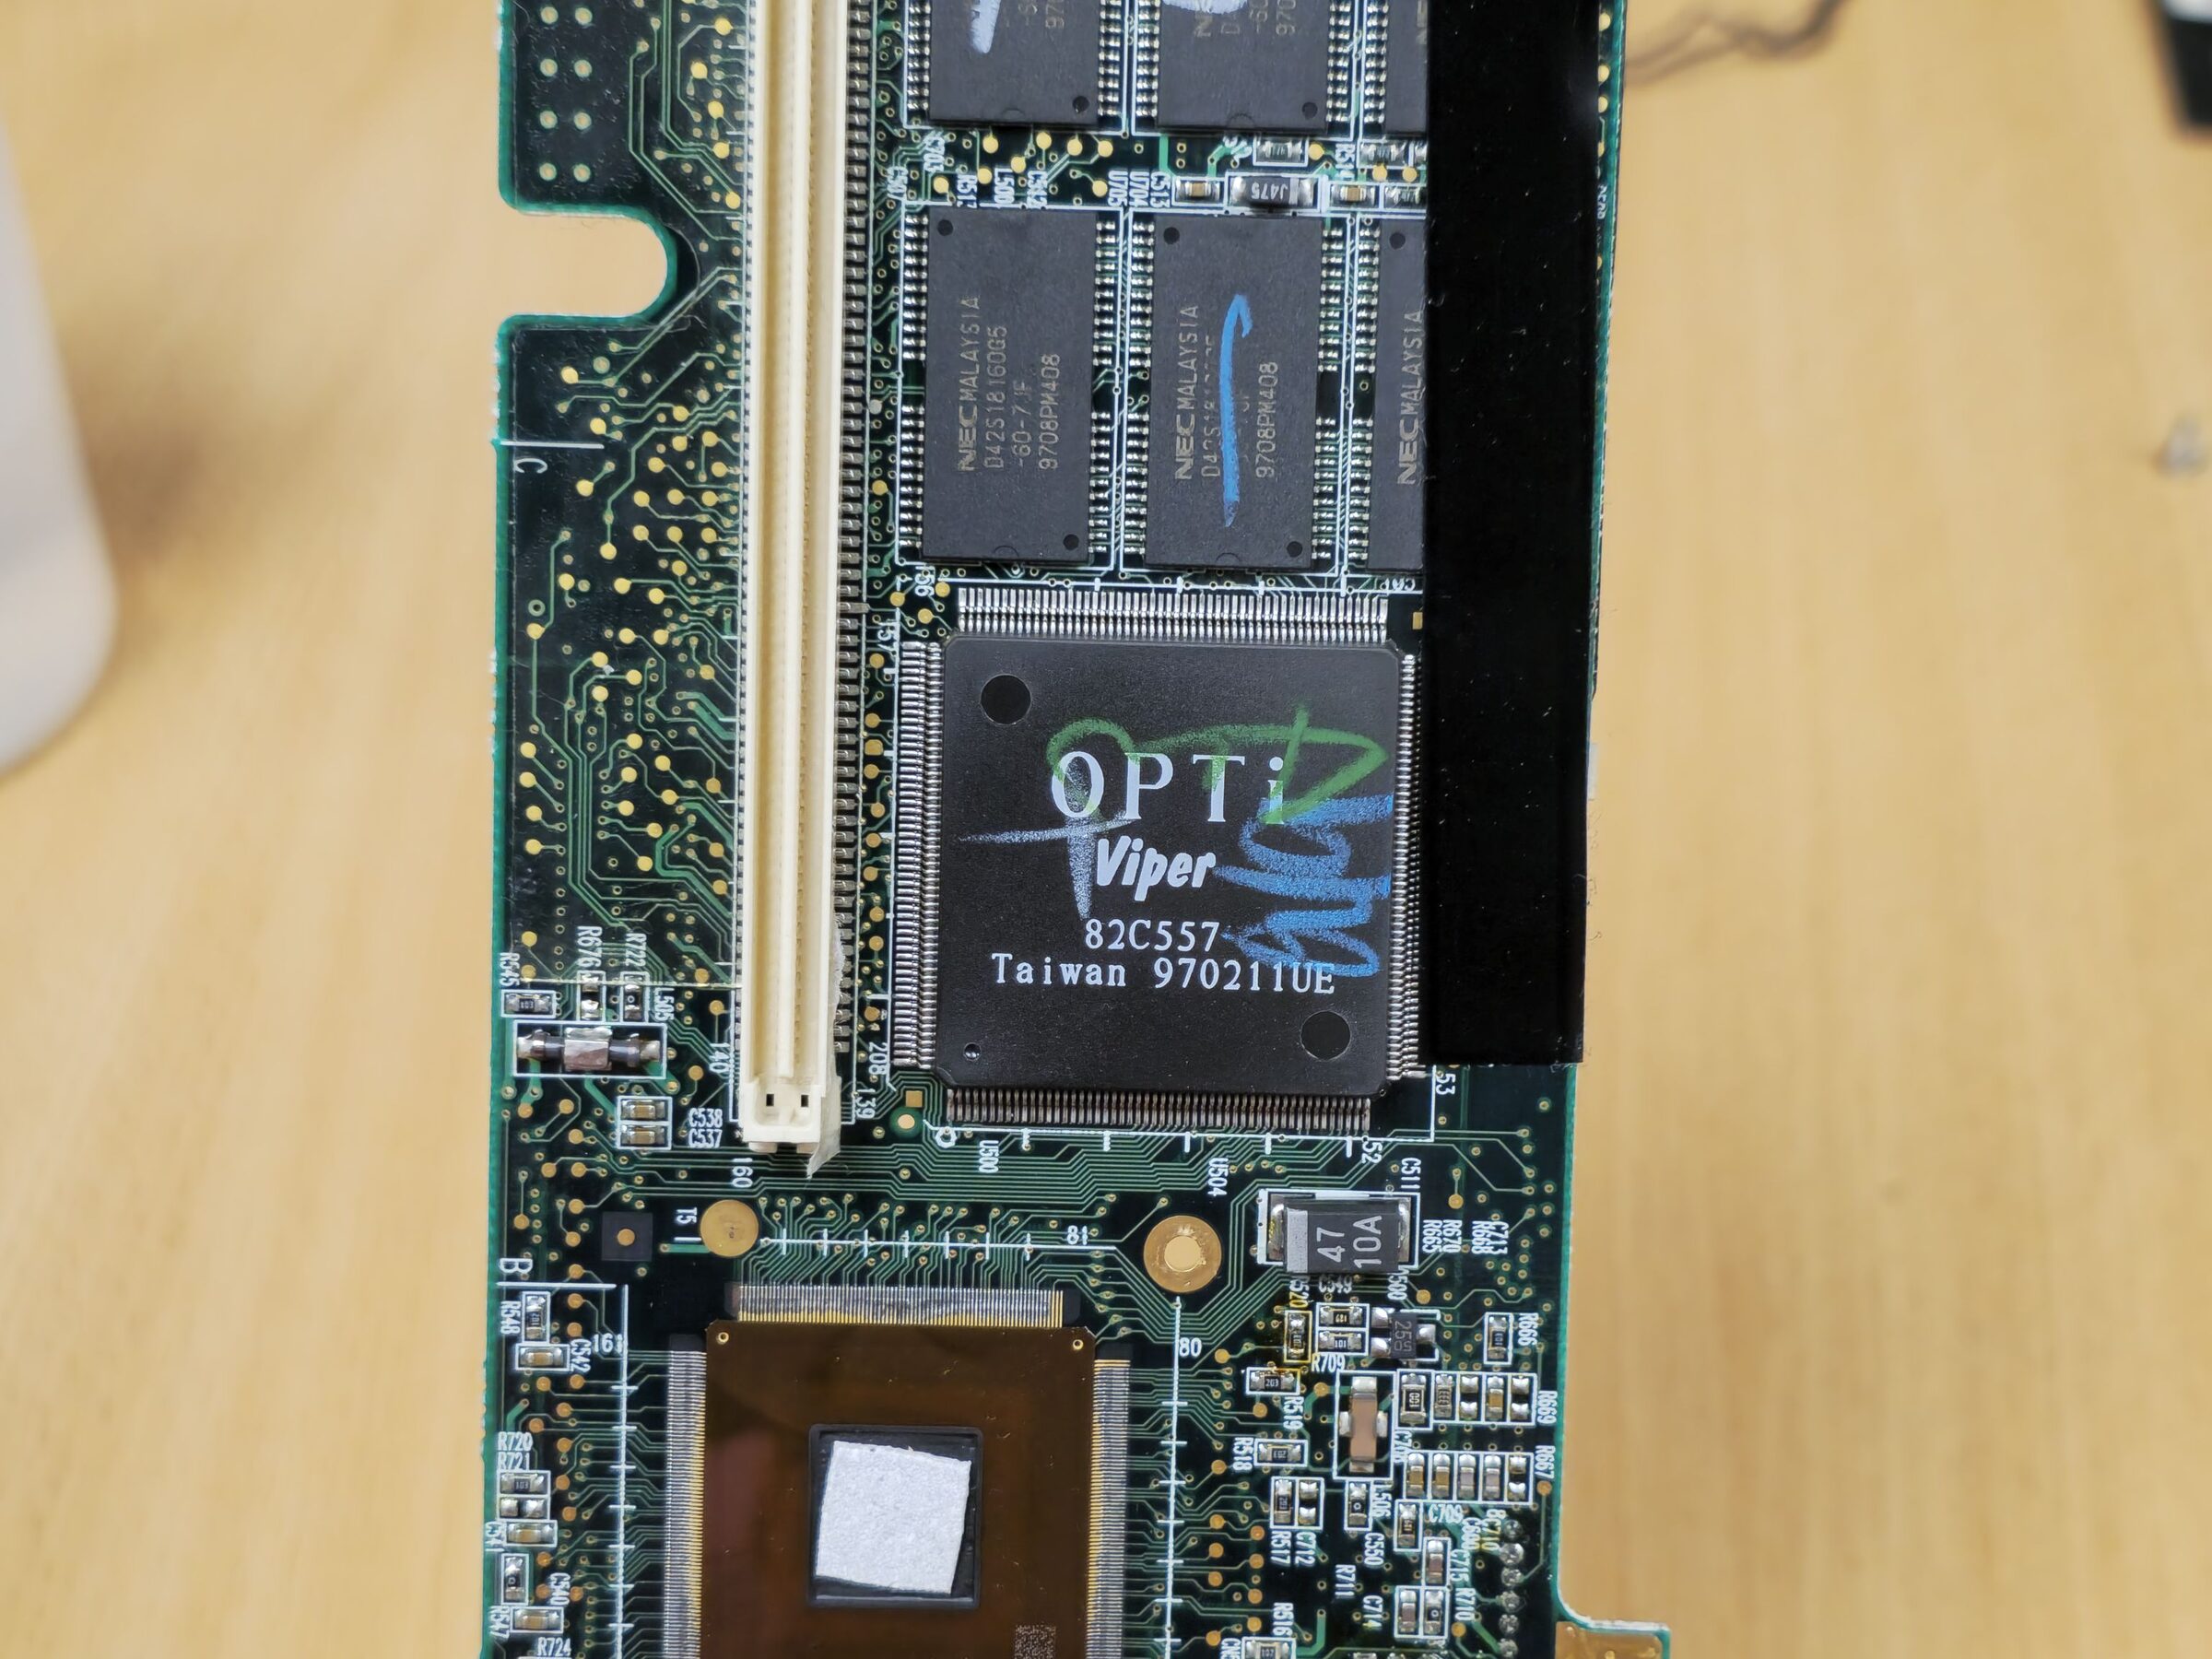
This took me down several rabbit holes, and eventually I figured out that the main issue I was having was the hardware Bochs emulated didn't handle ROM and RAM mappings the same way that the real Compaq LTE 5000-series hardware does. The LTE 5000-series is based on an OPTi Viper chipset. I looked around the interwebz and eventually found a PDF, "82C556M/82C557M/82C558M Viper-M (Multimedia) Chipset - Preliminary Data Book".
With this in hand I started to try and patch Bochs and implement the needed logic. This took me down another rabbit hole. I eventually became a bit discouraged as I wasn't making much progress. I then decided to sell my soul and employ a bit of AI help. After passing the PDF through some OCR and being able to textually search the PDF, things started to make a bit more sense. I also gave up on the idea of using Bochs for dynamic analysis.
Testing on real hardware
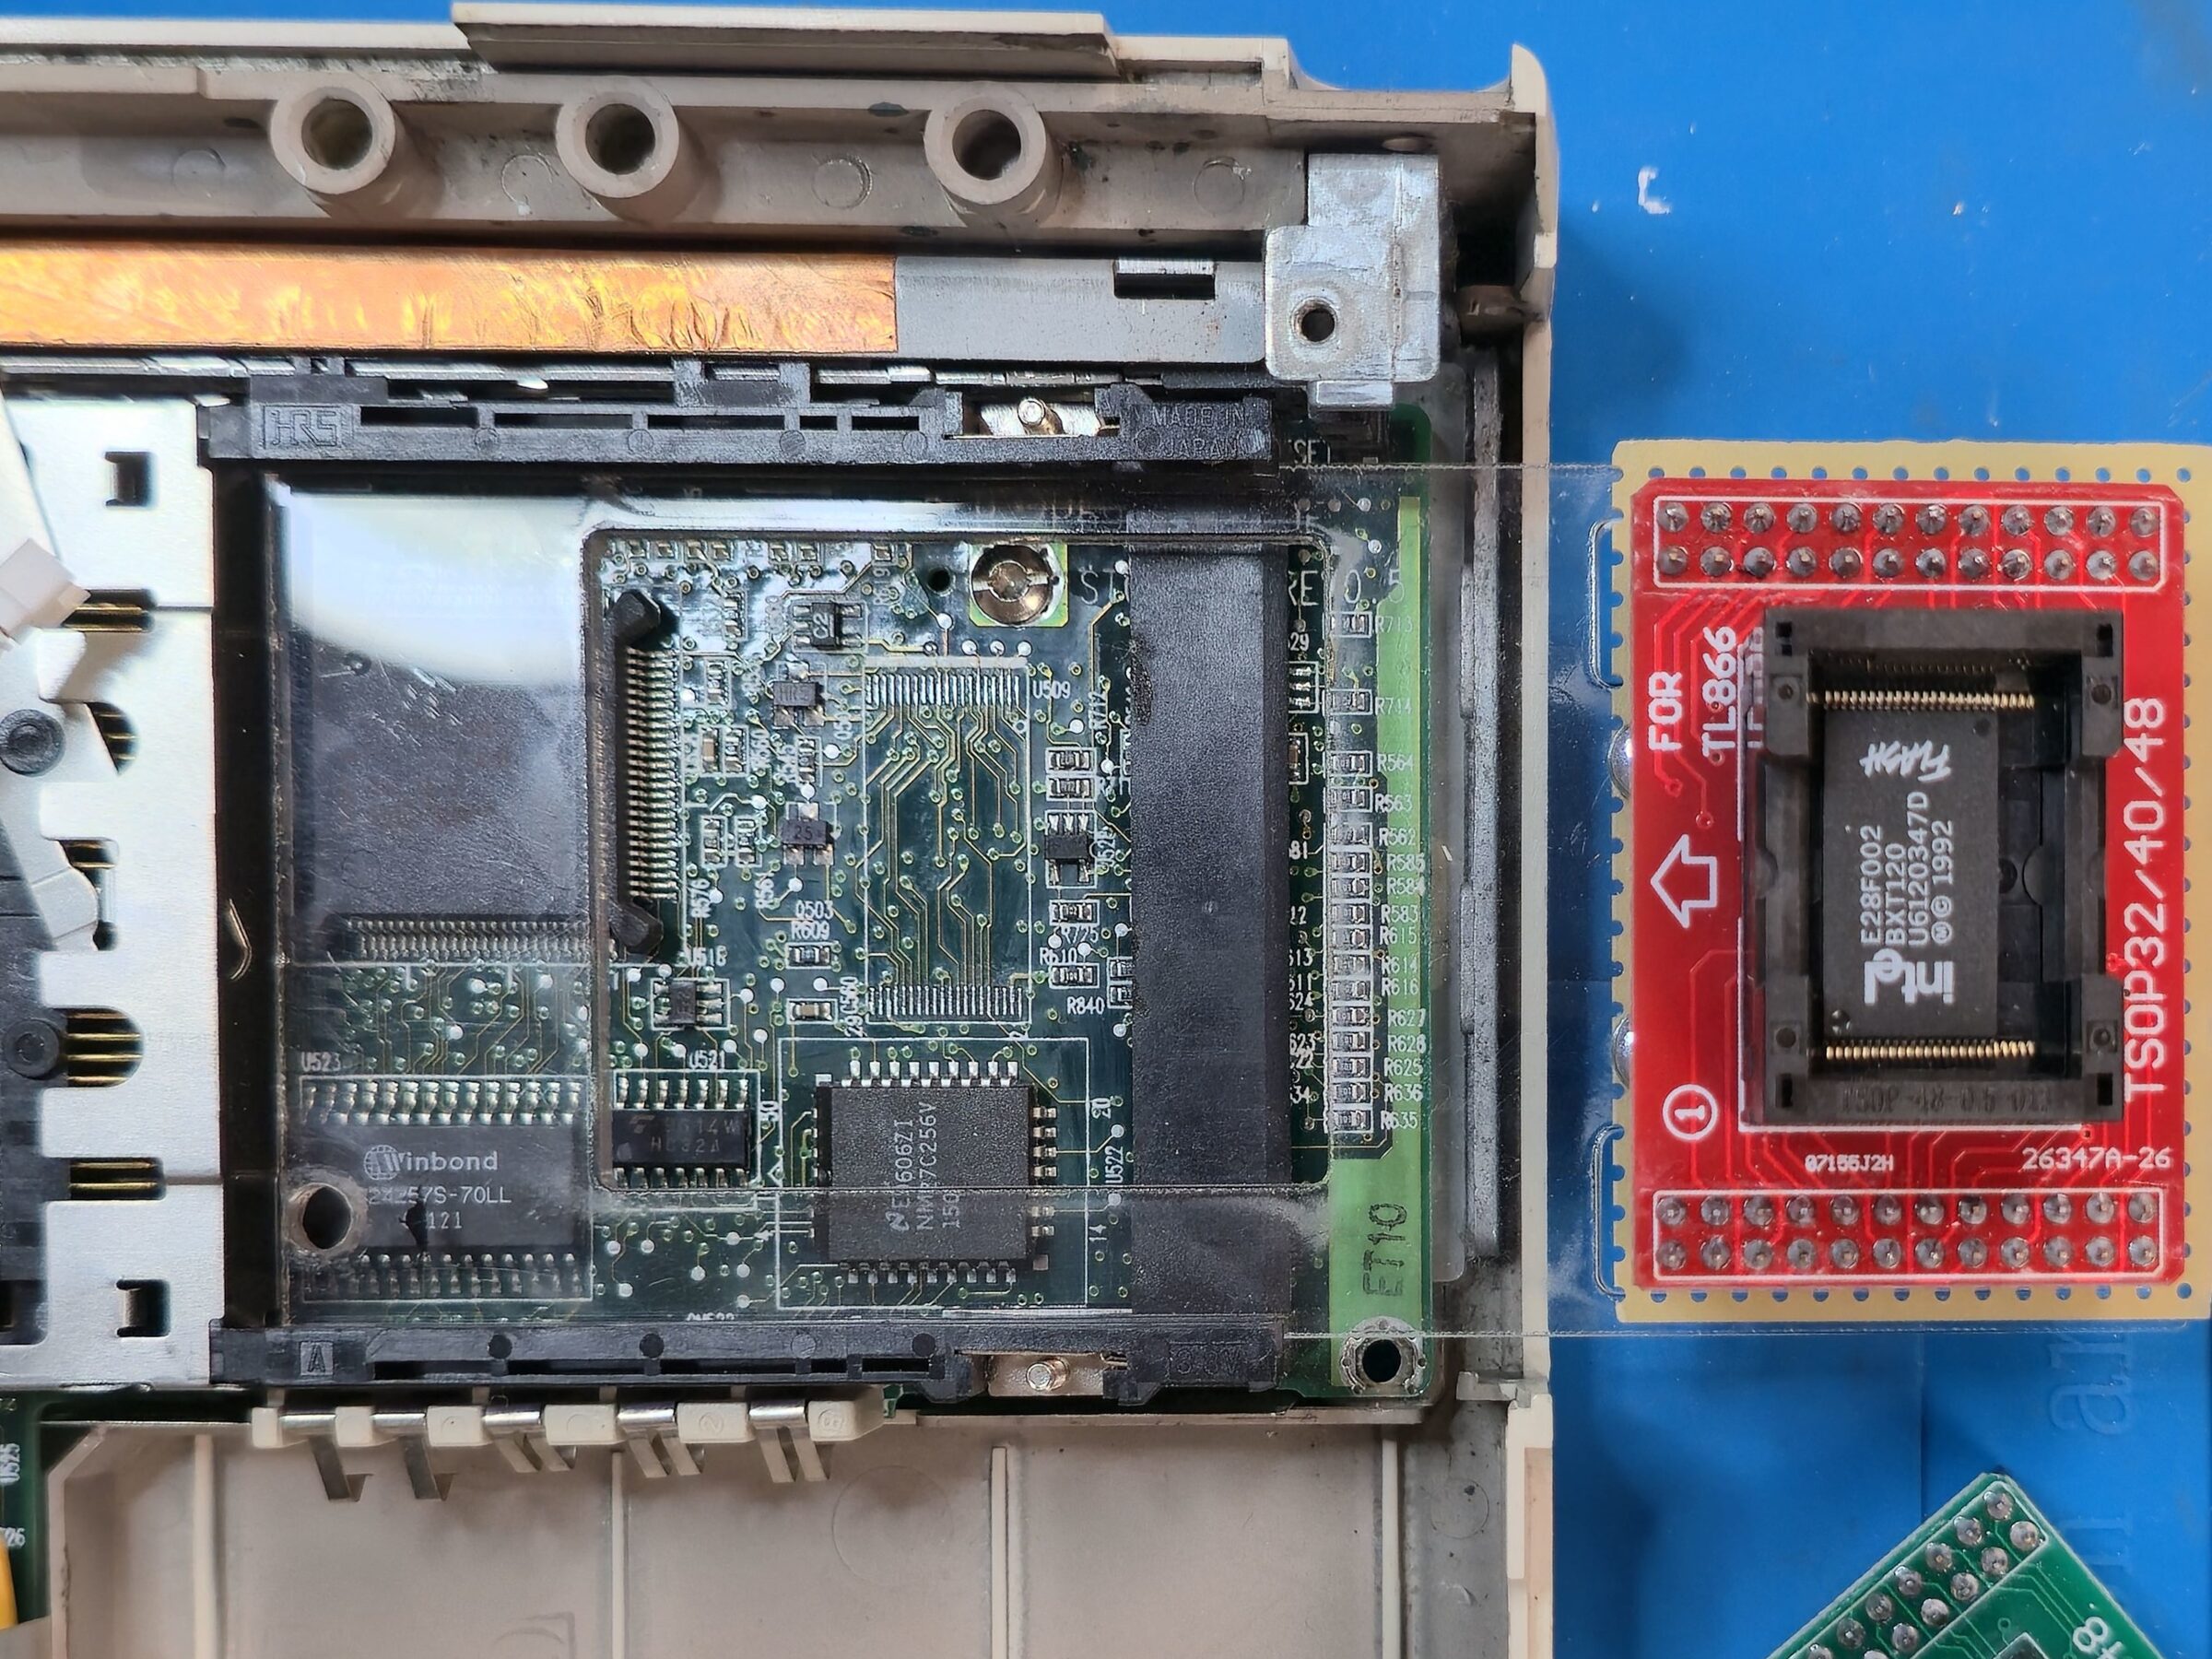
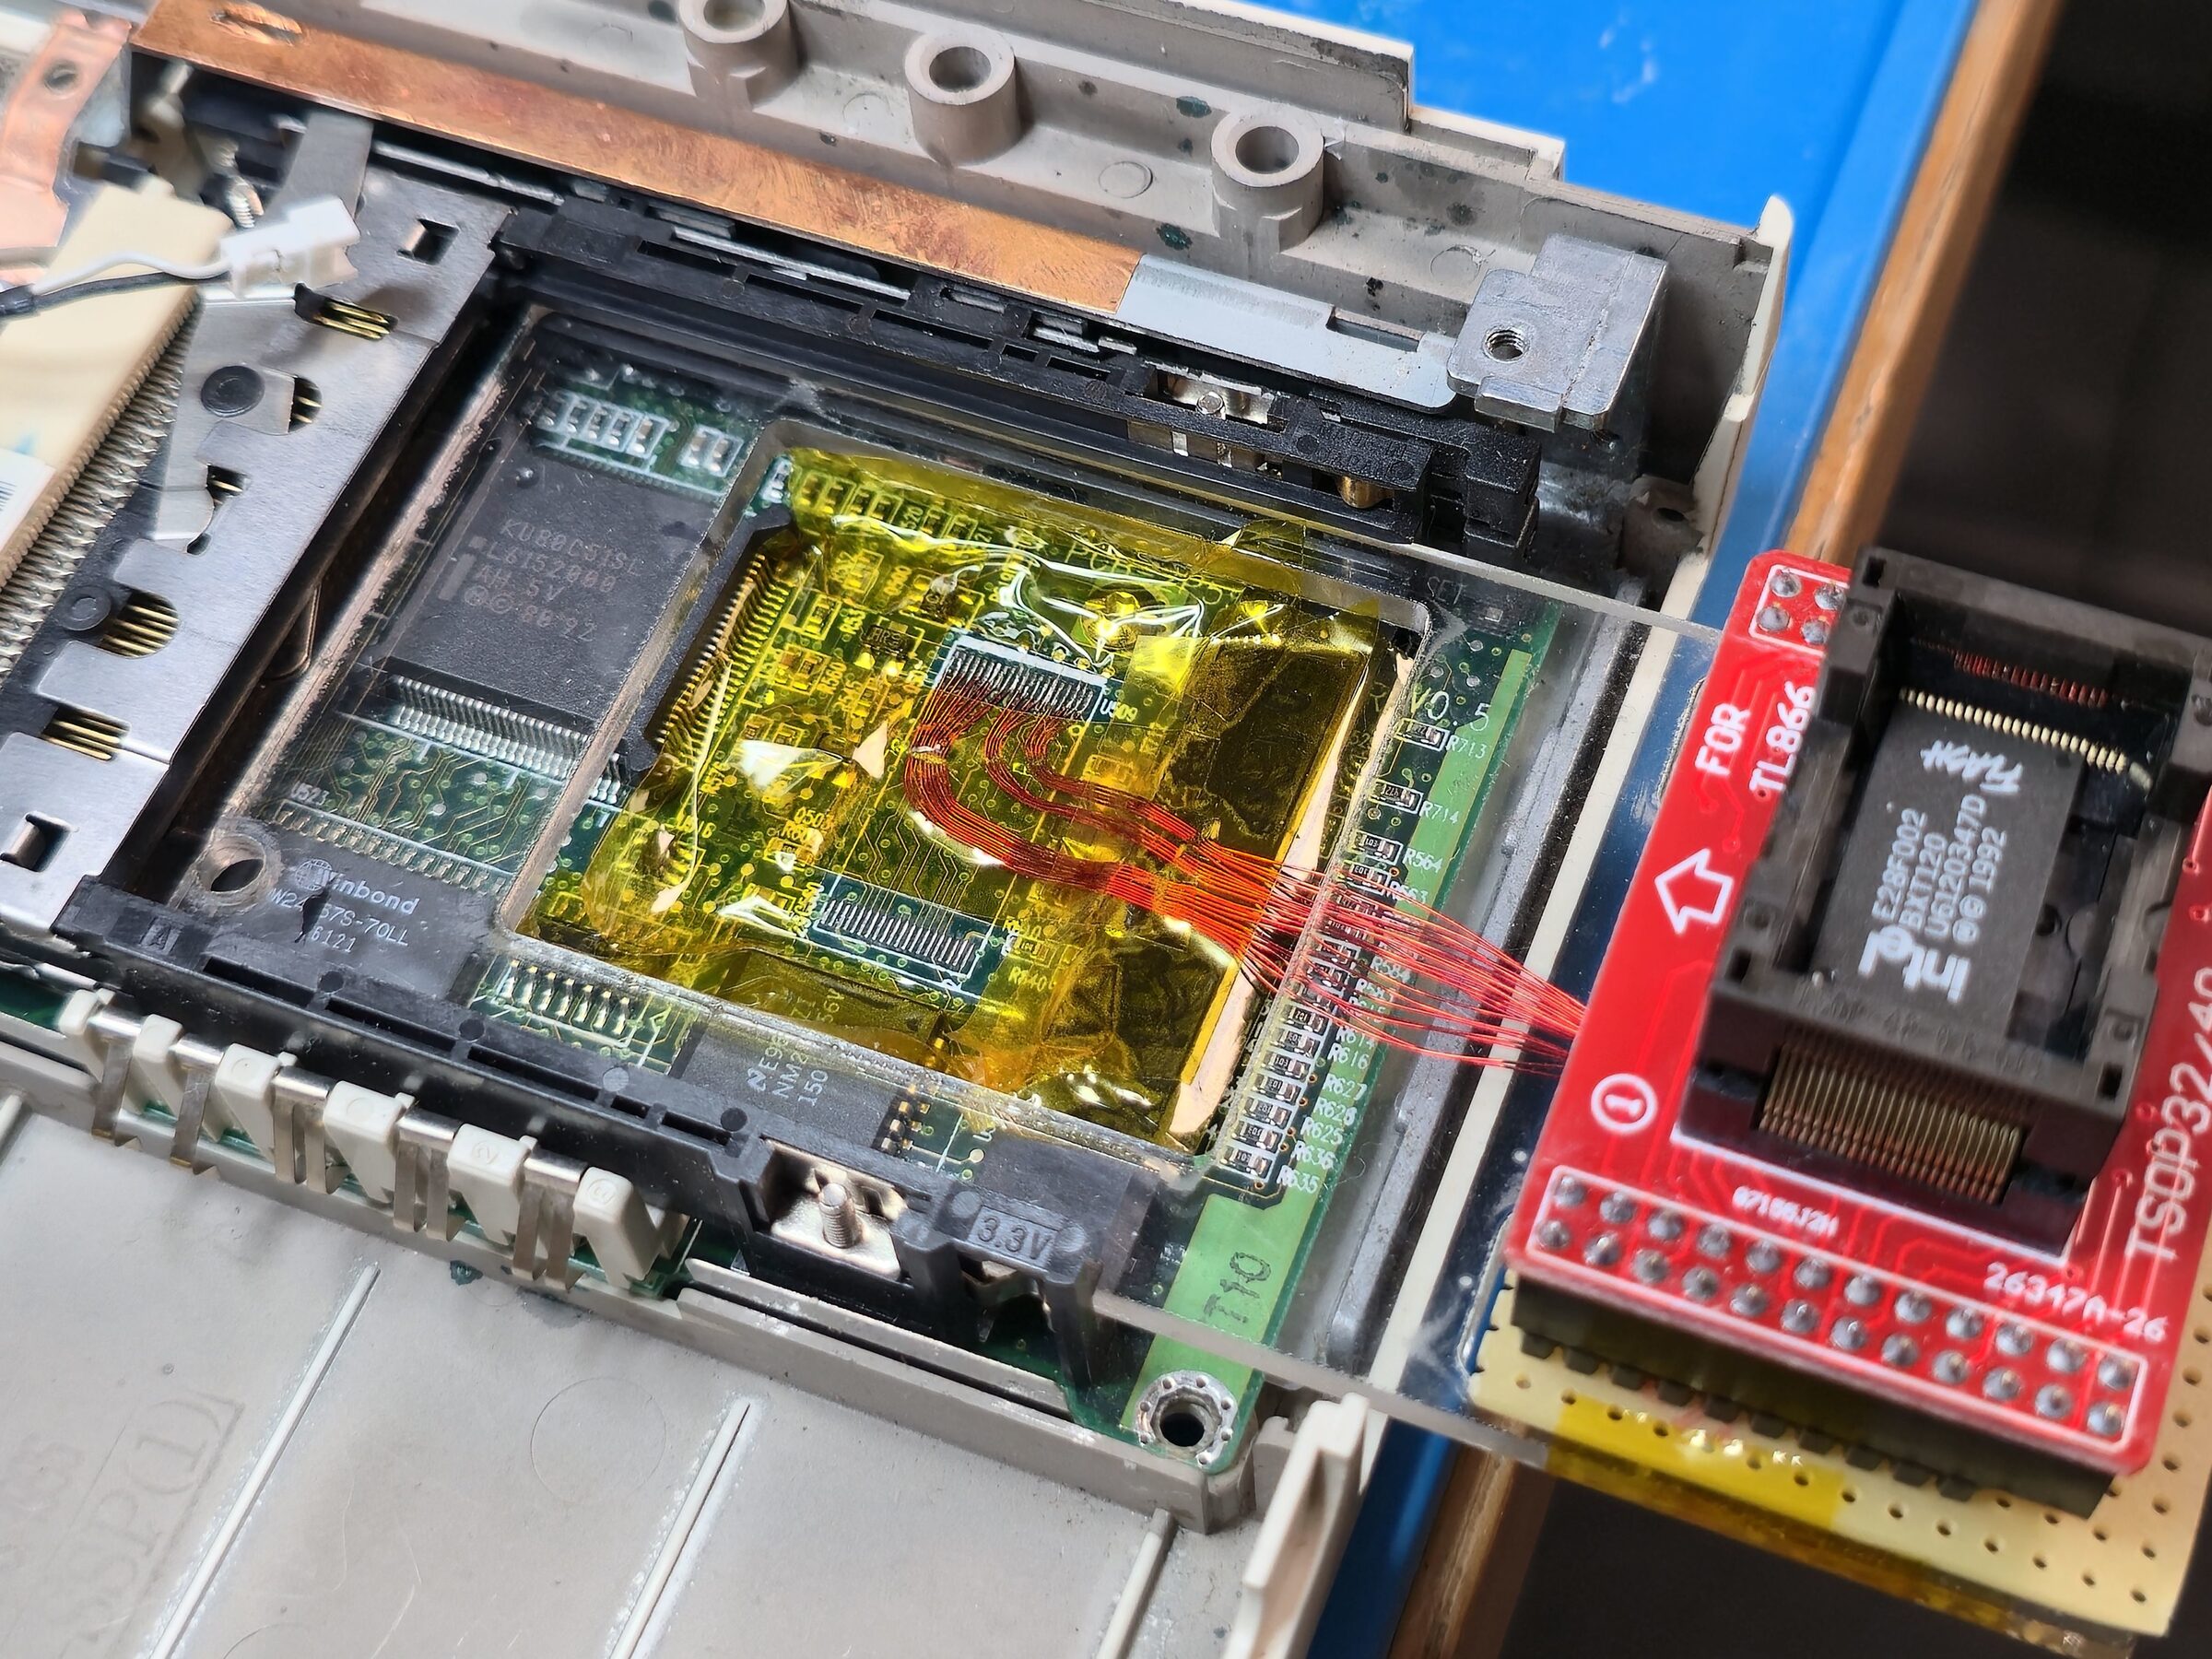
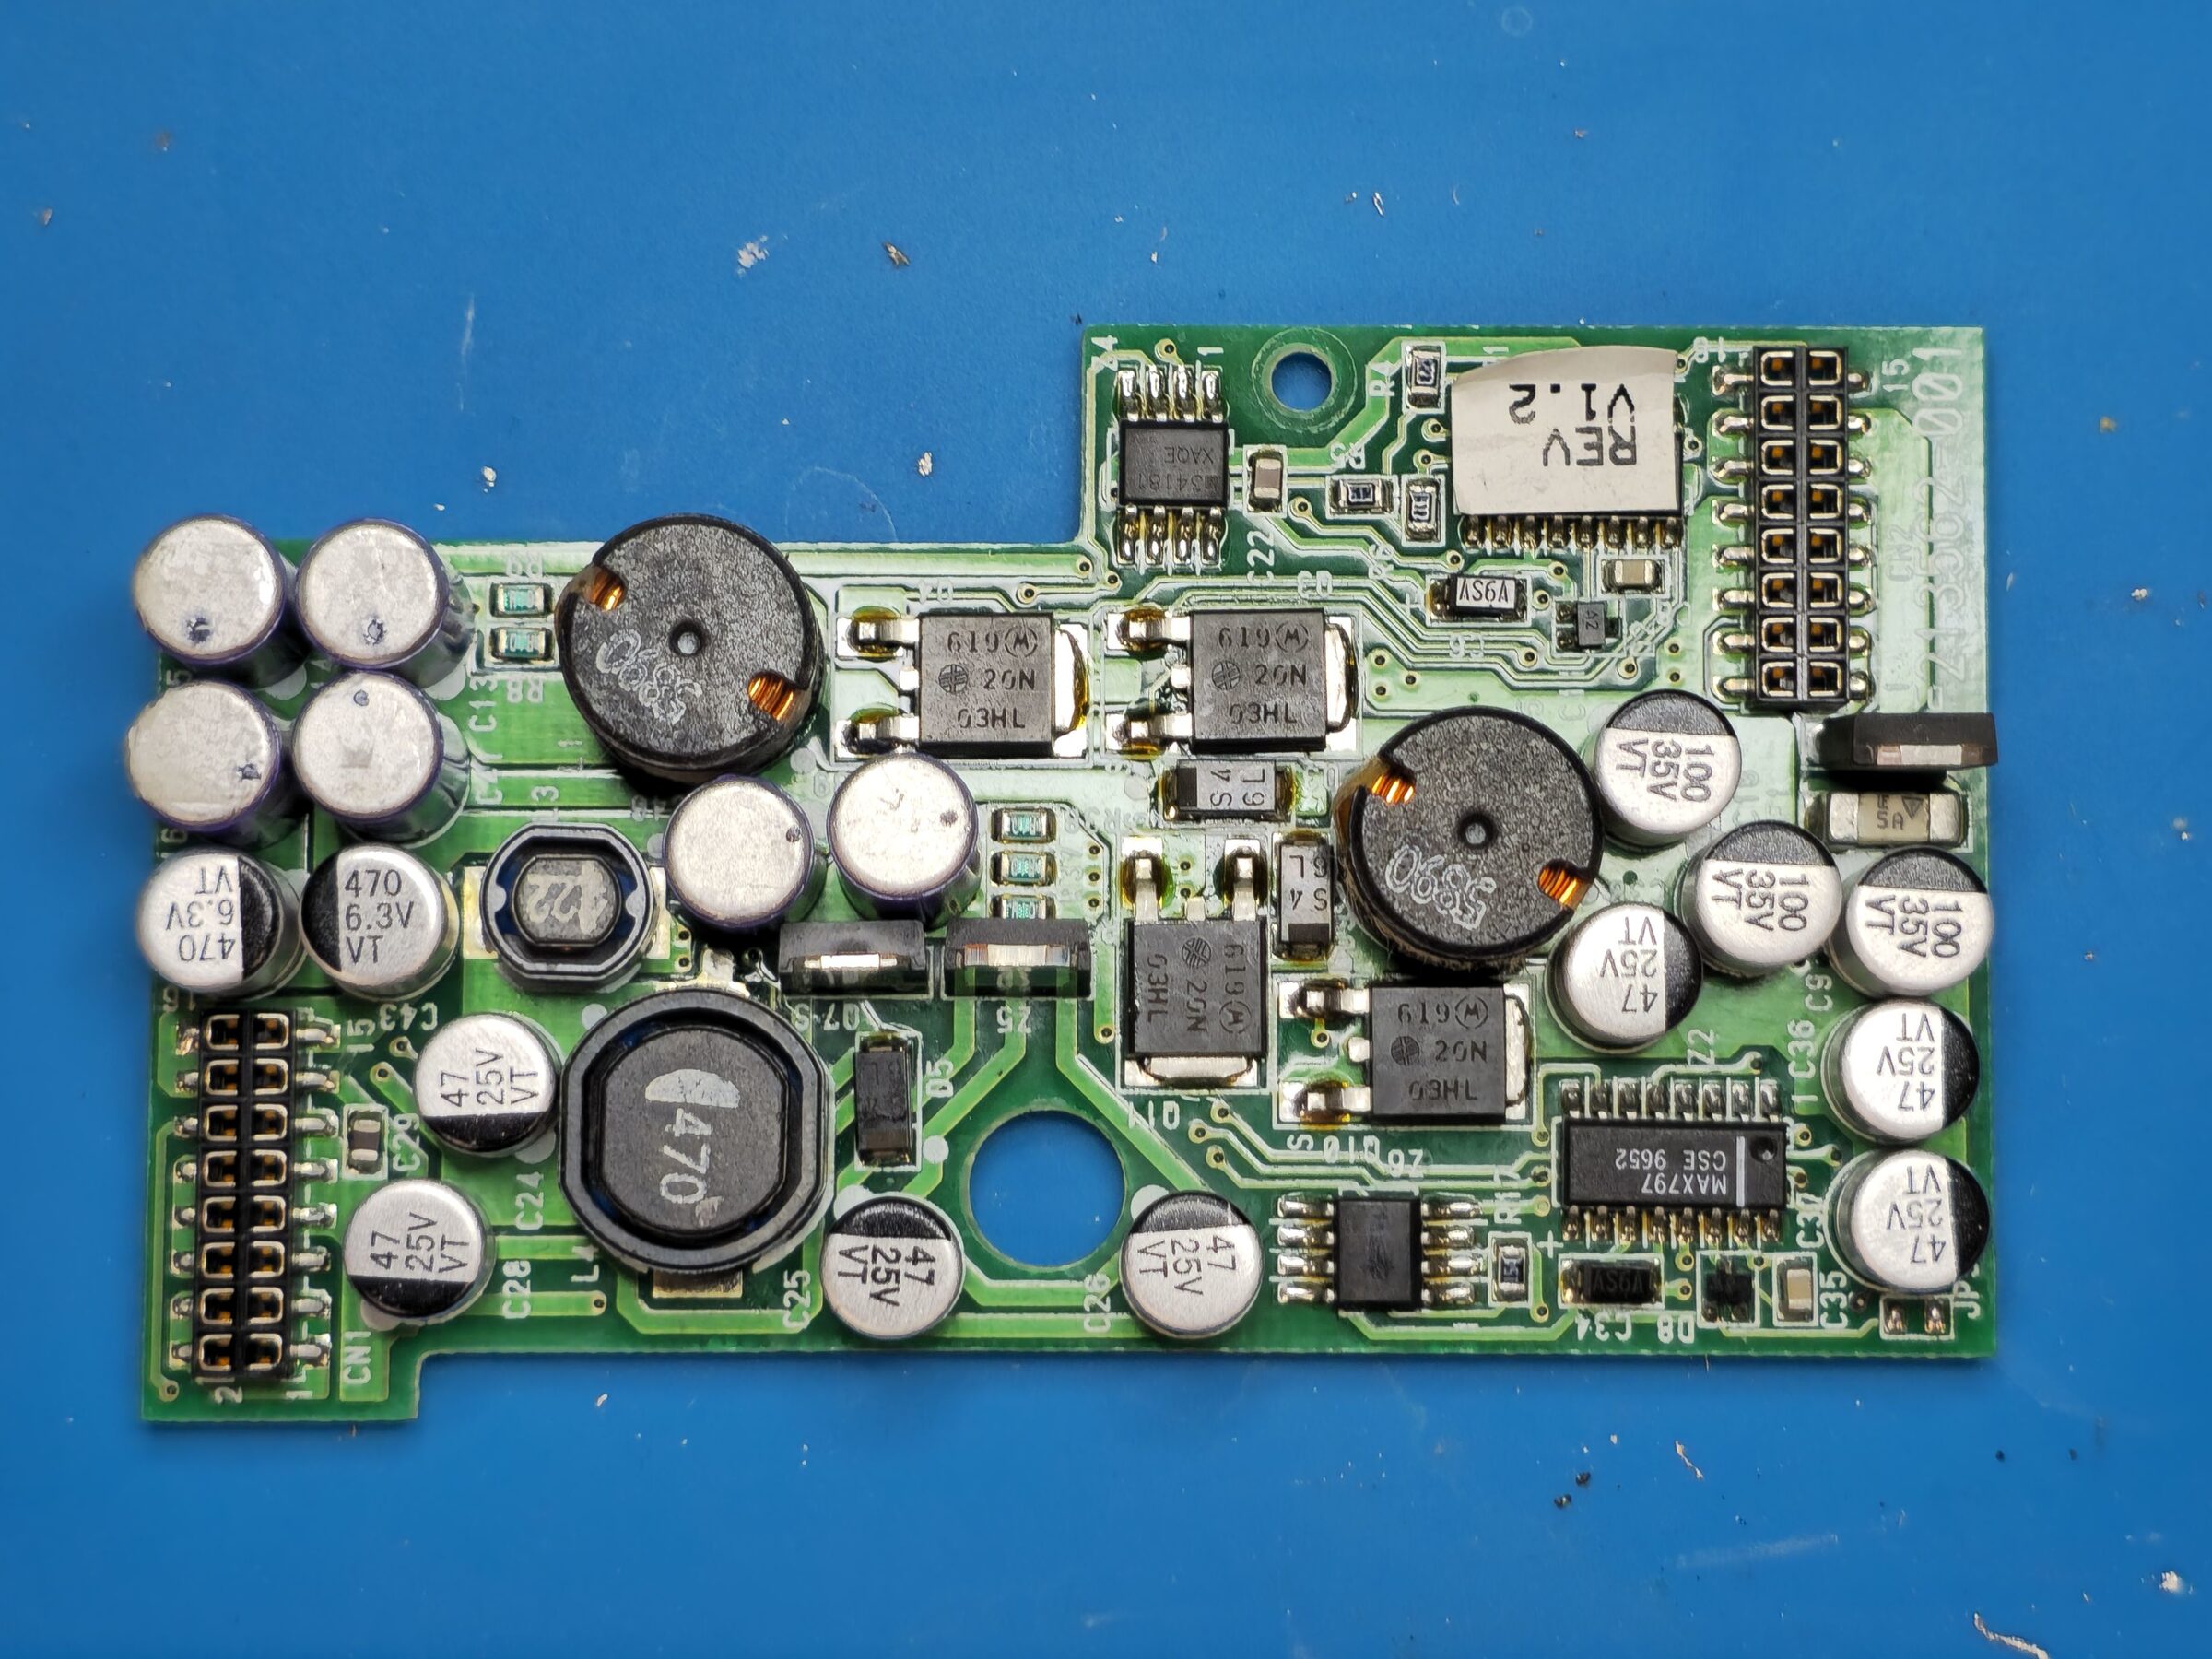
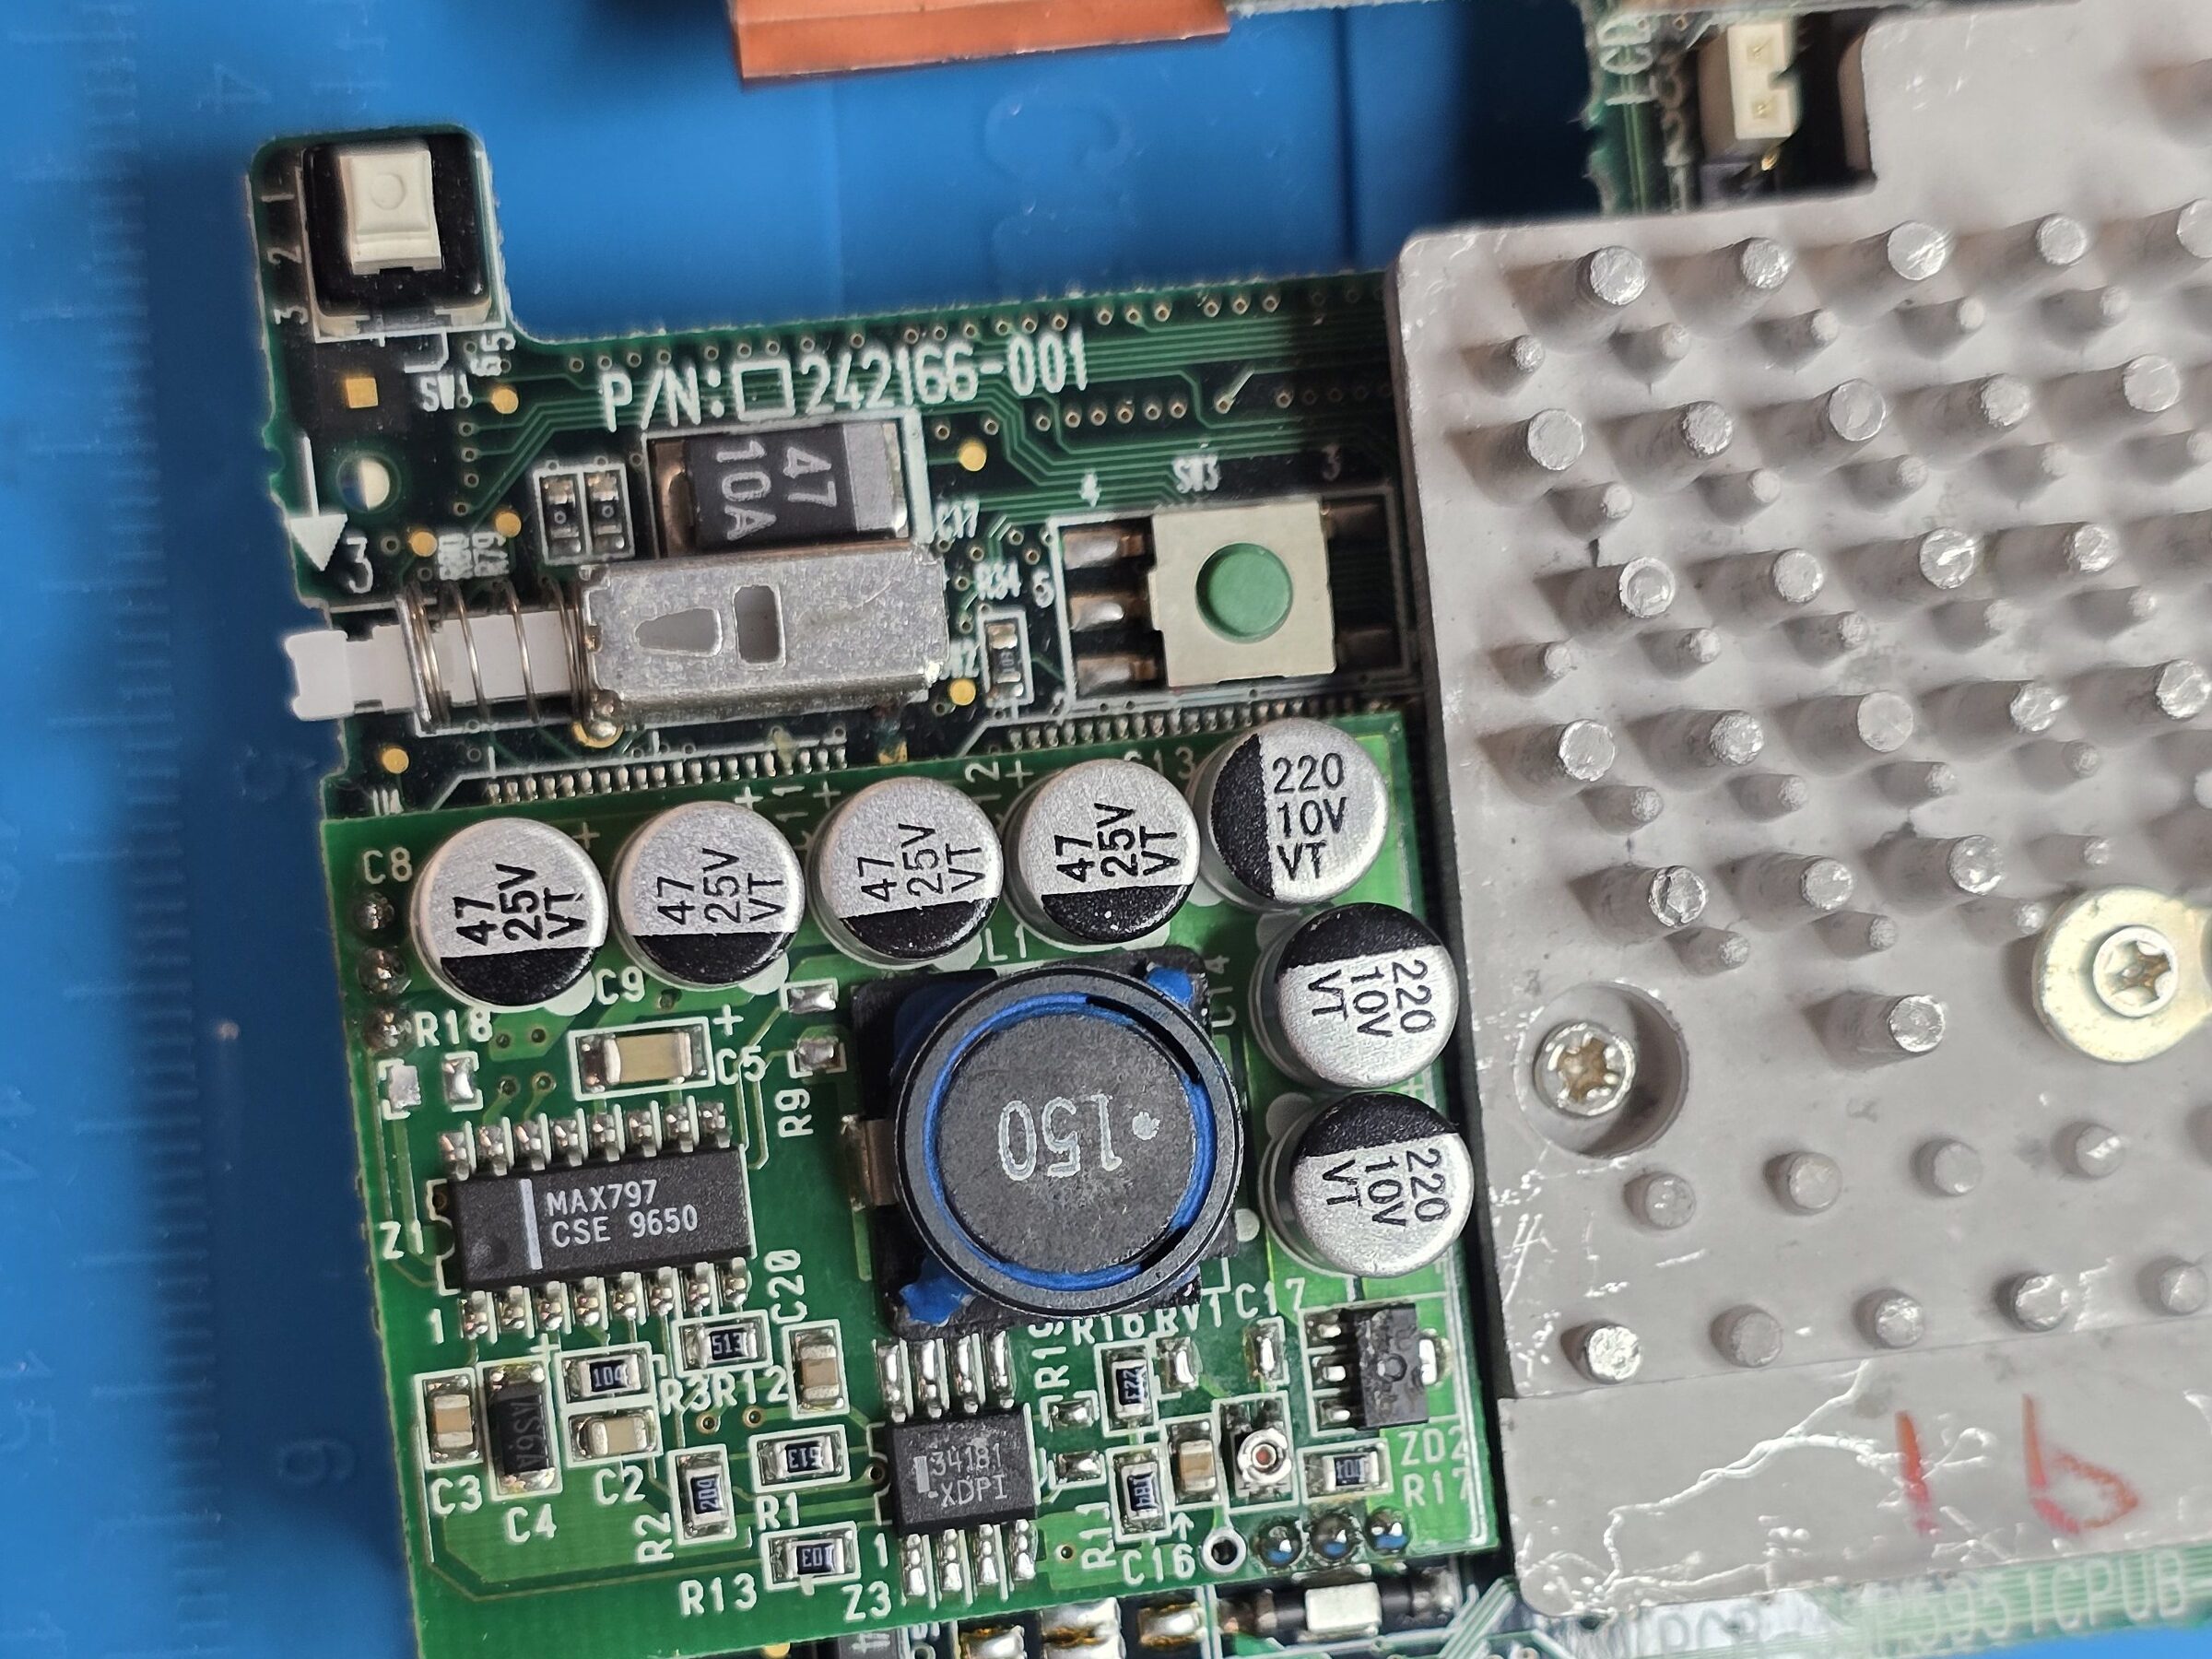
I wanted to prove that I could actually modify the BIOS and have it still function on real hardware. I was aware this could brick the machine, but as I felt confident I could tear it down and get at the flash chip somehow and eventually be able to reprogram it in some way or another I was willing to risk this. It soon turned out that I bricked the machine and this took me into the next phase of the project. I disassembled the machine enough to get at the flash chip.
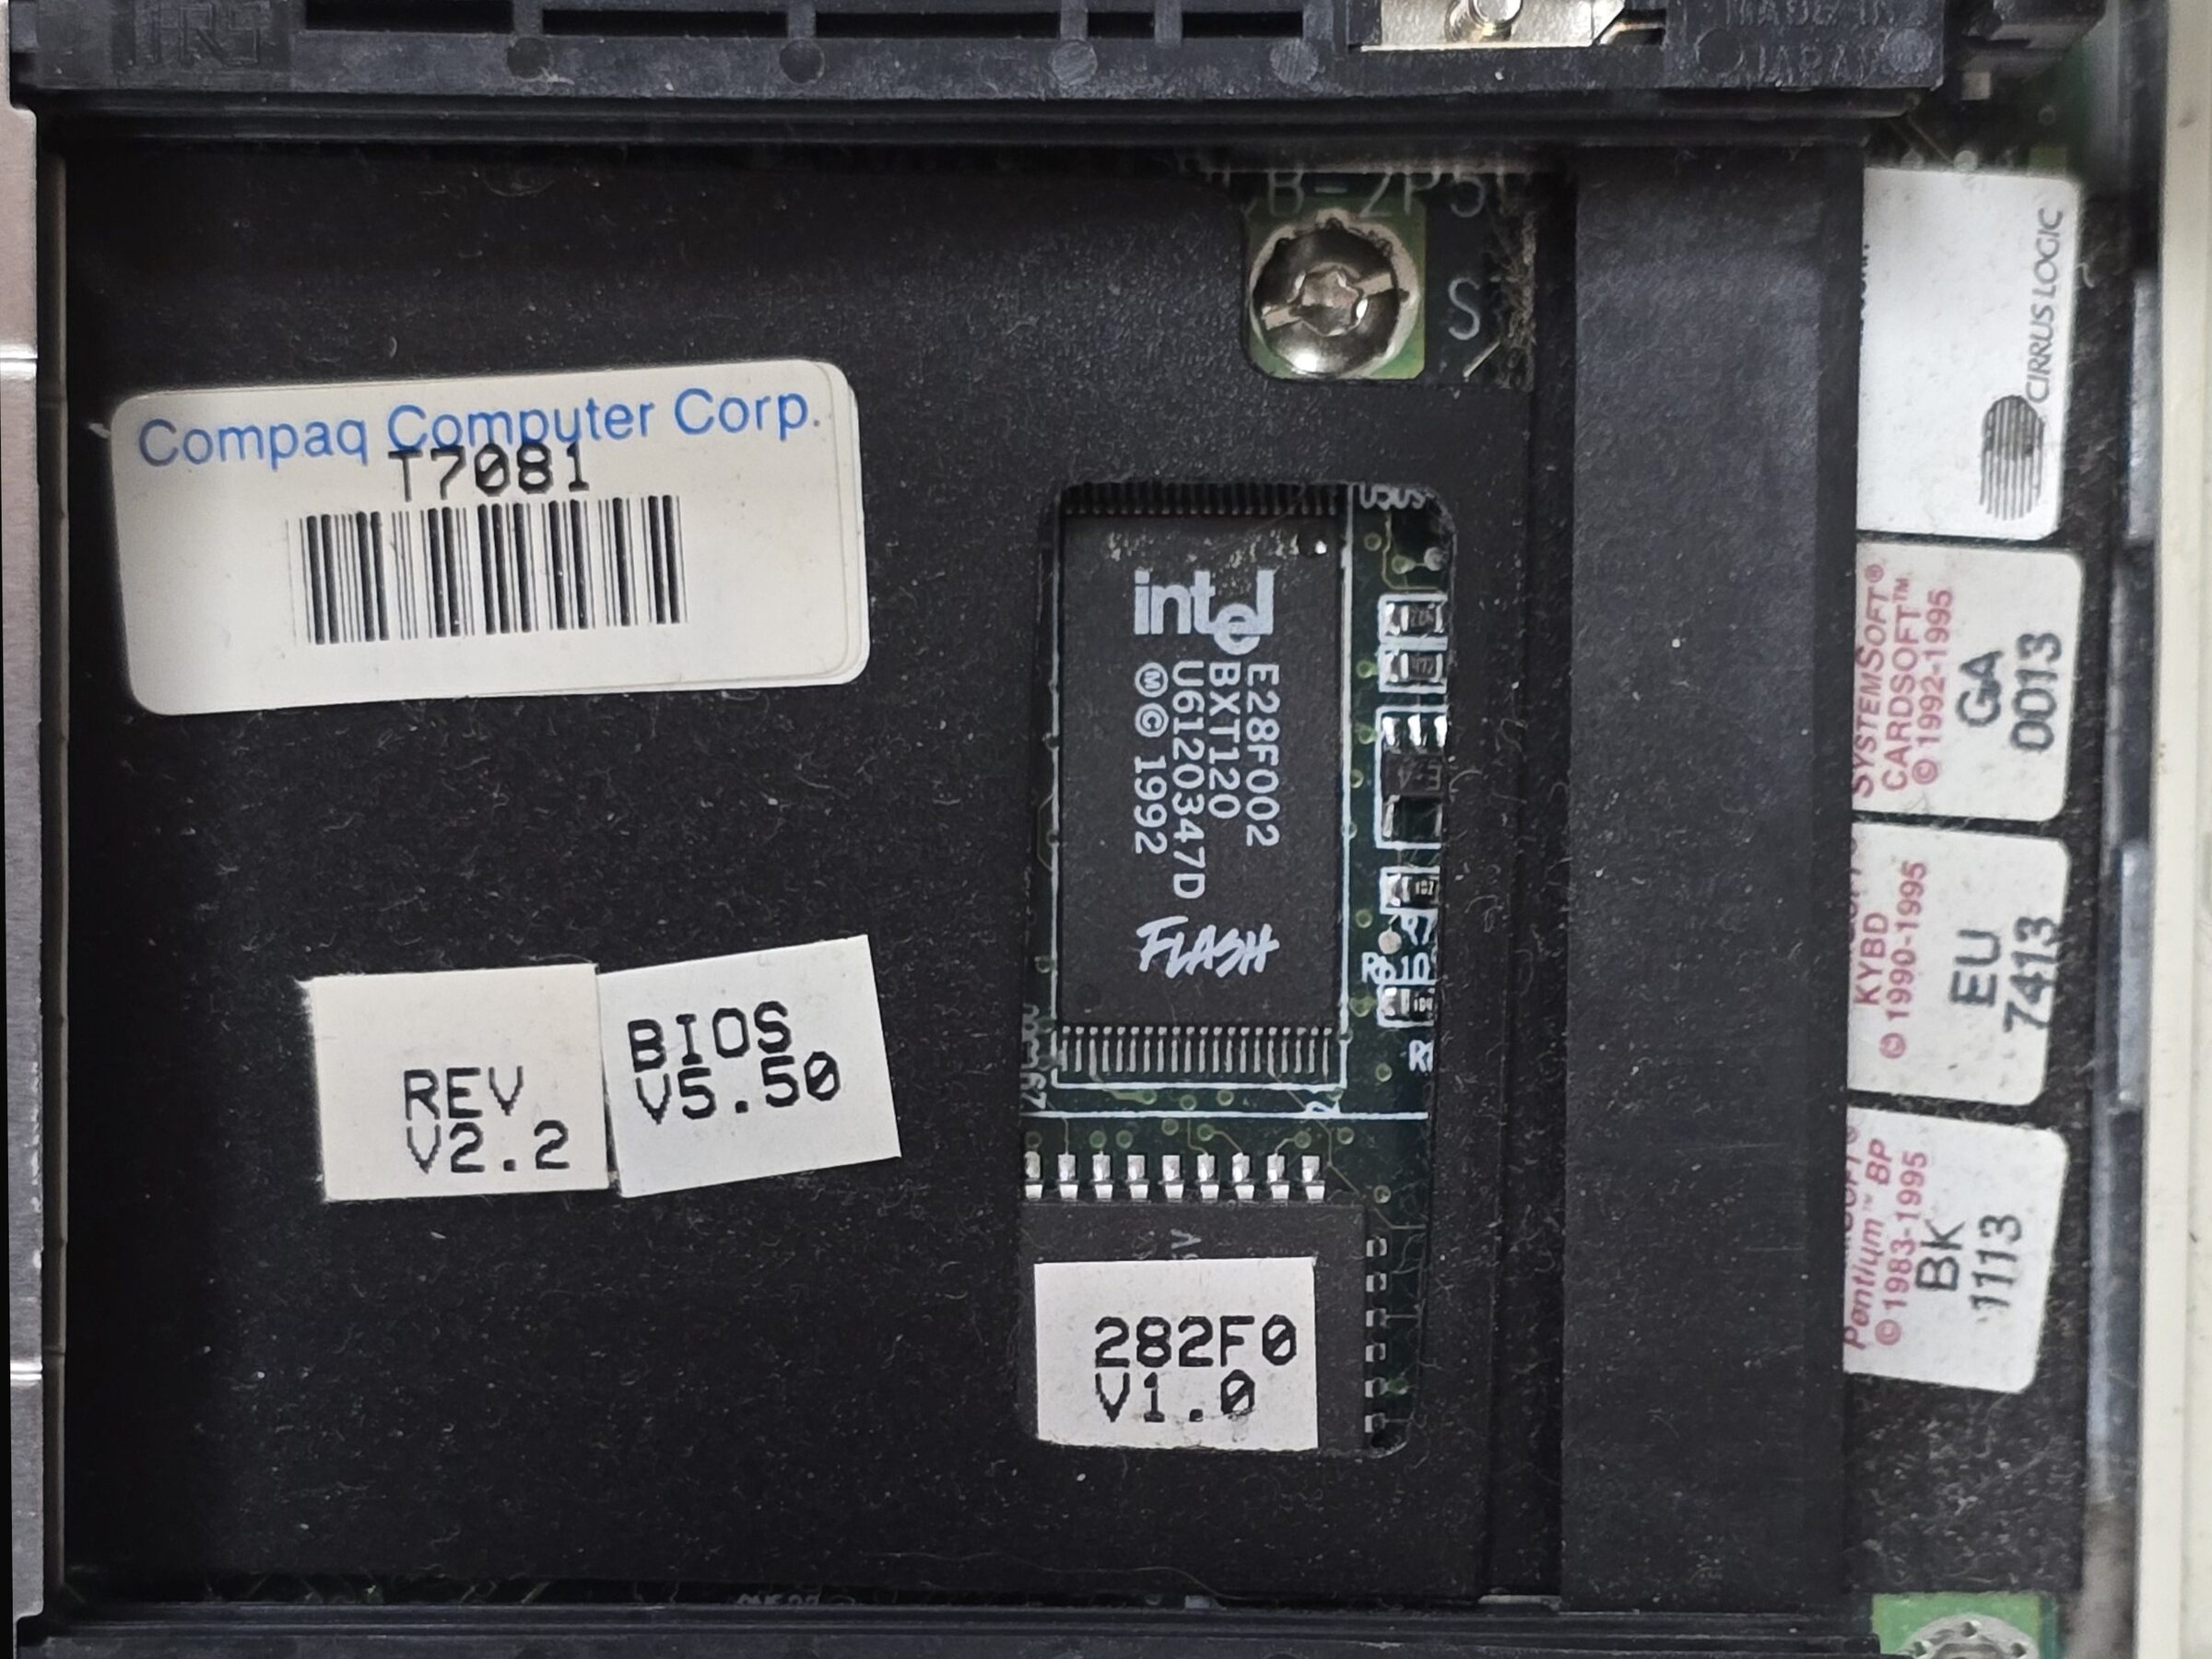

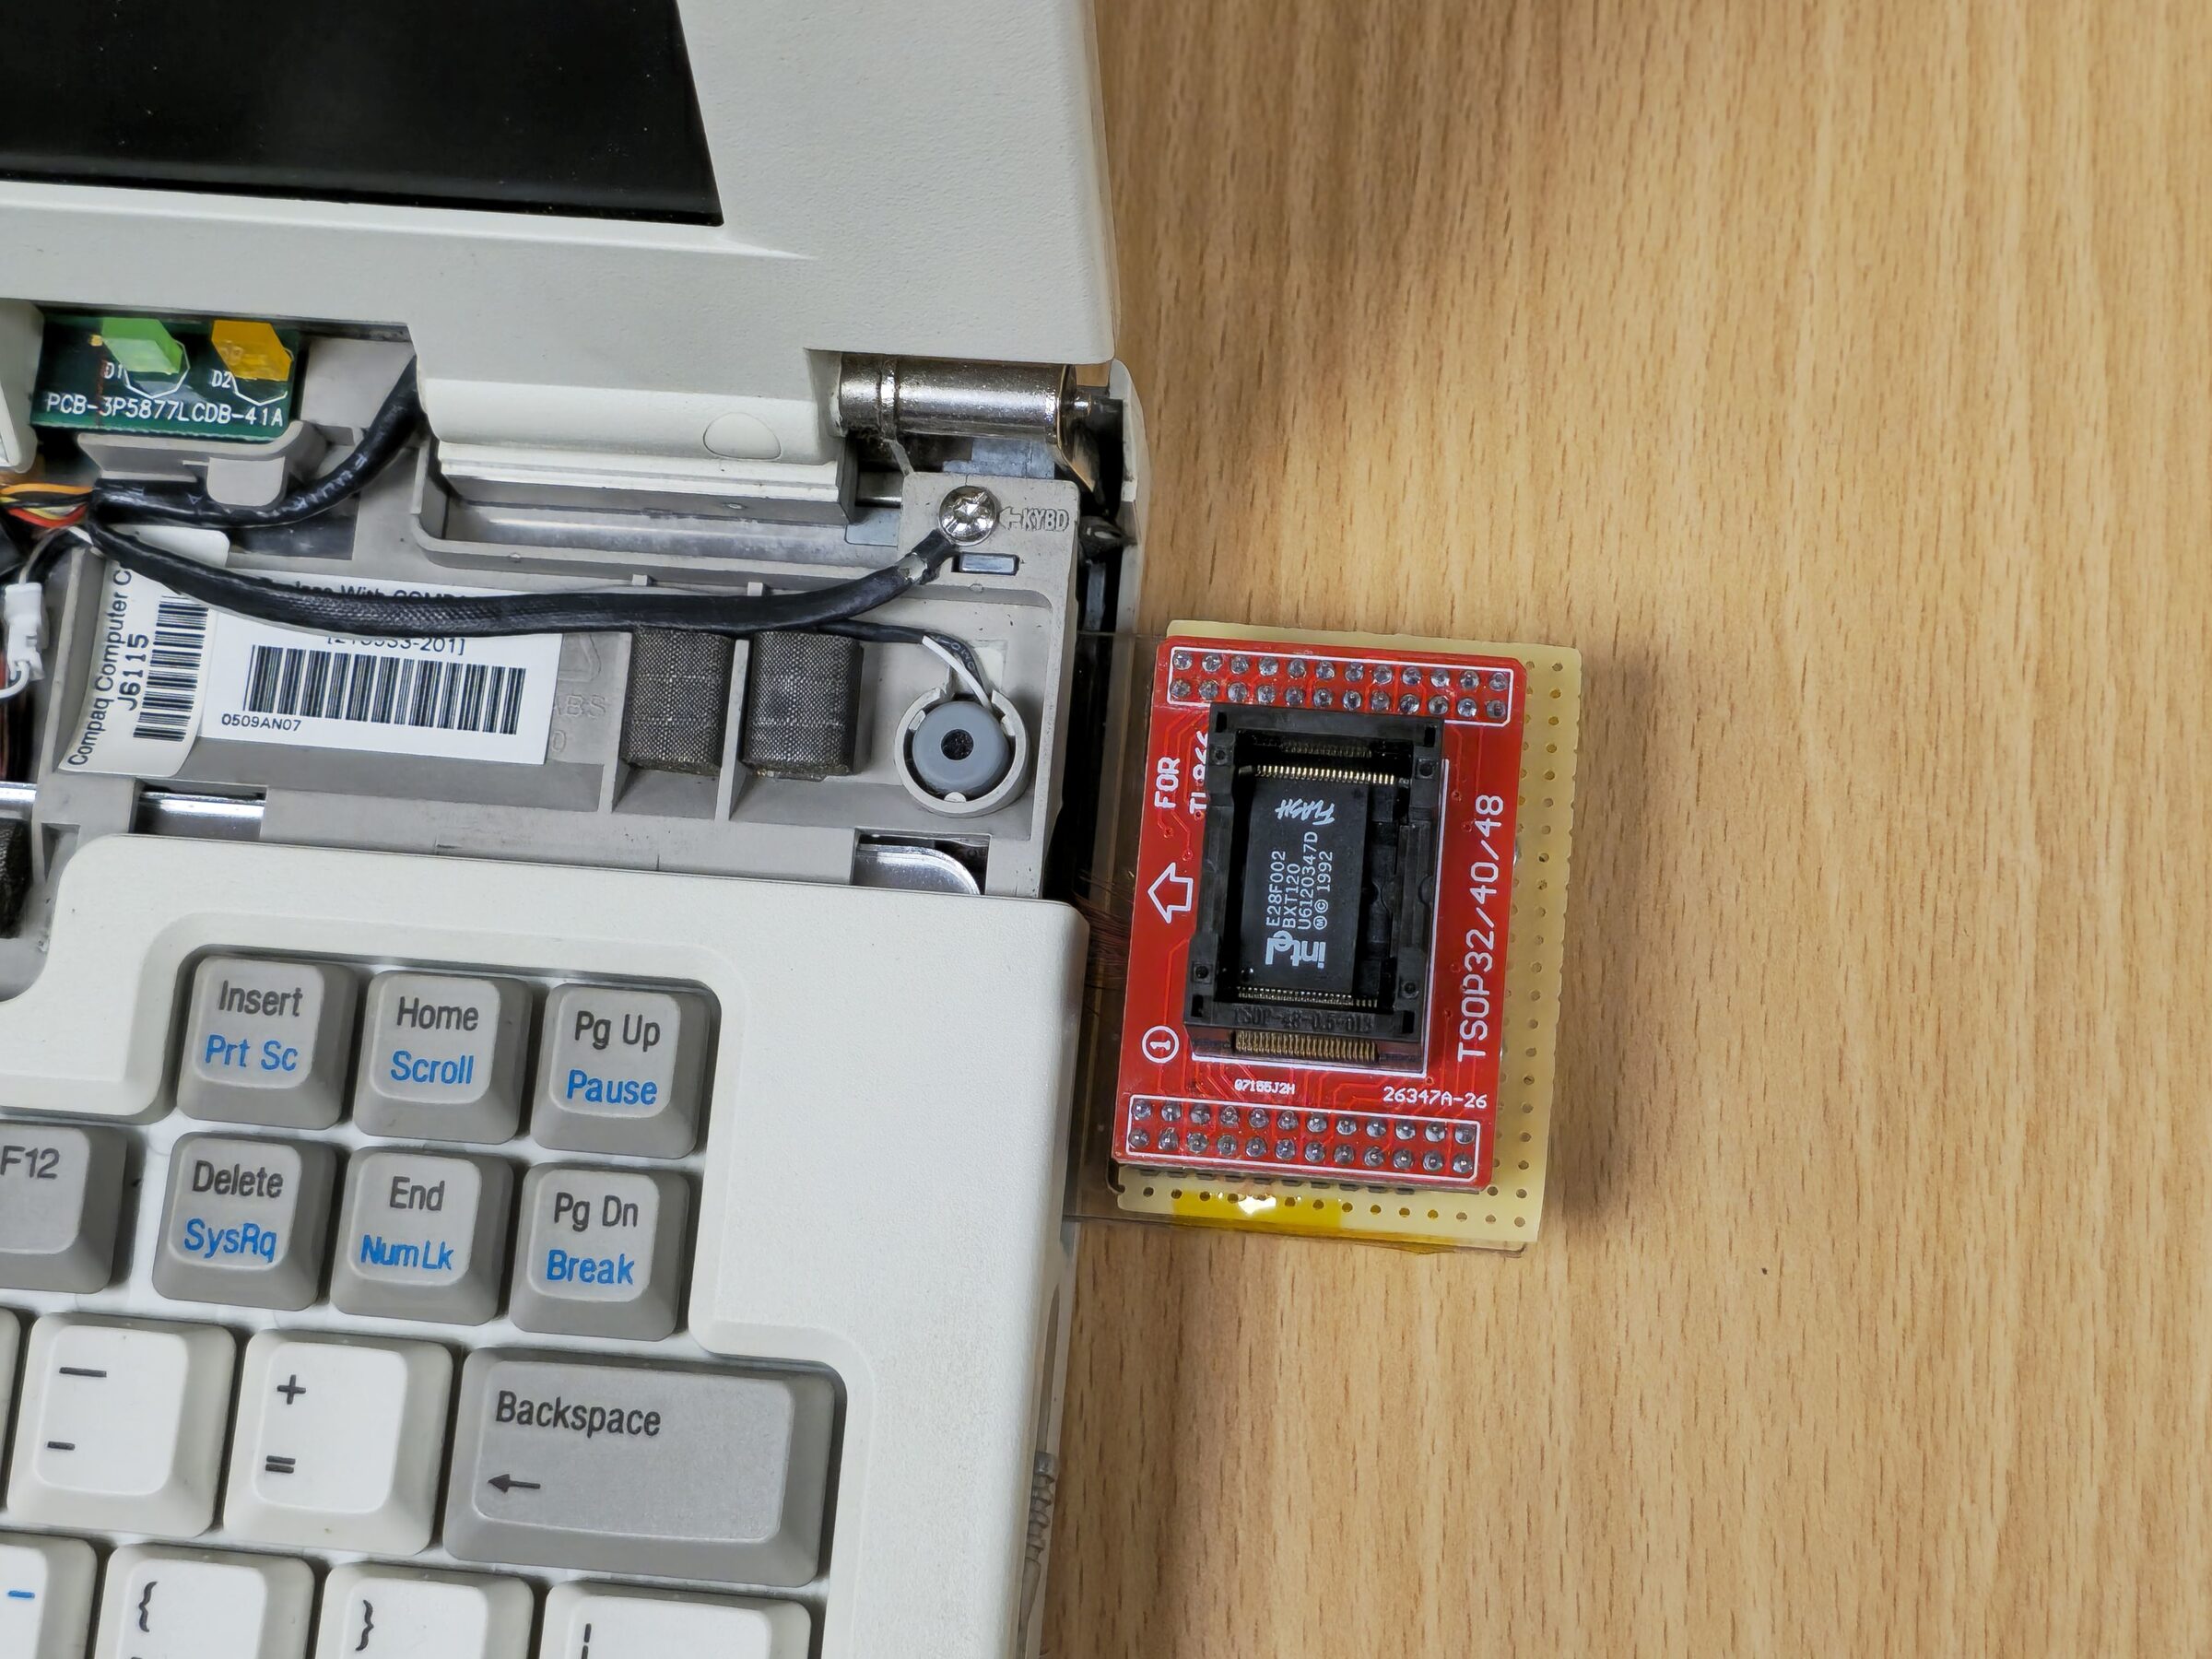
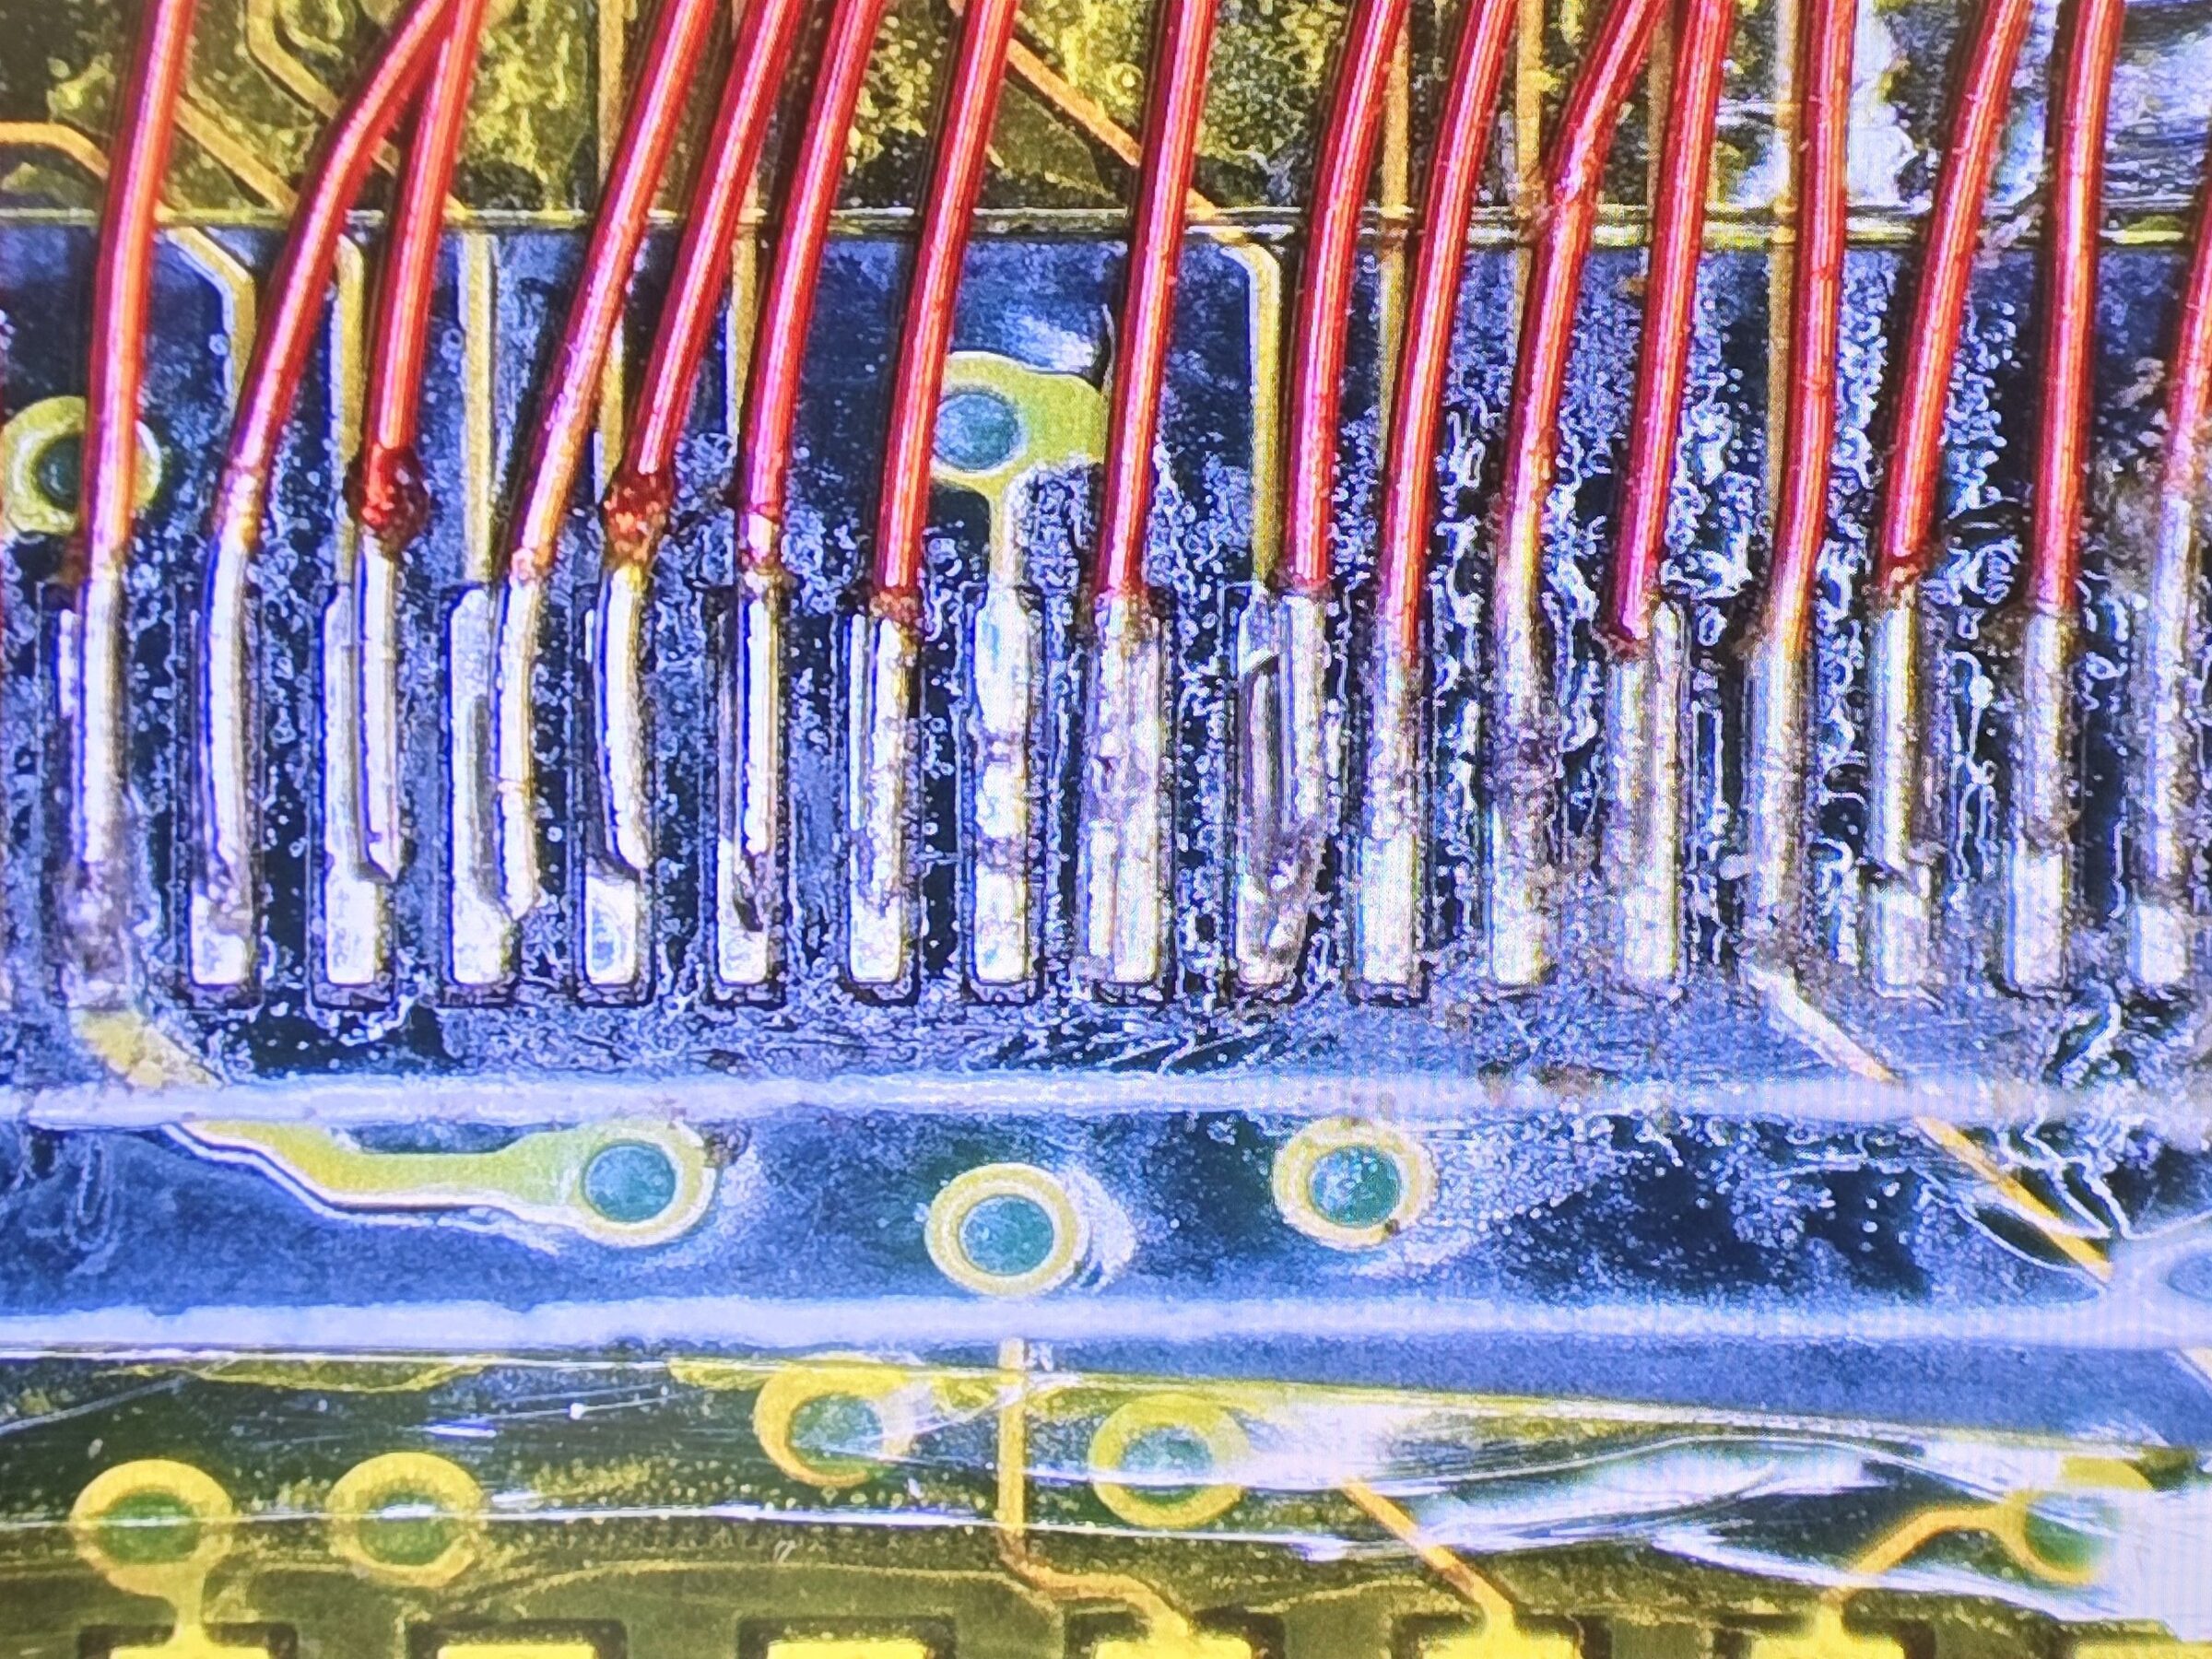
I desoldered the chip and verified I had the correct adapters for my programmer to be able to read and write this chip. Now I needed a way to iterate over tests of new modifications on the real machine. I needed a fixture to be able to pull the chip and still be able to have the machine assembled enough to be running for tests.
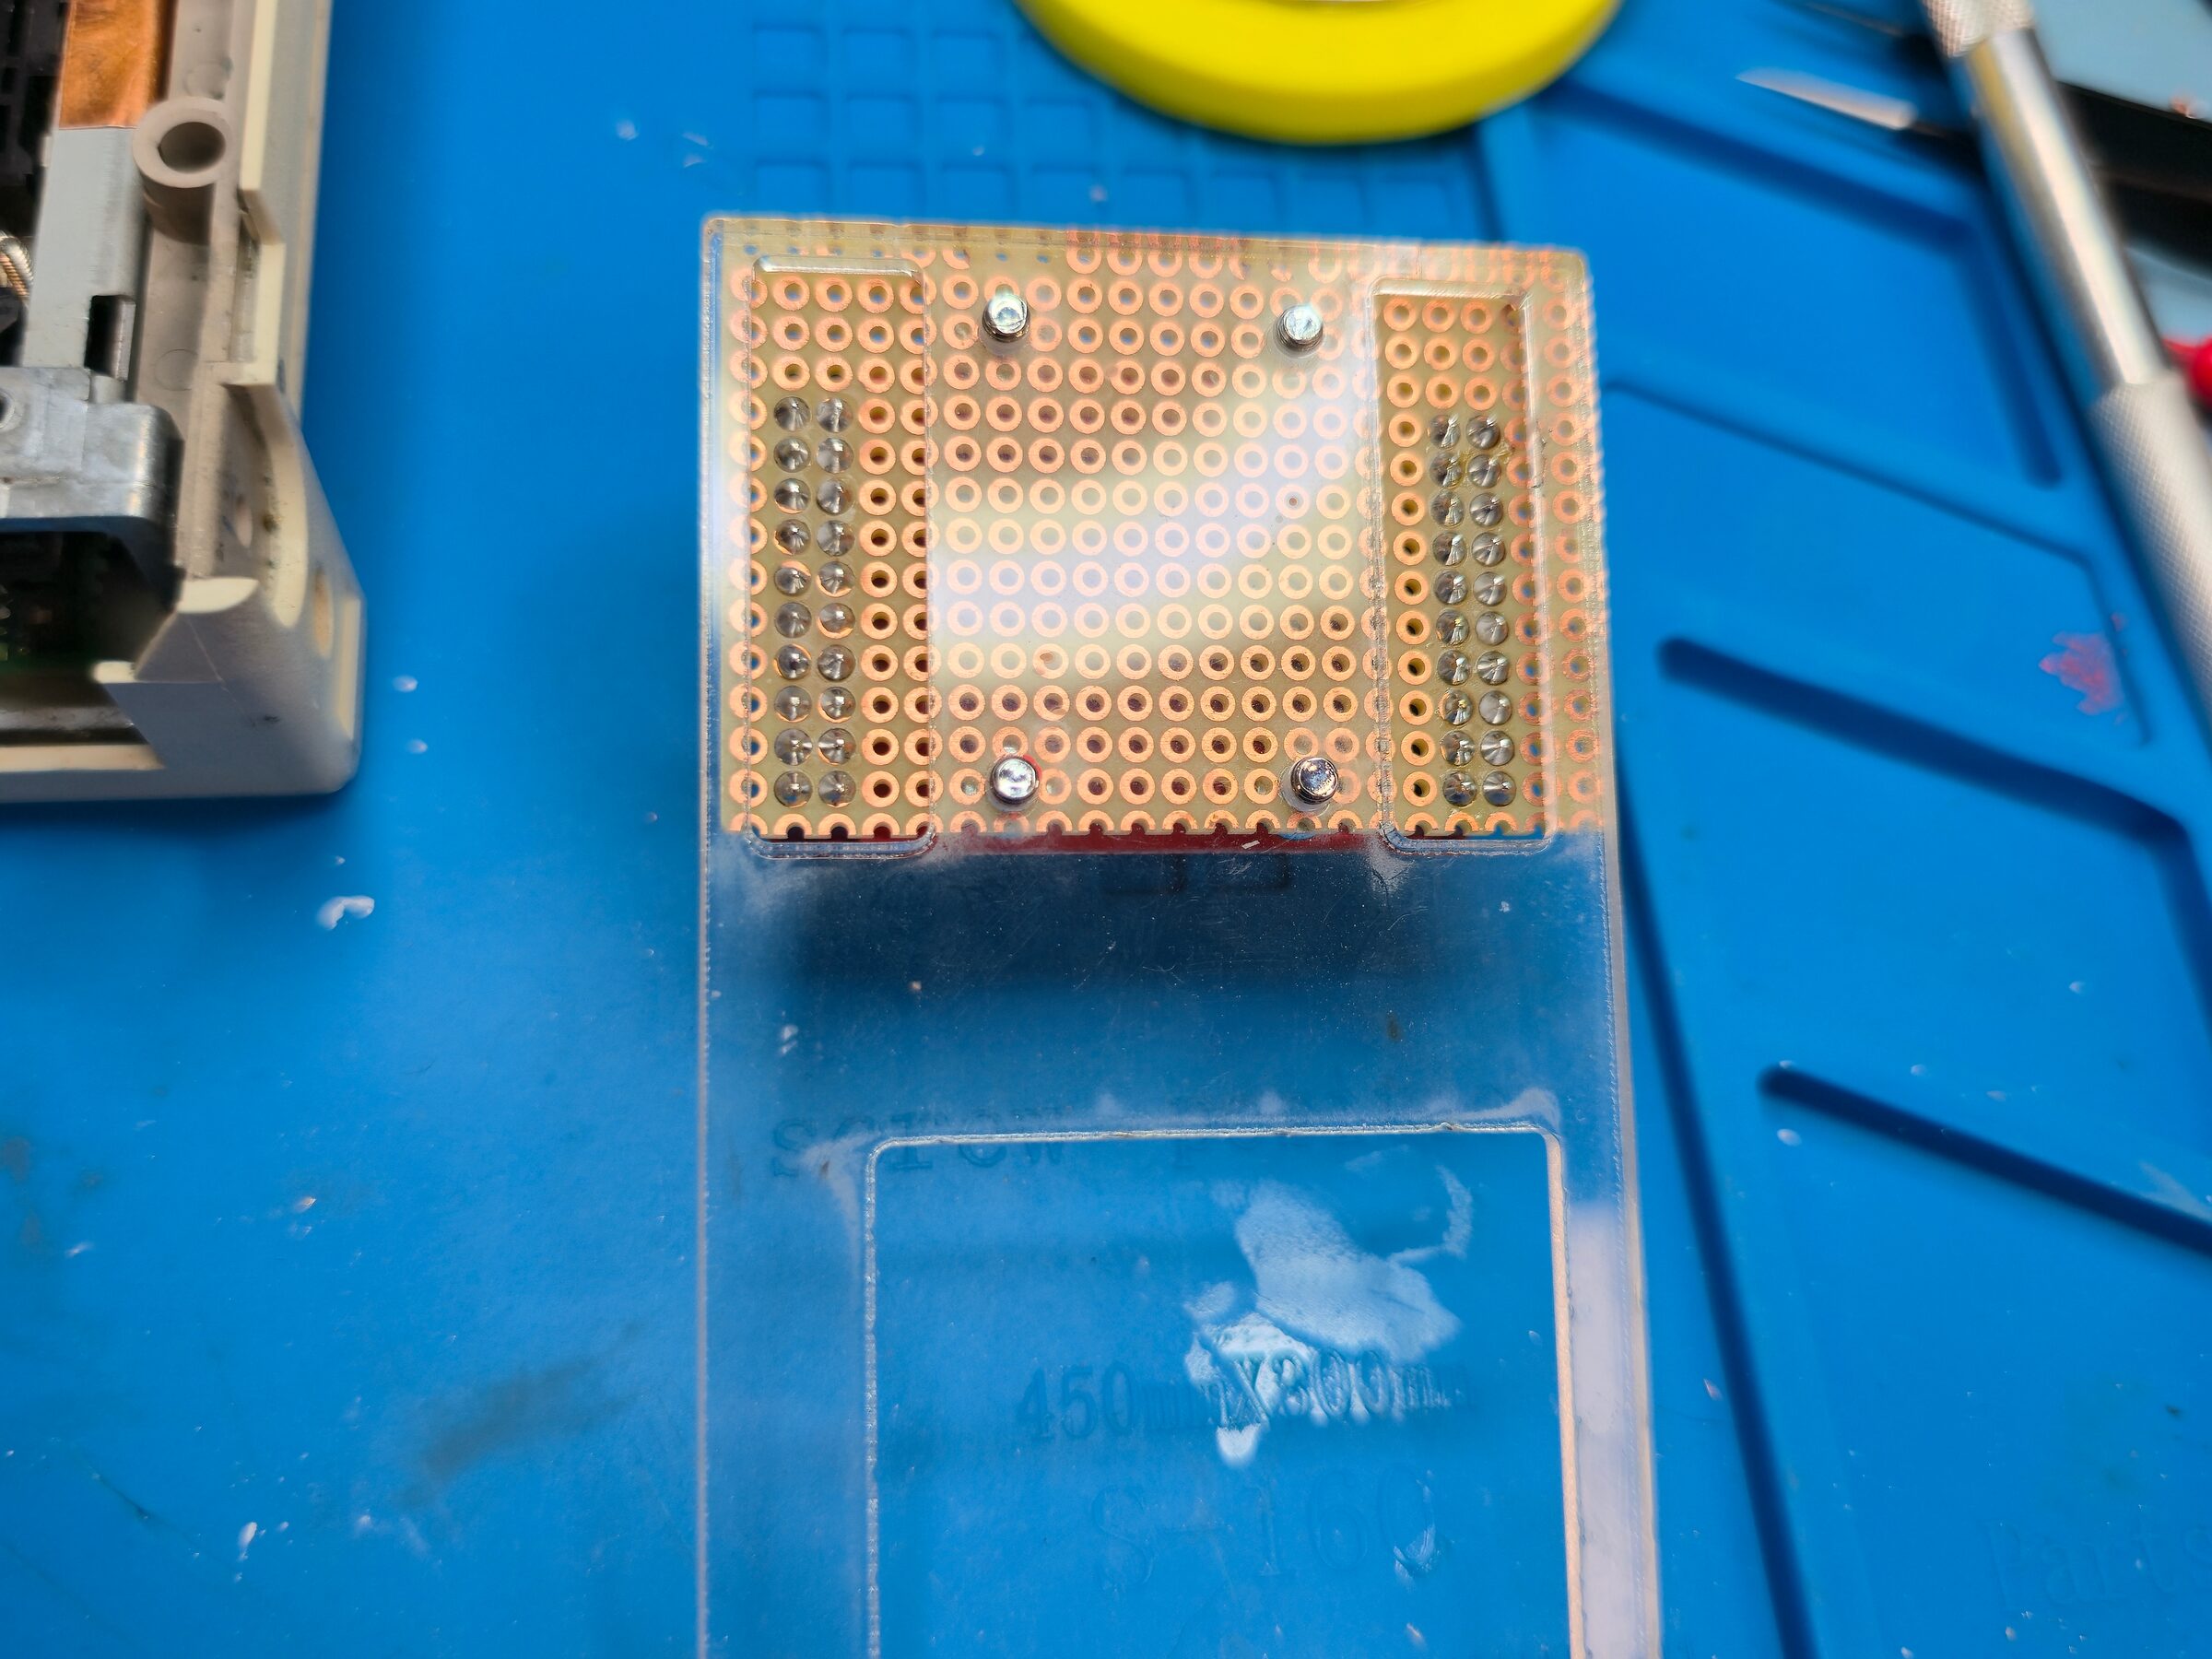
After pondering this problem for a while, along with what parts and tools I had at hand, physical wire length, durability etc., I decided on a plan. After passing a bit of acrylic through my CNC laser and doing a bit of soldering, I had a nicely working fixture. I could now move the flash chip between the laptop and my programmer, and also use the laptop mostly as intended.
Two steps forward, one step back
I had a workflow now. I could move the BIOS chip between my programmer and the laptop for reprogramming and testing.
A null-modem cable hooked to my main workstation via a USB-serial dongle, a custom DOS boot floppy and a bit of
CTTY COM1 helped me to run experiments and capture results.
I kept iterating and experimenting, and got more and more understanding of the system. Then all of a sudden the screen started going crazy and a high-pitched sound came from the laptop. Sigh. I turned everything off and went to sleep. The next day I recapped the PSU and CPU board and this fixed the problem.
The working patch
Eventually I had figured out most of the issues I was facing. I knew enough to build tooling around unpacking and repacking the "ROM modules" as I call them. I realize now that I didn't do as good a job of taking notes and building documentation as I maybe should have. There are a few internal ROM modules in the flat ROM image of the BIOS. A few are language packs, as I call them, for a handful of languages. There are also some text string modules used by the BIOS itself and, most importantly, SSFTBIOS - the second phase BIOS that does what I am interested in: scanning for Option ROMs.
By adding a hook to the Option ROM scanner I was able to copy the uncompressed XTIDE BIOS from ROM into D000:0000, where
a "free" Option ROM slot exists. In order to do this I also had to manipulate how the BIOS tells the OPTi chipset
to map RAM and ROM in read and write mode into address space at different locations.
After all that I finally had a copy of my XTIDE ROM in write-protected shadow RAM at address D000:0000.
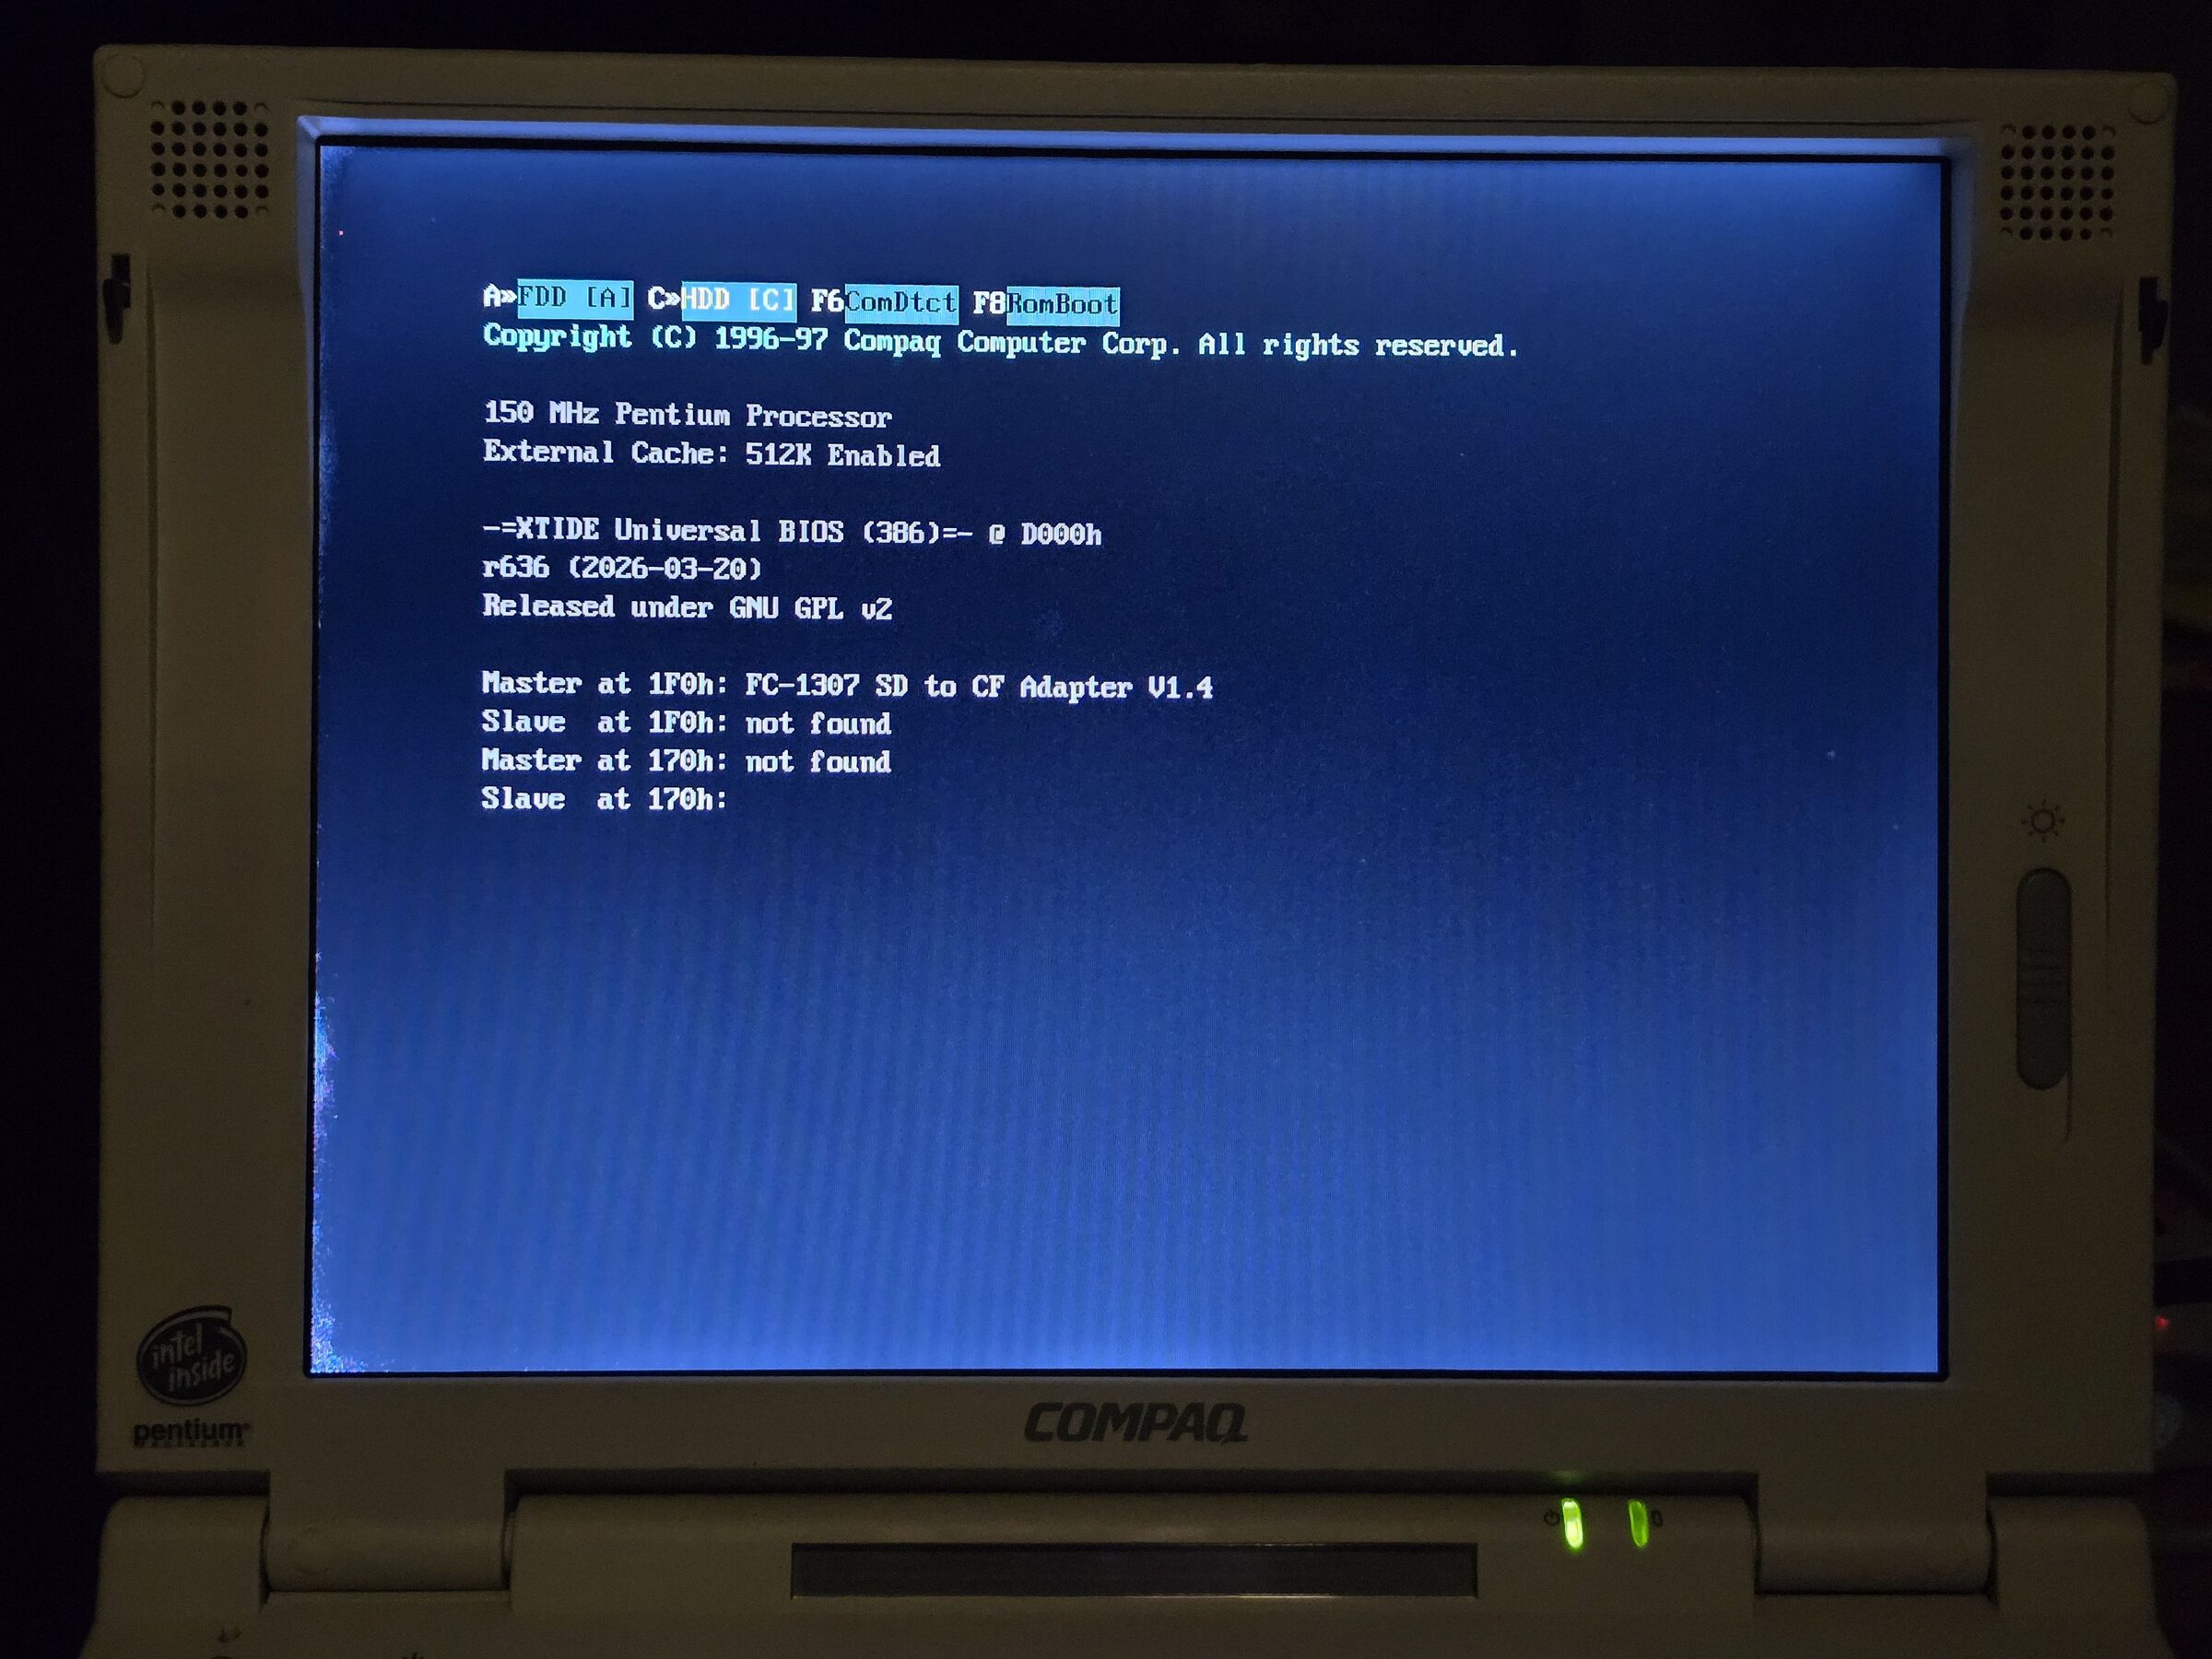
The Option ROM scanner code finds the 55 AA signature at this location and executes the code at D000:0003.
This runs the XTIDE init thingy, which prints its familiar banner, detects the disks, and hooks the disk-related
interrupts. Once the machine boots further and starts using the disk services, those calls go through XTIDE, and
it all magically just started working. You can imagine my joy.
When I first got this working I had flashed the 256 KiB flat ROM image to the BIOS flash chip. Next I spent some time building a bit nicer tooling to be able to package this all up as a ROMPaq floppy image again. And this is pretty much where we are now.
How It Works (very simplified)
- From the flat ROM image, the compressed BIOS modules are extracted.
- An XTIDE Universal BIOS image is placed in unused space in the flat ROM.
- A small helper is added, and the SSFTBIOS Option ROM scanner is hooked.
- Checksums are fixed, the ROM is repacked, and ROMPaq compresses the flat ROM image into a file that the BIOS update utility can flash when booted from a floppy.
What I have tested
This was tested on a few of my machines with great success. The development was done on my LTE 5400. I then tested the floppy image and flashed it on my LTE 5300. I have tried a few different IDE to CF adapters and an SD2IDE adapter with a 128 GB microSD card in an adapter.
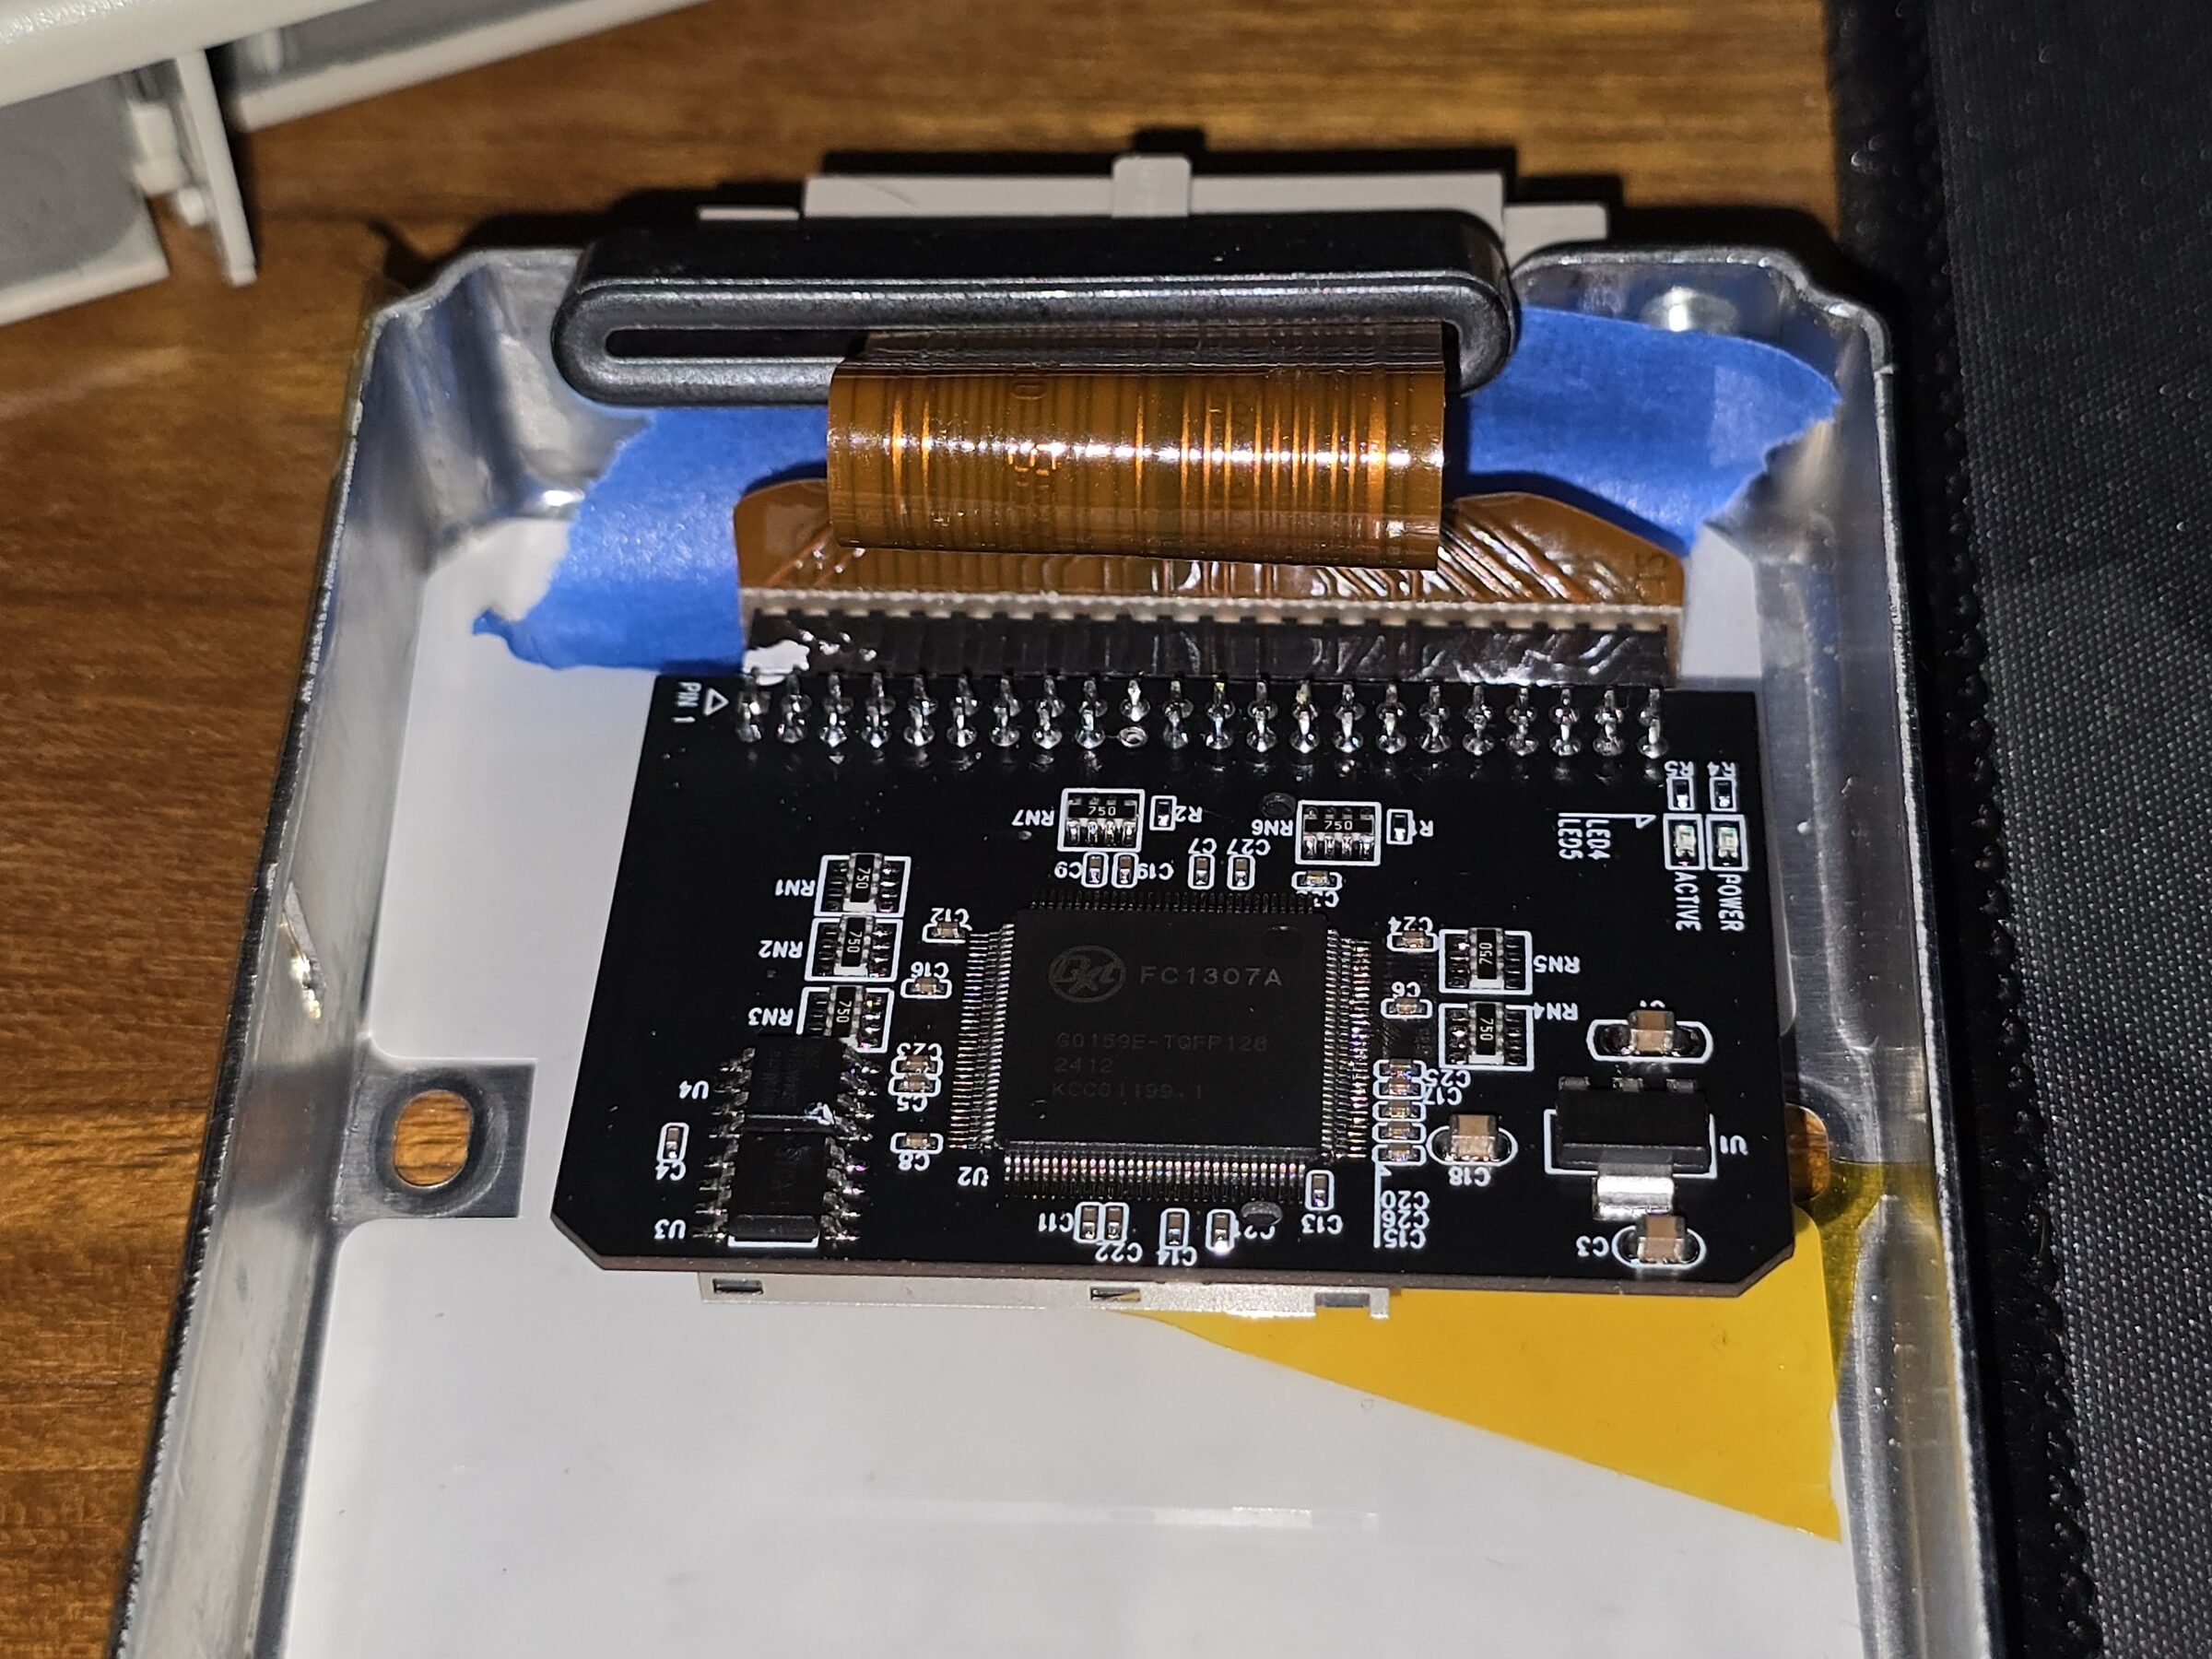
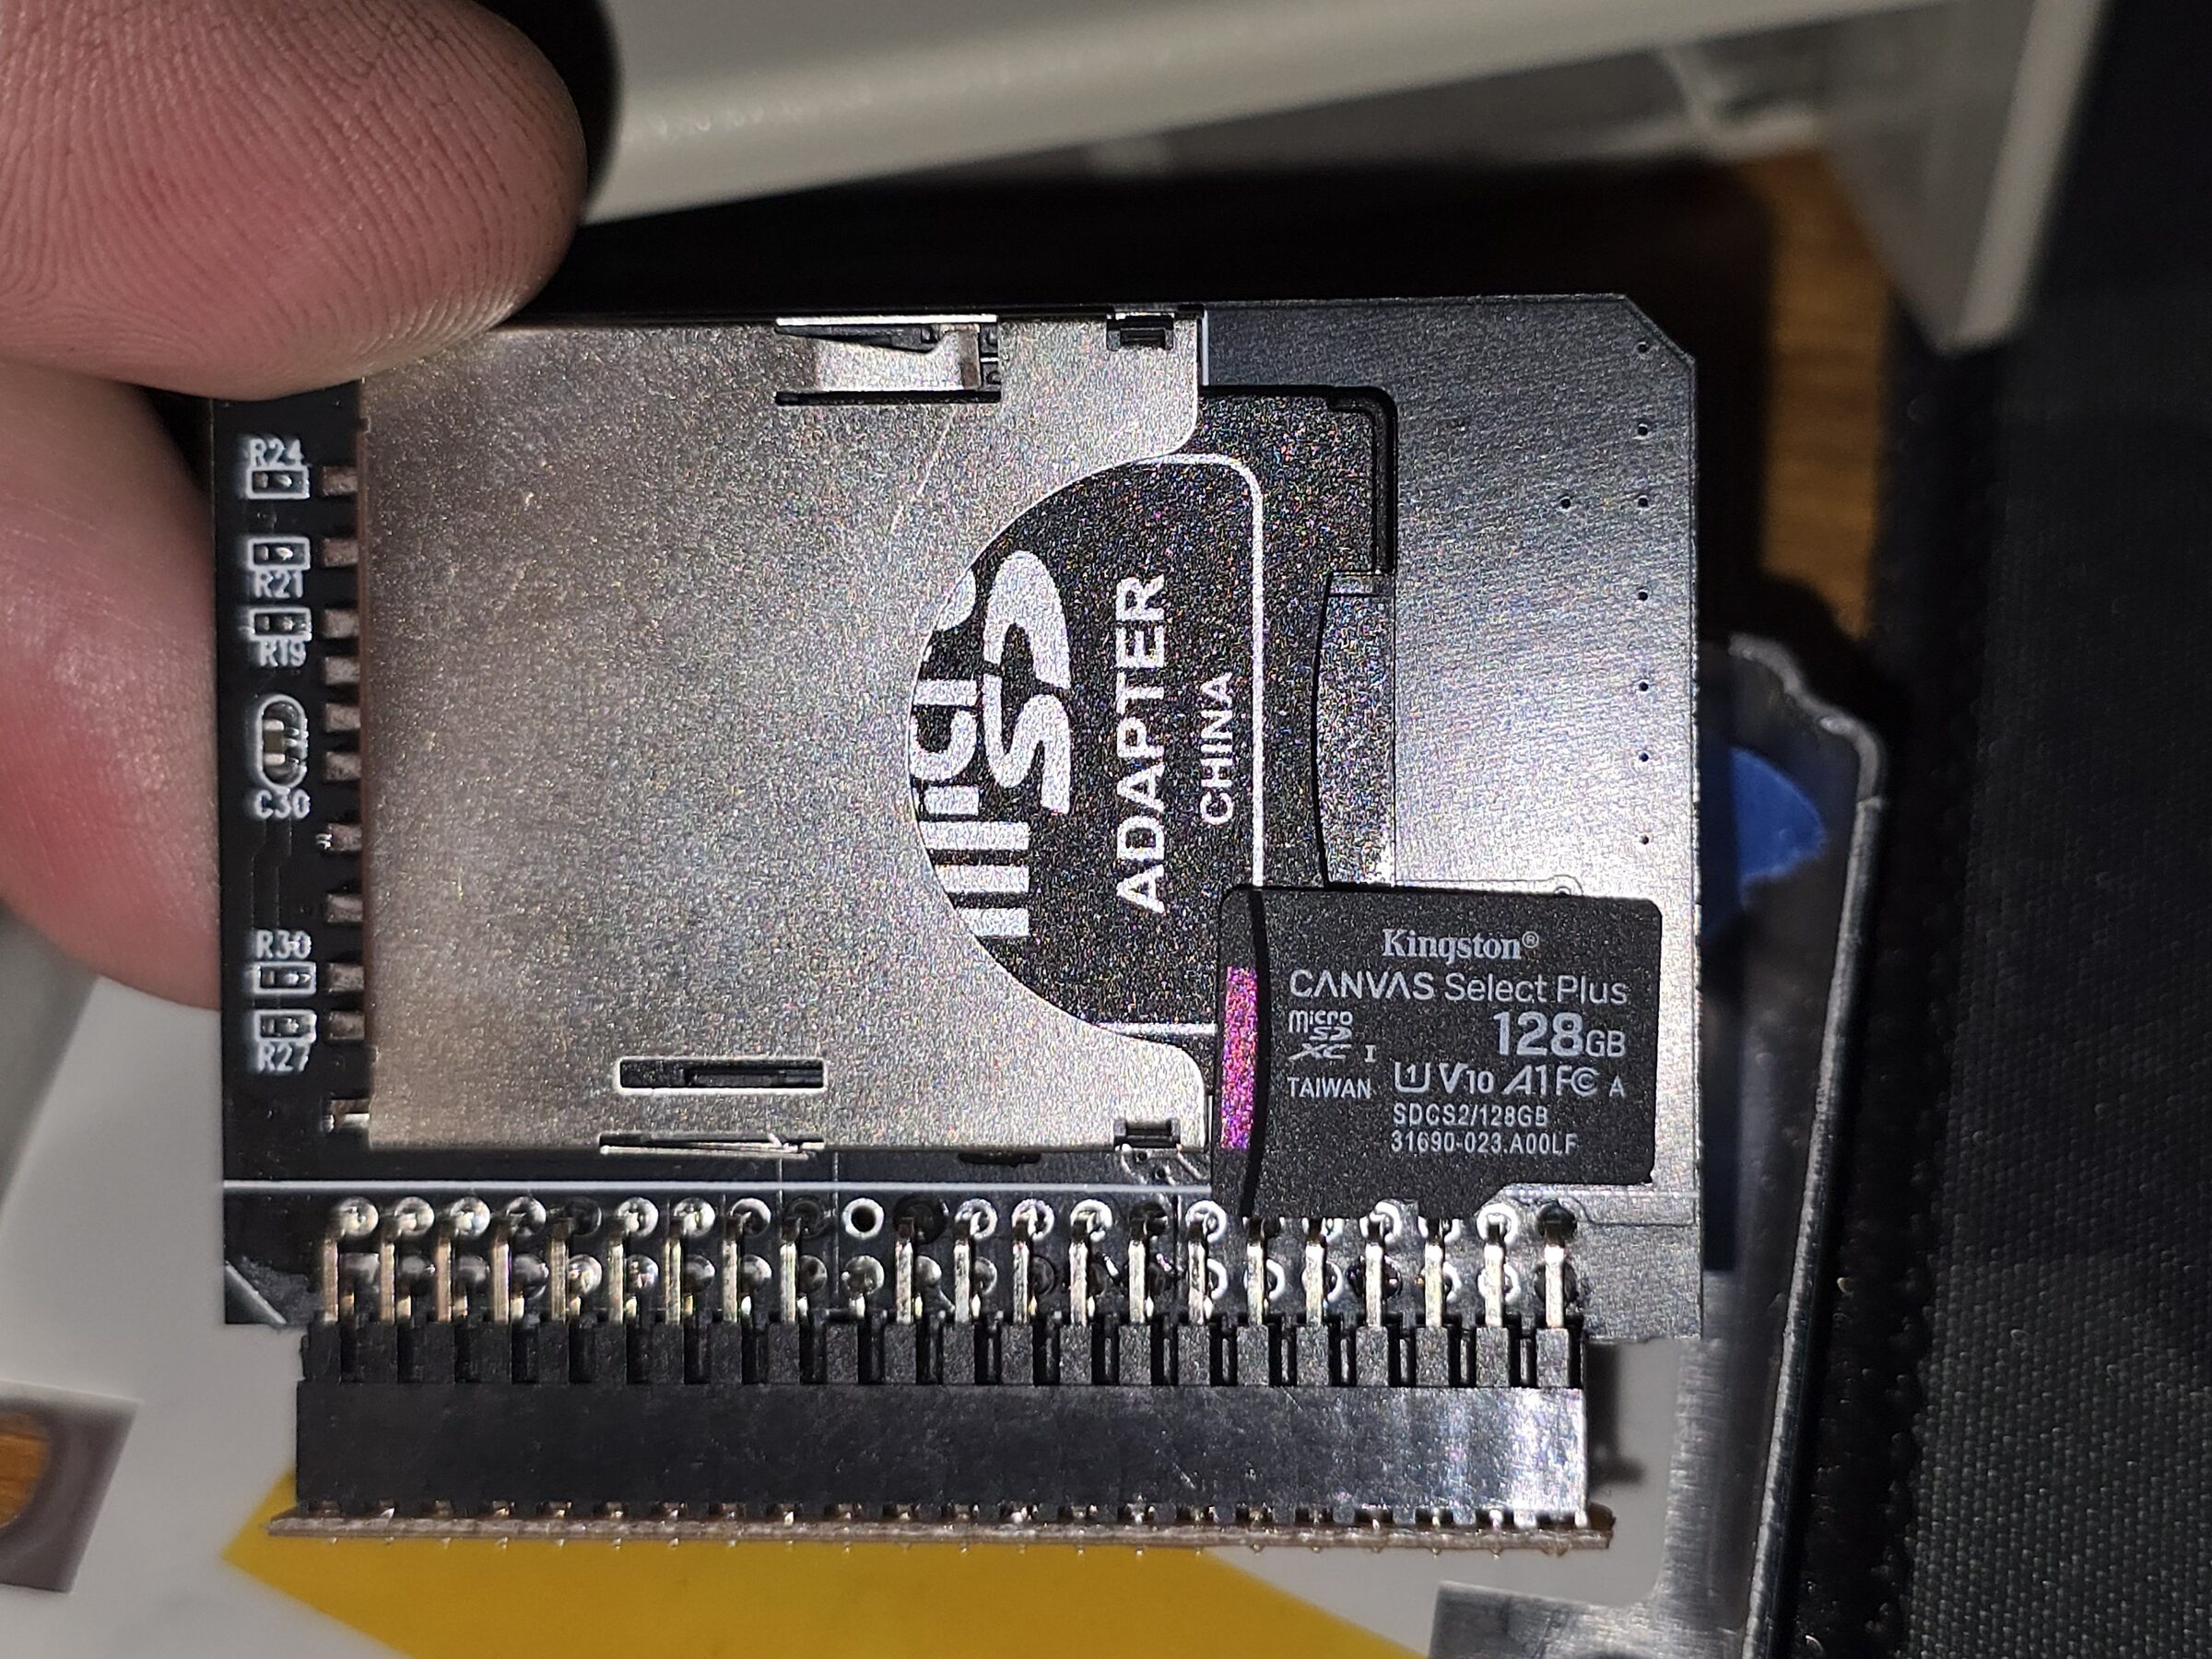
I currently have had success installing Windows 98 SE alongside Slackware 7.1 onto the 128 GB card for example.

Mandatory Disclaimer
At this point in time I don't have any reason to expect that anything related to this patch would be causing
any issues.
But as always when flashing BIOSes the usual warnings apply.
Don't come running to me crying if your cat accidentally unplugged your power cord during the flashing procedure etc.
That being said, there isn't any reason to believe this wouldn't work for you if you decide to try it yourself.